6 단계 번역중
6 단계

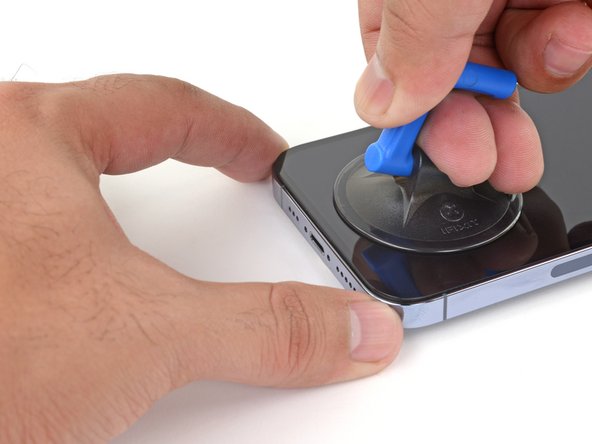


Insert an opening pick
-
Apply a suction handle to the bottom edge of the phone, while avoiding the very edge of the glass.
-
Pull up on the suction cup with firm, constant pressure to create a slight gap between the front panel and rear case.
-
Insert an opening pick into the gap.
귀하의 기여는 오픈 소스 Createive Commons 라이선스 하에 허가되었습니다.