7 단계 번역중
7 단계

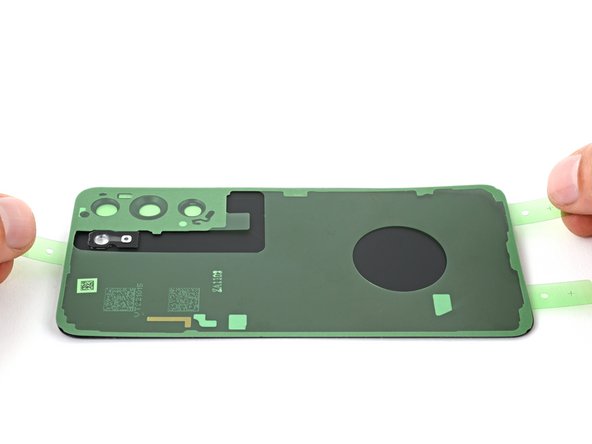


Apply your new adhesive
-
Grab your new adhesive by its pull tabs and align it over the back cover and camera bezel.
-
Place the adhesive on the back cover.
-
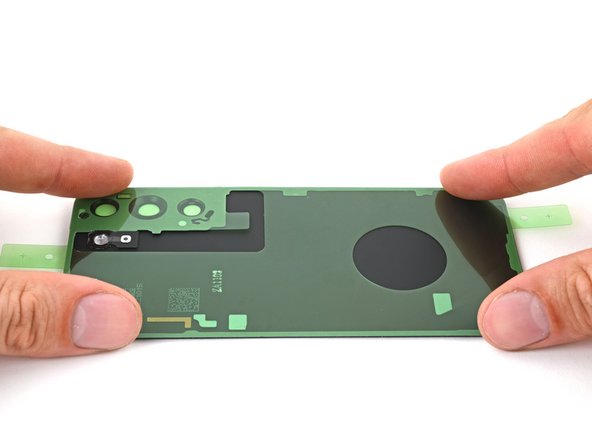
Press firmly along the perimeter of the adhesive to adhere it.
귀하의 기여는 오픈 소스 Createive Commons 라이선스 하에 허가되었습니다.