11 단계 번역중
11 단계

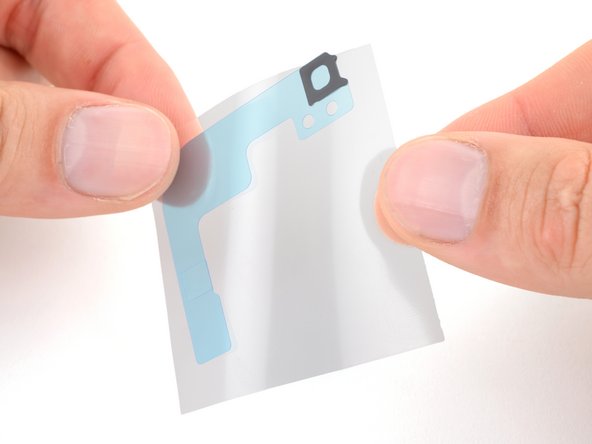


Replace the microphone adhesive
-
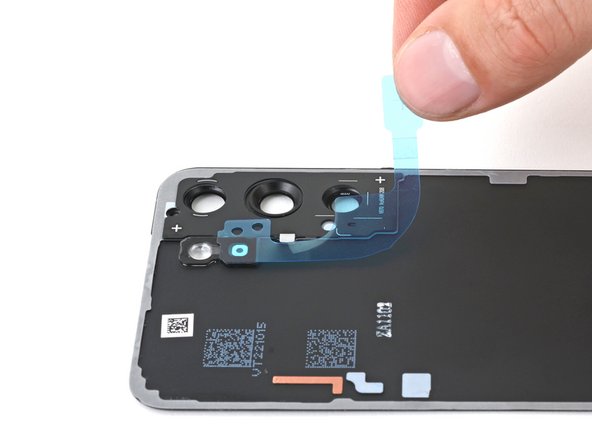
On the motherboard cover, remove the old adhesive from the microphone hole under the flash unit.
-
Remove the clear liner from the large L-shaped adhesive piece.
-
Place the square piece of adhesive over the back cover's microphone cutout under the flash unit, with the blue liner tab facing right.
-
Remove the blue liner.
귀하의 기여는 오픈 소스 Createive Commons 라이선스 하에 허가되었습니다.