알림: 귀하는 선행 작업 안내서를 편집하고 계십니다. 변경된 사항들은 이 선행 작업 단계를 포함하는 안내서 6개에 영향을 미칩니다.
12 단계 번역중
12 단계


-
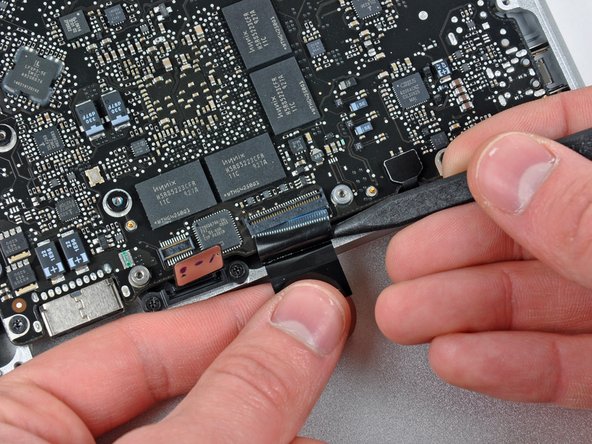
Use your fingernail to flip up the locking flap on the ZIF socket for the keyboard ribbon cable. The locking flap is located at the opposite side of the socket compared to the keyboard ribbon cable. Hook your fingernail under it and carefully lift it up vertically.
-
Use the tip of a spudger to slide the keyboard ribbon cable out of its socket.
| - | [* black] Use your fingernail to flip up the locking flap on the ZIF socket for the keyboard ribbon cable. |
|---|---|
| + | [* black] Use your fingernail to flip up the locking flap on the ZIF socket for the keyboard ribbon cable. The locking flap is located at the opposite side of the socket compared to the keyboard ribbon cable. Hook your fingernail under it and carefully lift it up vertically. |
| + | [* icon_caution] Do not attempt to slide the keyboard ribbon cable out of its socket before you have unlocked the ZIF socket. Ribbon cables are fragile and excessive force will easily break them. |
| [* black] Use the tip of a spudger to slide the keyboard ribbon cable out of its socket. |
귀하의 기여는 오픈 소스 Createive Commons 라이선스 하에 허가되었습니다.