주요 콘텐츠로 건너뛰기

기본 LED 손전등 DIY 납땜 키트 어셈블리

13 단계
Basic LED Flashlight DIY Soldering Kit Assembly, Flip the board over: 0 단계, 이미지 3개 중 1개 Basic LED Flashlight DIY Soldering Kit Assembly, Flip the board over: 0 단계, 이미지 3개 중 2개 Basic LED Flashlight DIY Soldering Kit Assembly, Flip the board over: 0 단계, 이미지 3개 중 3개
Flip the board over
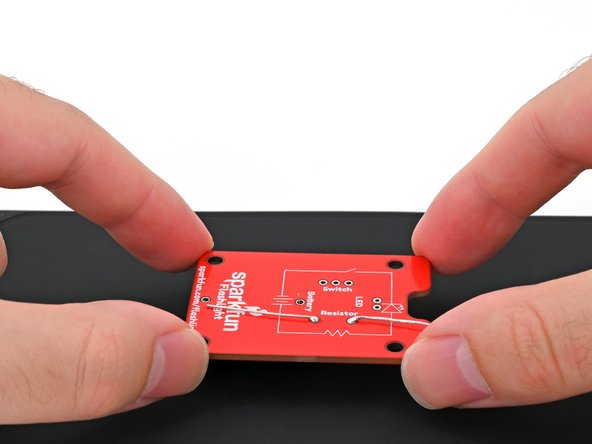
  • Hold the battery connector flush against the front of the circuit board.

  • Flip the board over and set it down so the battery connector is resting on your work mat or surface.

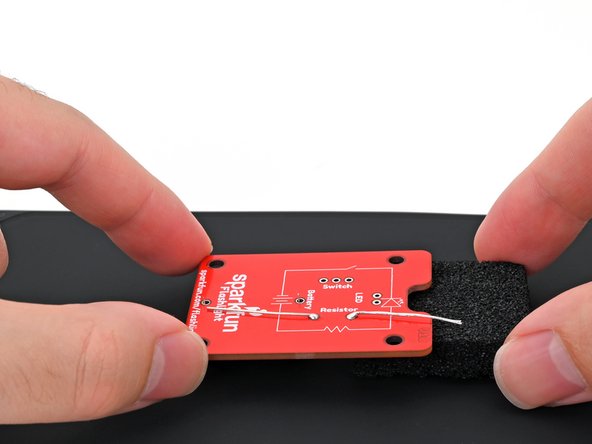
  • Place the foam block underneath the top edge of the board (the edge with the notch) to keep it level while you solder.

배터리 커넥터를 회로 기판의 앞면과 같은 높이로 잡으세요.

보드를 뒤집어 배터리 커넥터가 작업 매트나 표면 위에 놓이도록 내려놓으세요.

납땜하는 동안 보드의 상단 가장자리(노치가 있는 가장자리) 아래에 폼 블록을 놓아 수평을 유지하세요.

귀하의 기여는 오픈 소스 Createive Commons 라이선스 하에 허가되었습니다.