주요 콘텐츠로 건너뛰기

Right Joy-Con Teardown

6 단계
Right Joy-Con Teardown: 0 단계, 이미지 2개 중 1개 Right Joy-Con Teardown: 0 단계, 이미지 2개 중 2개
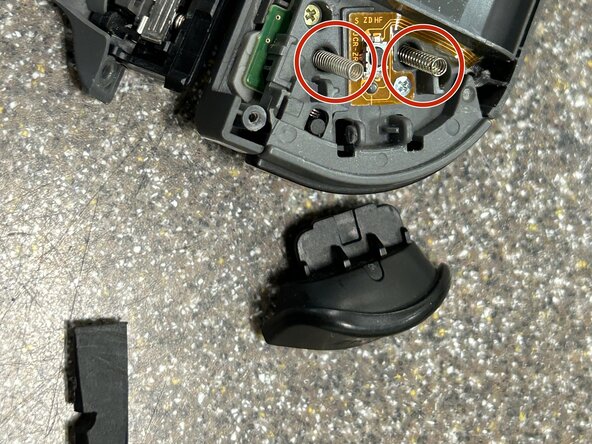
  • Insert the flat side of the spudger or the opening pick between the ZR button and the upper bracket. Lift up on the ZR button until the clips disengage and you can carefully remove it.

  • There are springs beneath the ZR trigger. Make sure to disengage the clips and remove the button carefully and slowly as the two marked springs will want to fly out

여기에 번역 삽입

여기에 번역 삽입

귀하의 기여는 오픈 소스 Createive Commons 라이선스 하에 허가되었습니다.