6 단계 번역중
6 단계


-
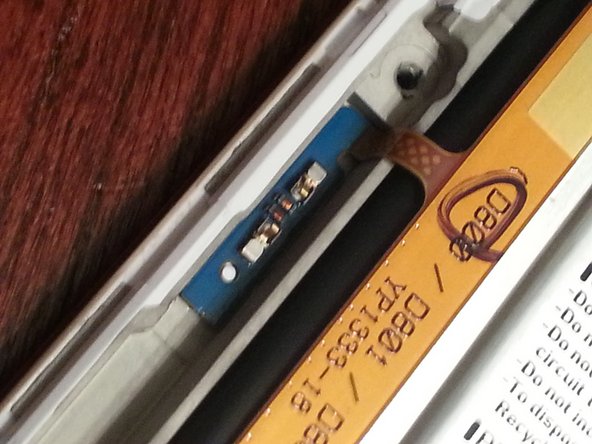
The flex cable running up the right side of the battery is connected to a smaller board, which is held to an EMI shield on the logic board with a small amount of adhesive; it can be carefully pried up.
-
The same thing can be done to the other side. Peel up the tape holding the flex cables down remembering where they went.
귀하의 기여는 오픈 소스 Createive Commons 라이선스 하에 허가되었습니다.