주요 콘텐츠로 건너뛰기

iPad Air Wi-Fi Logic Board Replacement

알림: 귀하는 지금 열람하신 선행 작업 안내서를 편집하고 계십니다. 변경된 사항들은 이 선행 작업 단계를 사용하는 모든 8 안내서에 영향을 미칩니다.

22 단계
iPad Air Wi-Fi Logic Board Replacement: 0 단계, 이미지 3개 중 1개 iPad Air Wi-Fi Logic Board Replacement: 0 단계, 이미지 3개 중 2개 iPad Air Wi-Fi Logic Board Replacement: 0 단계, 이미지 3개 중 3개
  • In the next steps, you will use an iOpener to apply heat to the rear case of the iPad to soften adhesive holding the logic board in place.

  • As you reheat and place the iOpener in each of the indicated locations, leave it in place for at least a minute to soften the adhesive through the rear case.

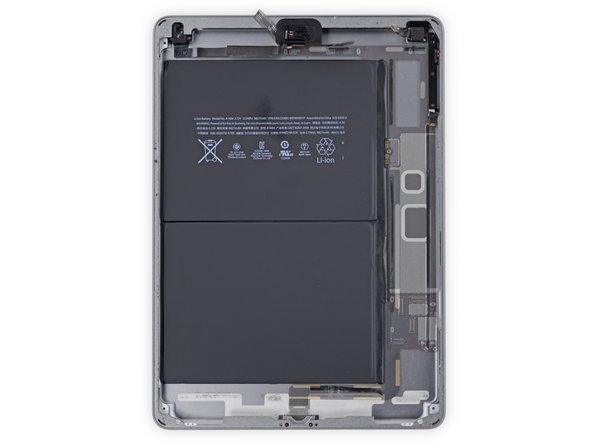
  • The adhesive is in the form of six pieces of black foam tape—refer to this step as you work at heating and prying to keep track of where each piece is located.

여기에 번역 삽입

여기에 번역 삽입

여기에 번역 삽입

귀하의 기여는 오픈 소스 Createive Commons 라이선스 하에 허가되었습니다.