주요 콘텐츠로 건너뛰기

Desmontaje del iPod Touch de 4.ª generación

영어
스페인어
13 단계
iPod Touch 4th Generation Teardown: 0 단계, 이미지 2개 중 1개 iPod Touch 4th Generation Teardown: 0 단계, 이미지 2개 중 2개
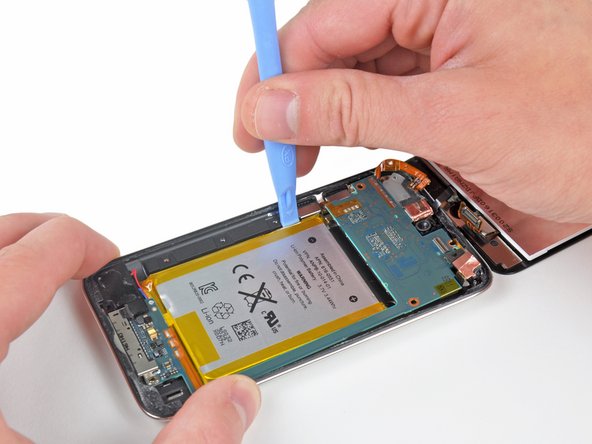
  • It took a bit of prying to lift the battery and logic board out of the casing, but unfortunately the headphone/sleep button control ribbon cable is both soldered to the logic board and glued to the outer case.

Se necesitó un poco de palanca para sacar la batería y la placa lógica de la carcasa, pero desafortunadamente el cable plano de control del botón de suspensión/auriculares está soldado a la placa lógica y pegado a la carcasa exterior.

귀하의 기여는 오픈 소스 Createive Commons 라이선스 하에 허가되었습니다.