주요 콘텐츠로 건너뛰기

Nexus S Teardown

13 단계
Nexus S Teardown: 0 단계, 이미지 2개 중 1개 Nexus S Teardown: 0 단계, 이미지 2개 중 2개
  • Here you can see a side view of the Super AMOLED display and front glass panel.

  • The Super AMOLED is attached to the front glass. The digitizer is a PET layer between the glass and the display.

  • You can definitely see that only the front glass panel is curved. The rest of the components are flat as a board, just as any other phone on the market.

  • Google describes it as a "...curved glass screen...", however that may be misconstrued to mean a curved Super AMOLED display, which is a bit misleading.

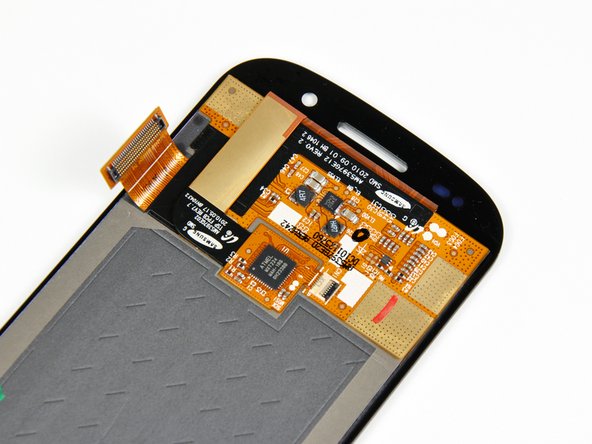
  • There's also a small PCB on the back of the display with an Atmel MXT224 touchscreen controller on it.

여기에 번역 삽입

여기에 번역 삽입

여기에 번역 삽입

여기에 번역 삽입

여기에 번역 삽입

귀하의 기여는 오픈 소스 Createive Commons 라이선스 하에 허가되었습니다.