소개
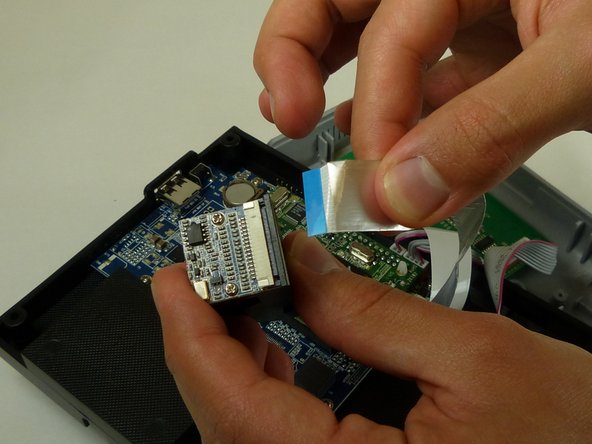
The fingerprint scanner reads the fingerprint of the employee being scanned. This guide will show you how to remove and replace the fingerprint scanner. Be careful not to damage the glass screen scanner.
필요한 것
-
-
Flip the device over.
-
Remove the four 10mm PH #2 screws by rotating the screwdriver counterclockwise, removing the screw from the housing completely.
-
-
-
-
Remove the two 7mm PH #1 screws from the fingerprint scanner mounting tab by rotating the screw driver counter clockwise, removing the screw from the housing completely.
-
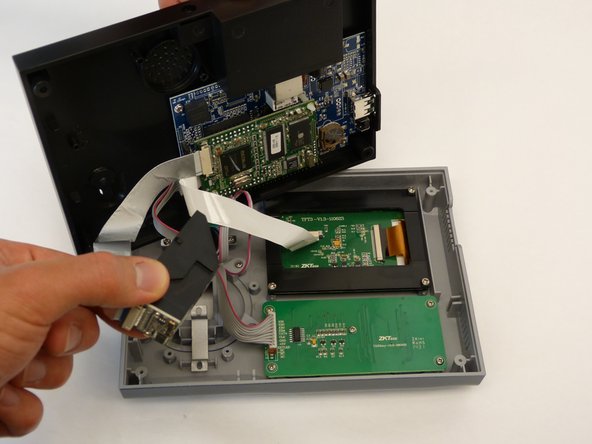
Remove the fingerprint scanner assembly from the unit by lifting the scanner up and away from the unit housing.
-


To reassemble , follow these instructions in reverse order.
To reassemble , follow these instructions in reverse order.
다른 한 분이 해당 안내서를 완성하였습니다.
팀

Idaho State University, Team S4-G1, Watkins Fall 2017 Idaho State University, Team S4-G1, Watkins Fall 2017 회원
ISU-WATKINS-F17S4G1
3 회원들
안내서 5개 작성하였습니다