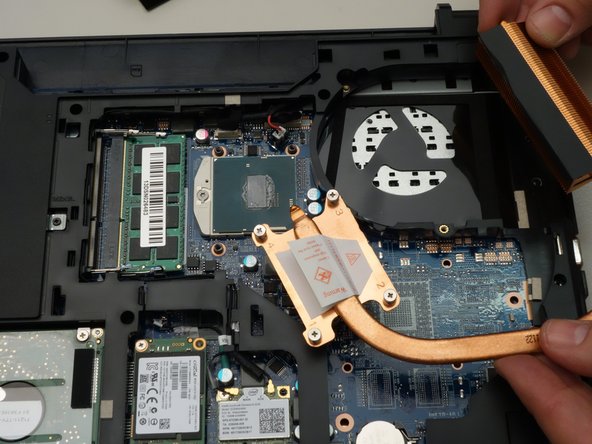
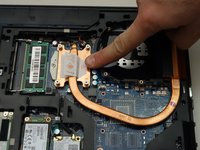
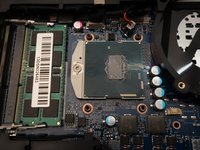
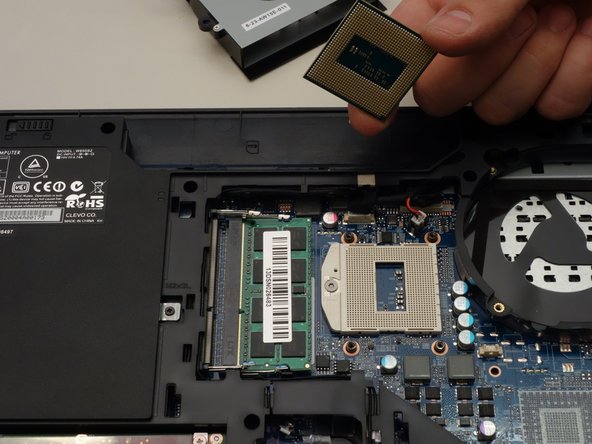
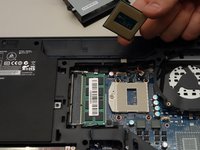
주요 콘텐츠로 건너뛰기

why! W650SZ CPU Replacement

필요한 것

  1. why! W650SZ CPU Replacement, Battery: 1 단계, 이미지 3개 중 1개 why! W650SZ CPU Replacement, Battery: 1 단계, 이미지 3개 중 2개 why! W650SZ CPU Replacement, Battery: 1 단계, 이미지 3개 중 3개
    • Slide the latch on the right to the unlocked position.

    • Slide the latch on the left to the unlocked position.

    • Remove the battery pack from the slot.

  2. why! W650SZ CPU Replacement, why! W650SZ Bottom Cover Replacement: 2 단계, 이미지 3개 중 1개 why! W650SZ CPU Replacement, why! W650SZ Bottom Cover Replacement: 2 단계, 이미지 3개 중 2개 why! W650SZ CPU Replacement, why! W650SZ Bottom Cover Replacement: 2 단계, 이미지 3개 중 3개
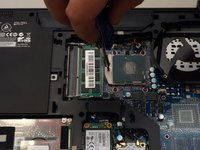
    • With your #0 Philips screwdriver remove the 2 screws from the bottom panel.

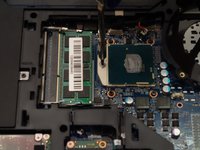
    • Now you can remove the bottom cover.

  3. why! W650SZ CPU Replacement, CPU: 3 단계, 이미지 3개 중 1개 why! W650SZ CPU Replacement, CPU: 3 단계, 이미지 3개 중 2개 why! W650SZ CPU Replacement, CPU: 3 단계, 이미지 3개 중 3개
    • Using a Phillips screwdriver, unscrew the four captive screws securing the heatsink to the motherboard.

    • Remove the heatsink.

    • The processor and its retention mechanism is now visible.

  4. why! W650SZ CPU Replacement: 4 단계, 이미지 3개 중 1개 why! W650SZ CPU Replacement: 4 단계, 이미지 3개 중 2개 why! W650SZ CPU Replacement: 4 단계, 이미지 3개 중 3개
    • Unlock the processor using a small Torx screwdriver by turning the lock 180 degrees counterclockwise

    • Make sure the locking latch is pointing in the opposite direction.

    • You can now carefully remove the processor from its socket.

결론

To reassemble your device, follow these instructions in reverse order.

다음 번역가들에게 특별히 감사 드립니다:

fr en

100%

Jerry Wheeler님은 저희가 세상을 수리하는데 동참하신 분입니다! 기여하시겠습니까?
번역 시작하기 ›

Felice Suglia

회원 가입일: 06/15/13

33,538 평판

안내서 283개를 작성함

0가이드 댓글

댓글 쓰기

조회 통계:

지난 24시간: 0

지난 7일: 1

지난 30일: 2

전체 시간: 242