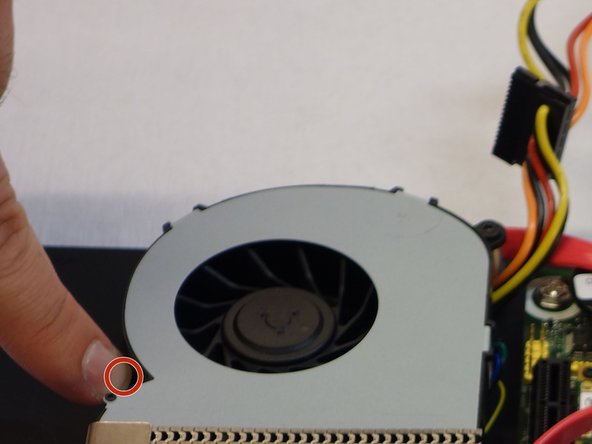
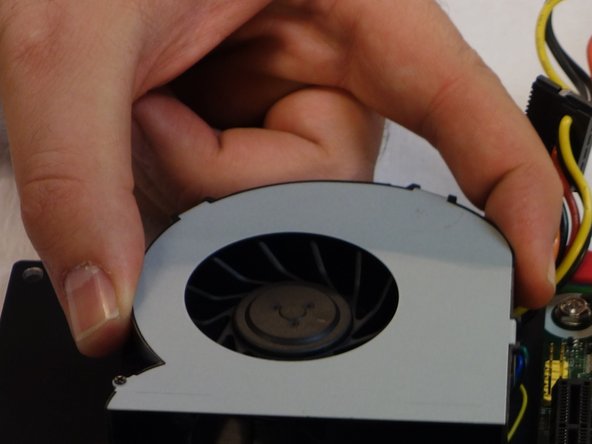
주요 콘텐츠로 건너뛰기

why! WDi7SSD fan replacement

필요한 것

  1. why! WDi7SSD fan replacement, why! WDi7SSD Opening procedure: 1 단계, 이미지 1/3 why! WDi7SSD fan replacement, why! WDi7SSD Opening procedure: 1 단계, 이미지 2/3 why! WDi7SSD fan replacement, why! WDi7SSD Opening procedure: 1 단계, 이미지 3/3
    • Make sure the computer is disconnected from the power source.

    • Flip the computer over.

    • Remove the six screws with a 2 mm Allen key.

    • Carefully remove the back panel, as well the left and right panel.

  2. why! WDi7SSD fan replacement: 2 단계, 이미지 1/1
    • Now flip up the base panel to which all components are attached.

  3. why! WDi7SSD fan replacement, Fan: 3 단계, 이미지 1/2 why! WDi7SSD fan replacement, Fan: 3 단계, 이미지 2/2
    • Remove the two Phillips PH2 screws on the fan.

  4. why! WDi7SSD fan replacement: 4 단계, 이미지 1/2 why! WDi7SSD fan replacement: 4 단계, 이미지 2/2
    • Remove the cable connecting the front part (with the LEDs) to the power source.

    • Remove that part of the case and its cable.

  5. why! WDi7SSD fan replacement: 5 단계, 이미지 1/3 why! WDi7SSD fan replacement: 5 단계, 이미지 2/3 why! WDi7SSD fan replacement: 5 단계, 이미지 3/3
    • Remove the four screws on the heat sink with a Phillips PH2 screwdriver.

    • Remove the heat sink.

  6. why! WDi7SSD fan replacement: 6 단계, 이미지 1/2 why! WDi7SSD fan replacement: 6 단계, 이미지 2/2
    • Carefully remove the fan together with its case.

    • Carefully remove the connector connecting the fan to the power source.

결론

In order to reassemble your device, follow the steps of this guide in reverse order.

다음 번역가들에게 특별히 감사 드립니다:

de en

100%

Maria Parker님은 저희가 세상을 수리하는데 동참하신 분입니다! 기여하시겠습니까?
번역 시작하기 ›

Felice Suglia

회원 가입일: 06/15/13

30,884 평판

안내서 264개 작성하였습니다

댓글 0개

댓글 쓰기

조회 통계:

24 시간 전: 0

7일 전: 2

30일 전: 4

전체 시간: 201