주요 콘텐츠로 건너뛰기

해당 분해도는 작업 중 입니다 – 최신 변경 사항을 보려면 주기적으로 다시 로드 하십시오!

필요한 것

  1. (TC) PlayStation Teardown, (TC) PlayStation Teardown: 1 단계, 이미지 1/1
    • Flip the unit upside down to access the six screws on the bottom.

    • Remove the six screws indicated with a Phillips-head screwdriver. All the screws are of the same length.

  2. (TC) PlayStation Teardown: 2 단계, 이미지 1/1
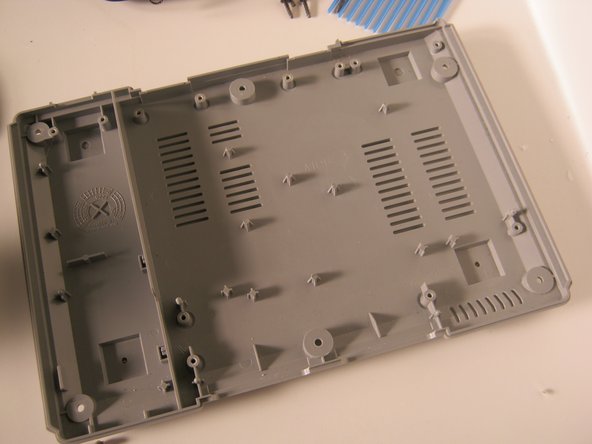
    • Turn the unit back over, and pull the top half up and away from the device.

  3. (TC) PlayStation Teardown: 3 단계, 이미지 1/1
    • Unplug the laser assembly's power cable and ribbon cable from the main board.

    • Remove the two screws on the memory card/controller port, disconnect the ribbon cable, and lift it out of the case.

  4. (TC) PlayStation Teardown: 4 단계, 이미지 1/2 (TC) PlayStation Teardown: 4 단계, 이미지 2/2
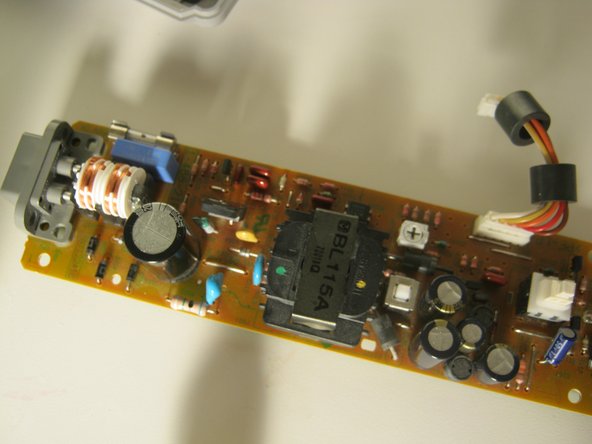
    • To remove the power supply, disconnect the cable and remove the two screws, then lift it out of the case.

  5. (TC) PlayStation Teardown: 5 단계, 이미지 1/2 (TC) PlayStation Teardown: 5 단계, 이미지 2/2
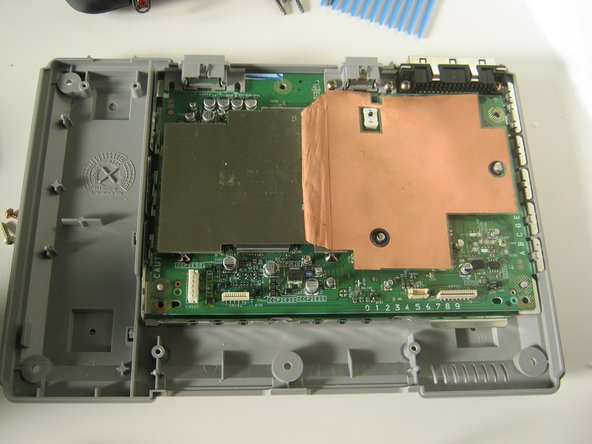
    • Remove the 3 screws from the shield.

  6. (TC) PlayStation Teardown: 6 단계, 이미지 1/2 (TC) PlayStation Teardown: 6 단계, 이미지 2/2
    • Remove the 5 Phillips screws.

    • You can now lift the main board out of the case.

  7. (TC) PlayStation Teardown: 7 단계, 이미지 1/2 (TC) PlayStation Teardown: 7 단계, 이미지 2/2
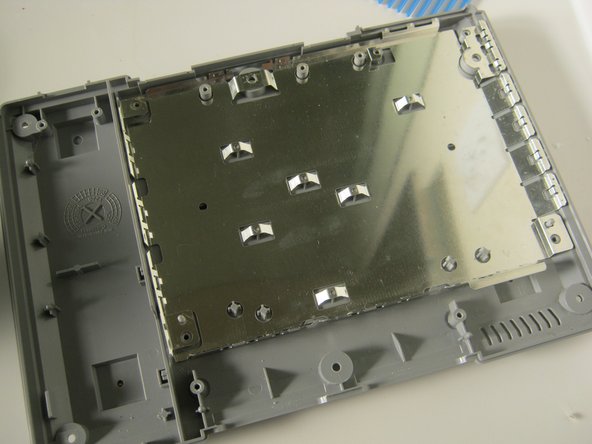
    • Lift the RF shield out of the case.

  8. (TC) PlayStation Teardown: 8 단계, 이미지 1/2 (TC) PlayStation Teardown: 8 단계, 이미지 2/2
    • Reinstall the RF shield by dropping it in and lining up the slots and tabs.

  9. (TC) PlayStation Teardown: 9 단계, 이미지 1/2 (TC) PlayStation Teardown: 9 단계, 이미지 2/2
    • Replace the main board. Only install the screws indicated in red.

  10. (TC) PlayStation Teardown: 10 단계, 이미지 1/1
    • Replace the top shield, and secure with the 3 screws indicated.

    • Reinstall the memory card / controller module. Connect the ribbon cable and replace the 2 screws.

  11. (TC) PlayStation Teardown: 11 단계, 이미지 1/1
    • Align the optical drive assembly with the three pegs.

    • Reconnect the power and data cables for the optical drive.

  12. (TC) PlayStation Teardown: 12 단계, 이미지 1/1
    • Slide the cover on the system in the same way you took it off and replace the black screws indicated.

  13. (TC) PlayStation Teardown: 13 단계, 이미지 1/1
    • Plug in the console and turn it on.

    • Thanks for looking at my teardown!

Nick

회원 가입일: 11/10/09

88,851 평판

안내서 49개 작성하였습니다

Master Techs Master Techs 회원

Community

322 회원들

안내서 2,535개 작성하였습니다

댓글 0개

댓글 쓰기

조회 통계:

24 시간 전: 0

7일 전: 8

30일 전: 28

전체 시간: 43,032