소개
I just wanna show you, how to dissasamble your Acer G246HL Desktop Screen.
필요한 것
-
-
Erster Schritt:
-
Schrauben enfernen (3)
-
Diese Befinden sich auf der Rückseite
-
Dazu einfach Fuß abmontieren und die sich darunter befindende Schraube herausdrehen.
-
Weiter gehts mit den nächsten beiden Schrauben, die sich an dem HDMI-Eingang befinden.
-
-
-
Bildschirmfrontabdeckung entfernen. Dieses ist mit 20 Clips fest verankert.
-
Für das abmontieren wird daher von mir ein Cover-openertool empfohlen.
-
Hierbei ist größte Vorsicht geboten, da sonst die Abdeckung zerbricht. Ich sprecher hier aus Erfahrung.
Remove the screen front cover. This is firmly anchored with 20 clips.
For the dismantling is therefore recommended by me a cover openertool.
Care should be taken when the cover breaks. I speak here from experience.
Richard D. - 답글
-
-


댓글 한 개
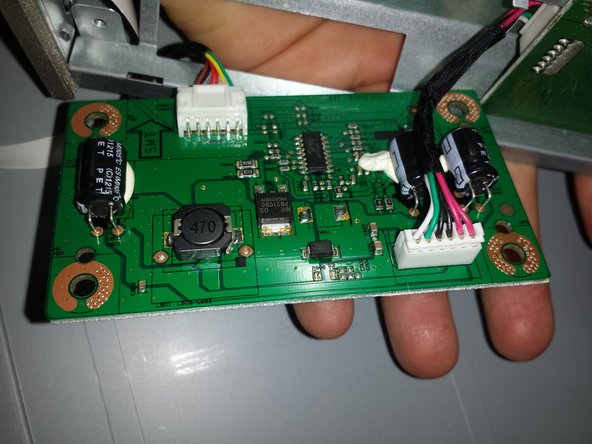
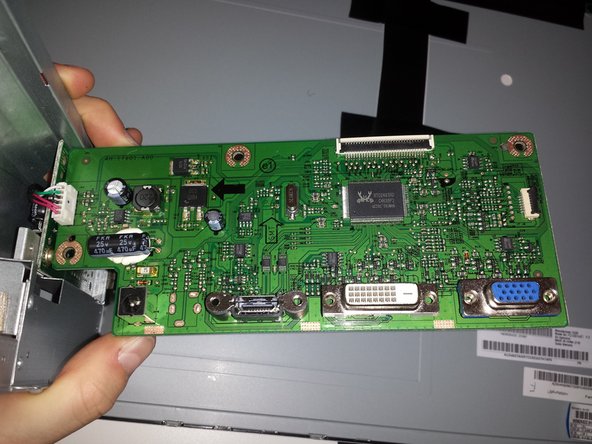
Protip for all of you who experience problems turning the monitor on and that orange flickering light when trying so:
REPLACE ALL THE CAPACITORS (at least the bigger ones) IFIXT IT two times this way
First step:
Remove screws (3)
These are on the back
Simply remove the foot and unscrew the screw below.
Continue with the next two screws, which are at the HDMI input.
Richard D. - 답글