주요 콘텐츠로 건너뛰기

필요한 것

해당 분해도는 수리 안내서가 아닙니다. Actiontec Q1000 DSL Modem 수리는 저희 서비스 설명서를 사용하십시오.

  1. Actiontec Q1000 Teardown, Actiontec Q1000 Teardown: 1 단계, 이미지 1/3 Actiontec Q1000 Teardown, Actiontec Q1000 Teardown: 1 단계, 이미지 2/3 Actiontec Q1000 Teardown, Actiontec Q1000 Teardown: 1 단계, 이미지 3/3
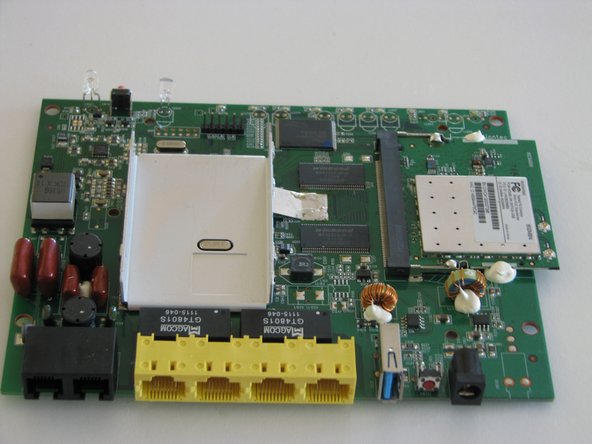
    • The Qwest Q1000 modem, made by Actiontec.

    • Port side with antennas detached.

    • DSL and Phone in ports

    • 4 Ethernet ports

    • USB port, reset button, and power jack

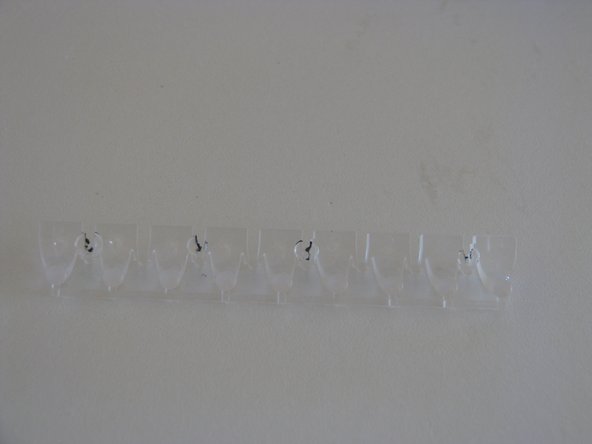
    • Not a screw in sight.

  2. Actiontec Q1000 Teardown: 2 단계, 이미지 1/3 Actiontec Q1000 Teardown: 2 단계, 이미지 2/3 Actiontec Q1000 Teardown: 2 단계, 이미지 3/3
    • As usual, the rubber feet are hiding screws!

  3. Actiontec Q1000 Teardown: 3 단계, 이미지 1/3 Actiontec Q1000 Teardown: 3 단계, 이미지 2/3 Actiontec Q1000 Teardown: 3 단계, 이미지 3/3
    • Nothing really to see here...

    • Remove the 2 antenna wires from the wifi card. One is also taped to the back of the board.

    • The circuit board is finally free!

  4. Actiontec Q1000 Teardown: 4 단계, 이미지 1/2 Actiontec Q1000 Teardown: 4 단계, 이미지 2/2
    • Looks like someone was generous with the thermal paste.

    • Underneath the cover:

    • Broadcom BCM6366

    • Broadcom BCM53115

  5. Actiontec Q1000 Teardown: 5 단계, 이미지 1/2 Actiontec Q1000 Teardown: 5 단계, 이미지 2/2
    • The Wi-Fi card lets down its shield...

    • The chip is a BCM4322.

  6. Actiontec Q1000 Teardown: 6 단계, 이미지 1/2 Actiontec Q1000 Teardown: 6 단계, 이미지 2/2
    • The inside of the top case.

    • The antenna connectors are screwed onto the case.

  7. Actiontec Q1000 Teardown: 7 단계, 이미지 1/2 Actiontec Q1000 Teardown: 7 단계, 이미지 2/2
    • The antenna connectors have gold-plated coax connectors and standard Wi-Fi antenna connectors.

    • What's underneath the heat-shrink? A ferrite bead to minimize interference.

  8. Actiontec Q1000 Teardown: 8 단계, 이미지 1/3 Actiontec Q1000 Teardown: 8 단계, 이미지 2/3 Actiontec Q1000 Teardown: 8 단계, 이미지 3/3
    • Testing out the light pipe with an LED throwie...

    • The light pipe takes light from tiny surface-mount LEDS on the motherboard and refracts it to the panel.

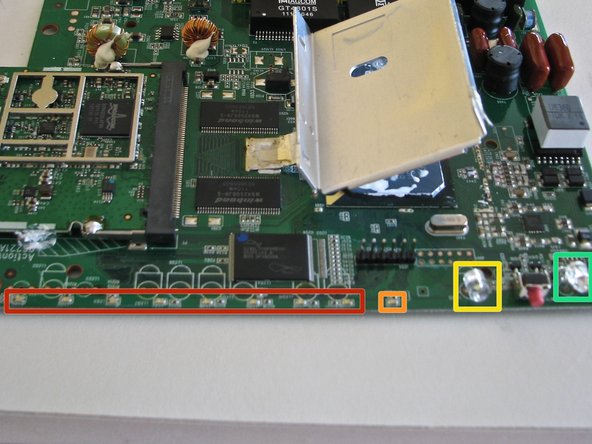
    • Here are all the LEDS:

    • 8 of the LEDS that work with the light pipe

    • One more surface mount LED

    • A white LED for illuminating the Qwest logo

    • A dual-color (red/green) LED for the WPS status indicator.

  9. Actiontec Q1000 Teardown: 9 단계, 이미지 1/3 Actiontec Q1000 Teardown: 9 단계, 이미지 2/3 Actiontec Q1000 Teardown: 9 단계, 이미지 3/3
    • The empty shell that once held a DSL modem.

    • The 2 detachable Wi-Fi antennas. Nothing to tear down here!

  10. Actiontec Q1000 Teardown: 10 단계, 이미지 1/1
    • Repairability score: 8/10

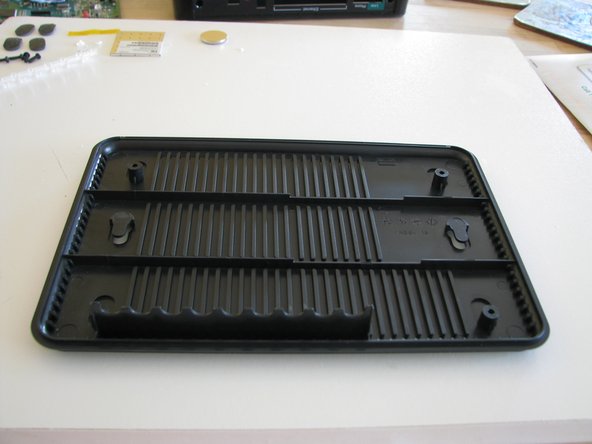
    • The entire device is held together with only 4 screws.

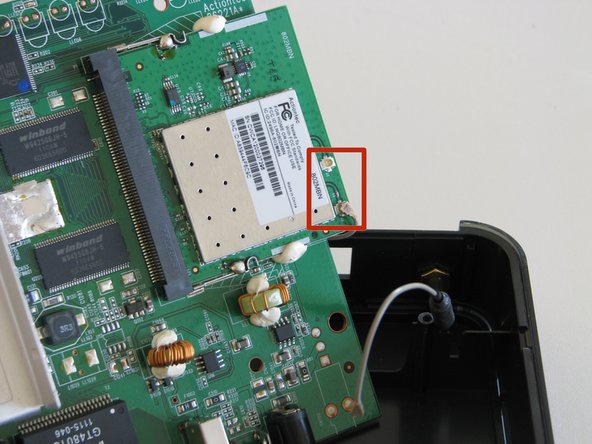
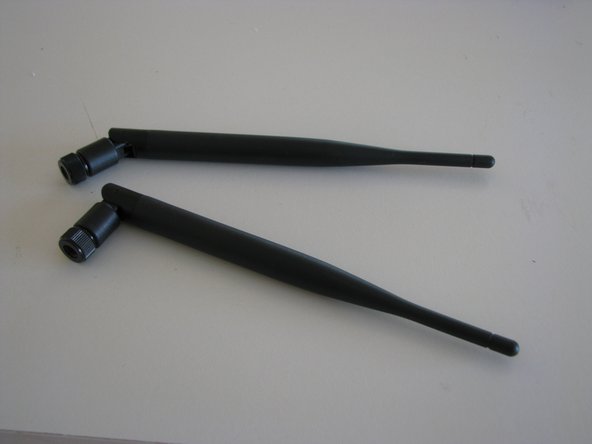
    • The Wi-Fi antenna connectors are screwed in and the cables are not soldered to the board.

    • The antennas are replaceable as well.

    • The heat sink is soldered in place, making removal difficult.

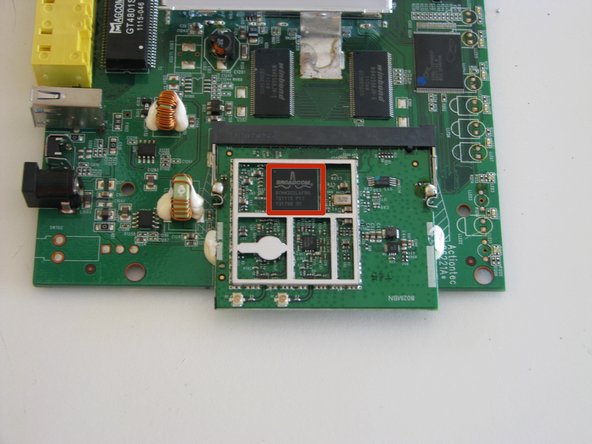
    • The Wi-Fi card is soldered in and held in place with silicon adhesive, making it impossible to remove without damaging the card or the device.

jdp23

회원 가입일: 08/22/13

1,302 평판

안내서 23개 작성하였습니다

댓글 3개

Awesome teardown! These things have gotten so simple. Those antennas would be pretty easy to repurpose for something else.

Kyle Wiens - 답글

What are the part number, volts, and amps of the power supply?

PDXTek - 답글

Hello. I have one of these that I want to switch the antenna for. Are you able to tell me which of the antenna wires is the positive and neutral (I realize the antenna itself doesn’t have positive & neutral, but I don’t know the relevant term). Both wires are grey and hooked together so it’s not easy to tell

https://d3nevzfk7ii3be.cloudfront.net/ig...

earthscope - 답글

댓글 쓰기

조회 통계:

24 시간 전: 0

7일 전: 1

30일 전: 9

전체 시간: 6,581