소개
I am Arijit Guha, a computer science engineer by profession and I have taken apart every gadget I have ever come across in my life. I own this device and this one is no exception.
필요한 것
-
-
Unscrew all the 14 screws. There are two strips of adhesive running top to bottom beside the sim card slots so be patient and slowly remove the rear cover.
-
-
-
The battery connector is the connector at the right of the motherboard. Above the battery, there is a bridge connector which connects the mainboard with the sub board at the bottom. So remove both the cables. There is a slight adhesive below the battery. Cut through it with a plastic spudger and it will come out.
-
The sub board has the antenna terminals also and prior to removing the battery, the antenna cable needs to be removed as well. Gently disconnect the coaxial cable from both the motherboard and the sub board.
-
-
-
-
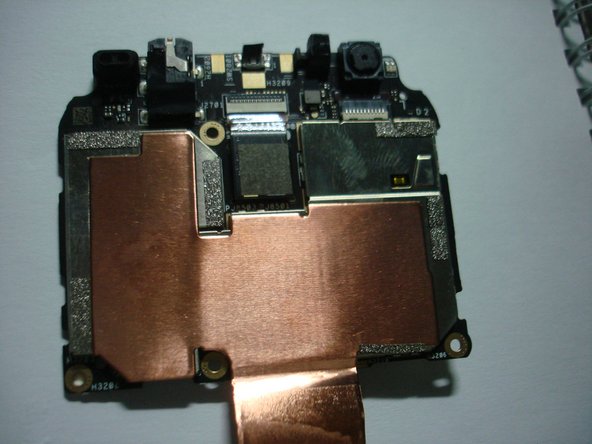
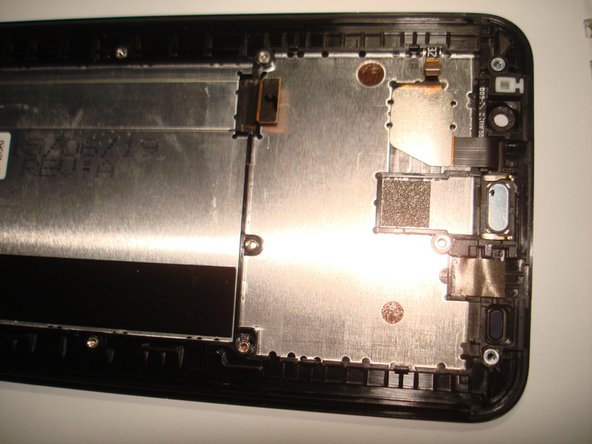
Remove the copper tape adhered to the mid-frame. The motherboard is held to the mid-frame using 4 plastic clips. I found that starting to pry up the motherboard from the right is easier than from the left. Just apply mechanical sense and you will get the motherboard out in no time.
-
Make sure not to bend the motherboard from too much pressure.
-
-
-
The battery is rated at 3.85V, 11.5 Wh. The capacity is 2900 mAh minimum and 3000 mAh typical.
-
-
-
Removing the shields from the motherboard will expose the components.
-
Bottom side components:
-
SK Hynix H26M52103FMR 16 GB eMMC 5.0 flash memory
-
Intel 8818 XGold 223
-
Intel PMB 5747 RF Controller
-
SkyWorks 77627-11 Network Power Amplifer Module
-
Murata 6PH47
-
Qualcomm SMB 1357 Quick Charge 2.0 IC
-
-
-
Intel PMB 6830 - Power Management IC
-
Winbond W978H6KBVX2E - 256Mb Low Power DDR2 SDRAM used for aiding the baseband processor.
-
Intel PMB 9933 Baseband processor
-
SK Hynix H9CKNNNCPTMR - 4 GB LPDDR3 RAM with the Intel Atom Z3560 processor layered underneath as PoP.
-
Realtek ALC 5647 audio chip.
-
Broadcom BCM4339XKUBG - Dual band WiFi controller.
-
The proximity sensor, notification LEDs and the 3.5 mm audio jack are all soldered to the motherboard.
-
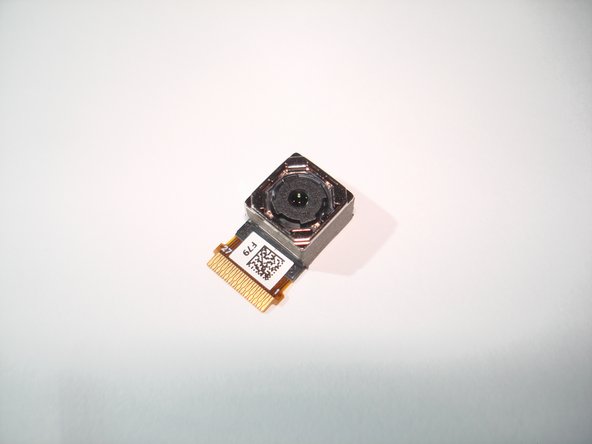
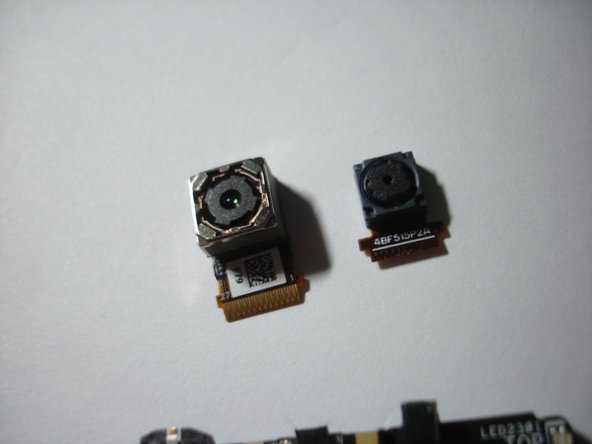
The front and rear cameras can be easily removed from the motherboard
-


댓글 6개
Quick charging not work..already change daughterboard and bridge still same problem.can u help me sir?
miro alone - 답글
I intend to replace the touchscreen, but noticed there are 2 versions available: TM and AUO (marked on the lower cable). Do you what's the difference and whether the 2 are interchangeable?
Thanks
Hello Cristian,
TM (Tianma) and AUO (AU Optronics) are two OEMs who manufactured the LCD in the time. The AUO display is known to get faulty after sometime (vertical lines and flickering issue). So I would highly recommend the TM one. I have the TM and it has been more than 4 years. The display is still good as new.
I have some more part symbols on my ASUS Zenfone 2, ZE550ML motherboard. They are pretty many. Can you please suggest, if I take their names on a photo, how to send them for your clarification please?.Thanks and Regards.
Hello there, you can upload the photos on Google Drive, make them public and post a link here.