소개
Any worthy EE has a function generator in one way or another, such as a PIC to make some square waves, to an oscillator of sorts. After a while you want to get yourself a real function generator with frequency control and voltage control, as well as the option of a saw tooth wave, sine wave, or pulse wave, with duty cycle control of course! Today's function generators are complex multi-hundred dollar beauties, but the function generators of years ago are easy to understand in theory and best of all, almost fully DIP!
필요한 것
-
-
I got this function generator off ebay for fifty dollars including shipping, and it arrived all working. If it was in spec or not I am not exactly sure, but on my scope it seemed well within operating condition.
-
Here is what it looks like usually, just sitting on the scope.
-
It does actually work, 20 Khz square waves look good on the scope.
-
-
-
One cool function of these function generators is how easy it is to switch from what input voltage to use. Moving to another country? Don't want to buy a power converter? Just open it up and change what prong the cable is connected to! Easy
-
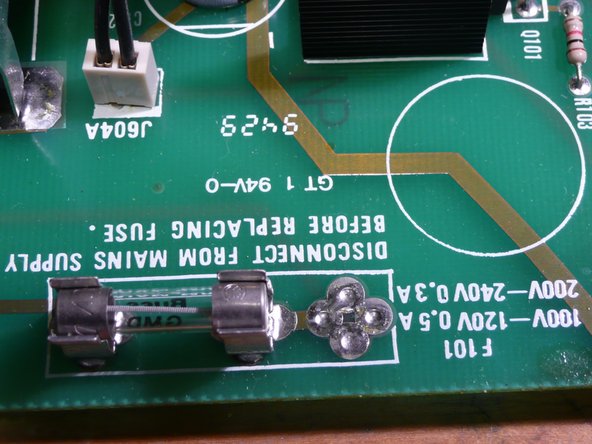
They even have the appropriate fuse footprints for easy changing of fuses for different countries. The reason you see the "star" footprint to the right of the fuse is to accommodate the longer fuses, which I believe are for 240v, but I am not sure. I do know for sure that it is meant for longer fuses though.
-
-
-
Top of the PCB. On the bottom right you can spot the transformer that steps down the voltage from mains to a more manageable voltage (probably 24v). Above the transformer we spot two heatsinked chips and to the left of the transformer we spot another heatsinked component. It is safe to assume that they are voltage regulators, one of which is adjustable (probably a variant of the LM137) that is controlled by the knob for amplitude.
-
The reason for you seeing so much wires everywhere is because the boards are all two layer, which means that there are only two layers (top and bottom) that copper tracks can go on. Thanks to advances in PCB manufacturing technology, we can go up to 26 layers, which results in less wires hanging around like that.
-
The yellow wire going from the big metal thing on the bottom right (Mains plug) is the grounding wire. If you ever poke around with equipment and leave that wire disconnected, it is VERY dangerous. It is there for your protection, and believe me, if they didn't have a good reason for that wire then they wouldn't put it in there, as it does increase the price of assembly significantly.
-
-
-
-
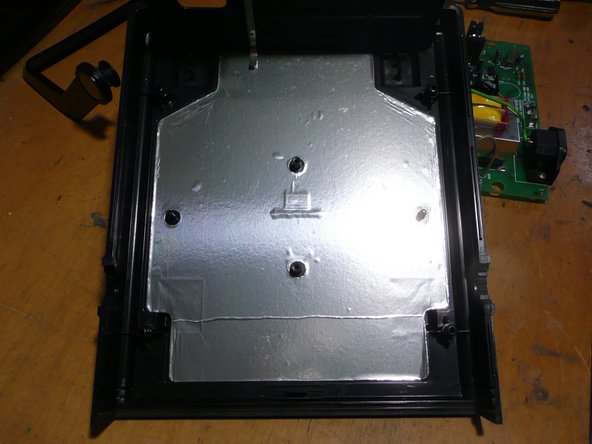
Back of the PCB. The metal tab you see sticking out of the boards towards the middle is connected to the metal shielding shown in the earlier steps (step 3).
-
As you can see, there is a lot of unused space on the board, specifically on the bottom left. There are a few reasons for that,mainly due to there is mains (120v +) in that general location, and as a safety concern only necessary traces go there. In most of todays electronics you see what is called a "ground power" or a "power plane". Instead of having traces for ground and power, they use the empty space on the board for copper connected to ground or power. It helps immensely in power distribution and a ground plane is often necessary in high speed electronics for proper current return.
-
-
-
In most if not all test equipment there has to be a protection of sorts on the input to the hardware. The topic itself of circuit protection from excessive voltages and currents is vast, and there are many techniques for it, but this is an example of a proven and simple technique.. A fuse is tied to the output, so if you accidentally short the output to ground, instead of burning the inside electronics due to excessive current, the fuse "pops" first.
-
-
-
The left is a PNP transistor (TIP32C) and the right is a 15V linear voltage regulator (LM7815), but that is not the reason I took the picture. Look at the middle pins on the packages, they have a little tube around the legs. I am not sure, but I guess it is to prevent a short if something metallic fell near the legs.
-
-
-
Here is one last shot of the function generator, showing you all the components. Funny thing, when the entire unit is assembled, the component side of the PCB faces DOWN, not up, first time I have ever seen something like that.
-
If you want to see the discussion surrounding this unit, such as ideas on the grid pattern shown in step 8, feel free to contribute in the thread.
-