소개
Step-by-step teardown process for Breville Smart Kettle.
Contributing Members:
- Campbell Hatton-Ward
- Hamish McFarlane
- Jye Brien
필요한 것
-
-
This 1.7 capacity kettle knows the ideal temperature for tea or coffee. 5 varietal settings brew at the right temperature for Black, Green, White and Oolong Tea and French press coffee.
-
Product specifications:
-
Dimensions: 23.2 x 156 x 25 cm
-
Construction Materials: Stainless Steel
-
Capacity: Large 1.7 L / 7 cup capacity
-
Settings: 5 temperature settings (Green Tea, White Tea, Oolong Tea, Black Tea, Coffee).
-
The Kettle has 2 major components - The electric base and the water compartment. The guide will follow individual teardowns for each compartment - starting with the main water compartment.
-
-
-
Begin teardown by flipping the kettle upside down. You will see 3 small triangle head security screws (shown in red circles) holding a plastic casing for the base.
-
Remove each screw with a small triangle head screwdriver.
-
The plastic casing should then easily lift off base.
-
-
-
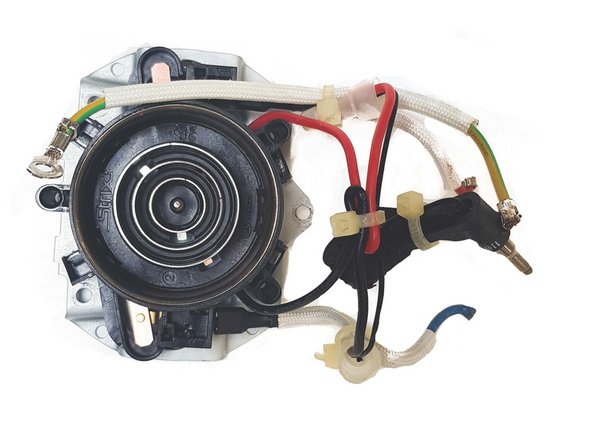
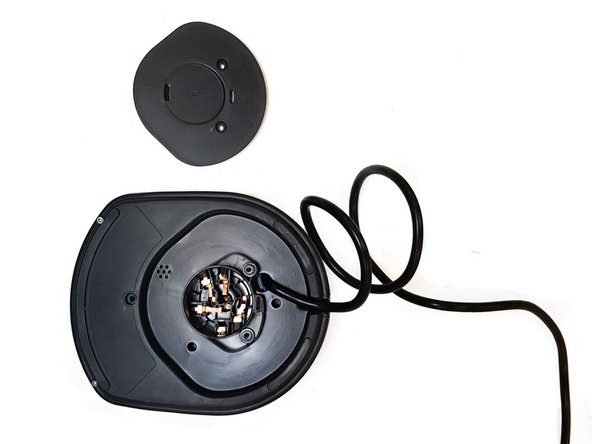
Now we will remove the heat/steam sensor.
-
Use a small phillips head screwdriver to remove 5 screws (shown in red circles).
-
Use the wire cutters to cut any necessary wires holding the sensor in place.
-
Once all these items are free, the sensor should be easy to remove from base.
-
-
-
The plastic view windows on the sides of the kettle can now be pushed into the kettle to remove them.
-
They are only held in place with the rubber seal surrounding them and are fairly easy to push in.
-
-
-
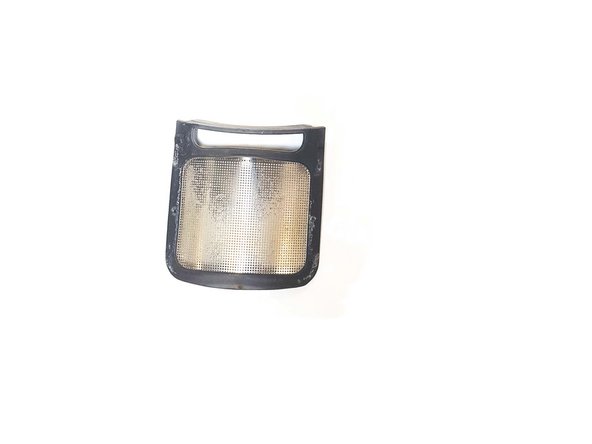
Remove the debris filter from the kettle by lifting the tabs on the bottom and pulling the whole assembly out.
-
The filter grill can also be removed from the housing by sliding it out upwards.
-
-
-
Now we can start to disassemble the lid on. Start by opening the lid and removing the rubber gasket around it
-
The whole lid and hinge assembly can now be removed with these 3 screws.
-
-
-
-
The lid can now be disassembled further by pressing the clear piece up and out of the lid body.
-
All of these lid components require no tools as they are press-fit or held together with adhesive.
-
-
-
Once the 3 screws from the hinge are removed, the handle assembly can be pulled off easily.
-
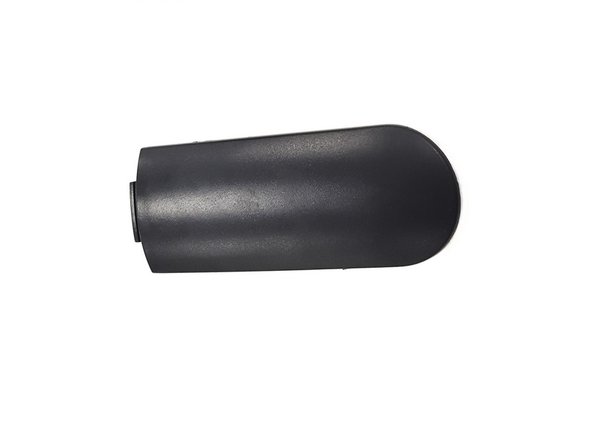
The smaller black piece of plastic that is below the handle can now be pried off with a screwdriver or a chisel.
-
This small piece is only there for aesthetics and is glued on with adhesive.
-
-
-
Removing the ring on the inside of the kettle is done by bending back the three tabs holding it down with a screwdriver or long needle nose pliers.
-
The ring can then be lifted out.
-
-
-
Next, remove the 2 lower phillips head screws (circled in red) with the small phillips head screwdriver.
-
Lift off the base plastic casing for the heating element. You will notice that the power cord is still threaded through the lid.
-
Cut the cord with the wire cutters and remove it from casing.
-
-
-
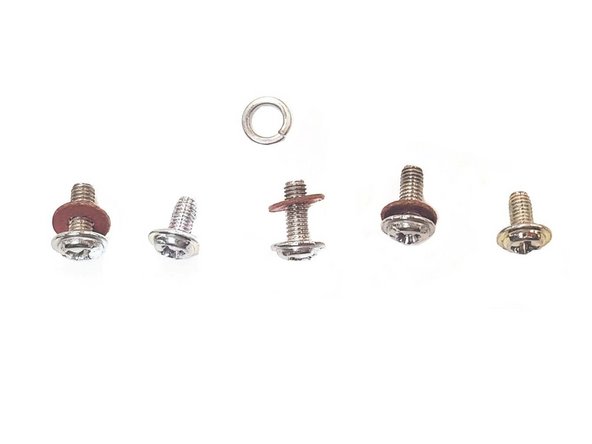
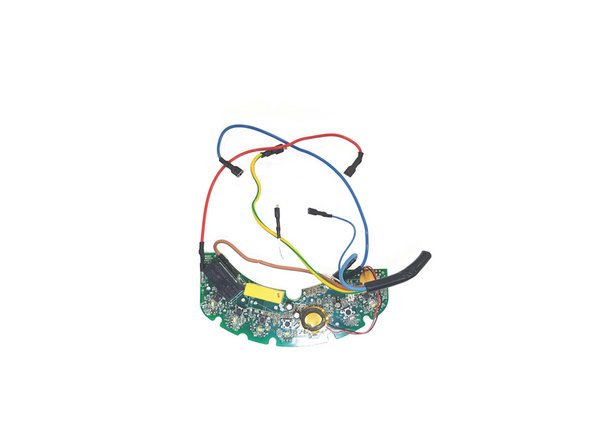
Unscrew and remove the 6 phillips head screws (displayed in the red circles). 2 of the screws will be apart of a bracket fixture. Once removed, also remove the small plastic bracket.
-
To remove the PCB (Printed Circuit Board) you will need to use 2 long, thin tools to press a latch - we used 2 screw drivers. Apply inward pressure at the inserts shown on image (red arrows) and pull PCB plug outwards at the same time. With some applied force, the PCB should eventually release.
-
With the wire cutters, cut any necessary wires that connect the heating component to the plastic casing.
-
Once all these fixtures are removed, the heating element should seperate from the plastic base.
-
-
-
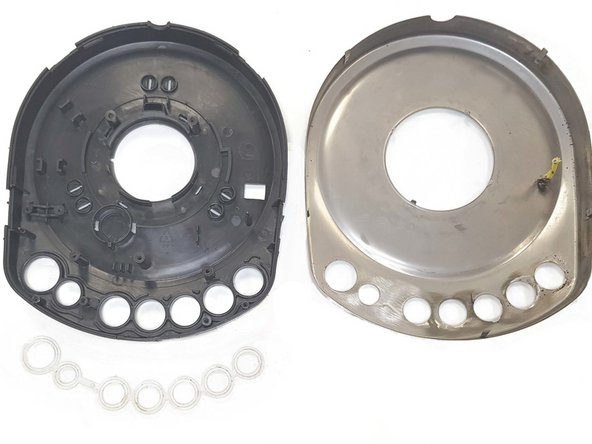
Next step is to remove the Stainless steel frame from the plastic mould
-
As part of the steel frame, there are 9 extended thin tabs (red circles) that wrap around the plastic mould to hold it in place.
-
Lift these tabs vertically and then separate the metal from plastic.
-
You will find thin rubber protection between the layers in areas where required. Separate them also.
-
-
-
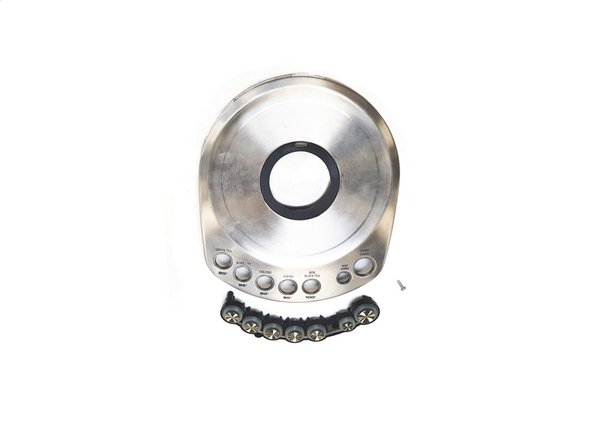
Next, we will disassemble the button assembly by putting each component apart.
-
Begin by removing the metal button rivets.
-
Afterwards the plastic padding should be easily pulled off.
-
The clear plastic female rivets should twist out of place and also be removed easily.
-
This completes the teardown for the kettle base.
-
-
-
Final layout once teardown is complete showing all components
-


댓글 6개
Excellent post. Expecting more posts like this. Talking about electric kettles I would like to mention here about nestofbest.com which gives the ten best electric kettles that will be suitable for kitchen.
Need repair manual for for breville kettle vjk956.
The temperature must be signalled via those 2 thiner wires (thin white and blue wires in step 12). The most fragile parts here are those most frequently pressed micro-switches - power and keep warm in my case. Will have to re-solder them carefully, since the logic started to interpret clicks a bit randomly, like you push power - it doesn’t work, push a bit harder - it starts to change temperatures. Switches are factory soldered as deep as possible, thus will need to take extra care unsoldering them working each contact with some wooden stick and running fast between contacts with soldering iron…
All are very clean , thank you .