소개
This is a teardown of a Brother P-Touch PT-M95 label maker that has taken a fall from a shelf, resulting in the side button that is used for cutting the printed label to break off. The purpose of this teardown is to provide information for owners of this label maker and to harvest working spare parts from the device.
필요한 것
-
-
This is the Brother P-Touch PT-M95 label maker. You should see a blue button on the top left, but if you read the intro, that's really the whole reason I'm doing this teardown.
-
The model number is located on both the inside and outside of the P-Touch PT-M95 back case.
-
-
-
Just the basic stuff here. Remove the back by pressing down on the top and pulling away from the device until the top separates.
-
Then, start by removing the m-tape module.
-
Then remove the AAA batteries.
-
-
-
Time to take out the screwdrivers now. All of the black screws are P1 Phillips, while all the smaller silver ones are P00 Phillips.
-
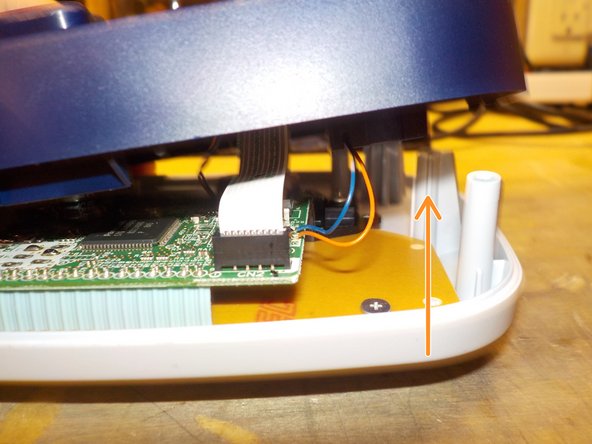
Lift the midframe SLOWLY as there are 2 sets of wires and a flex cable connected. Unfortunately, the 2 sets of wires are soldered to the board. Just carefully unplug the flex cable using tweezers, needle nose pliers, or your fingers, whichever you prefer.
-
-
-
-
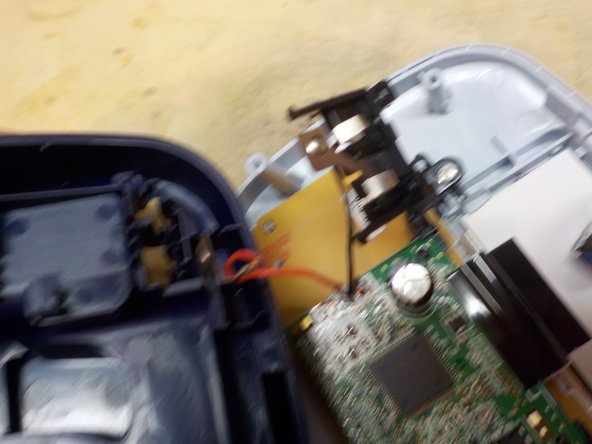
This is the inside of the midframe. If you want to remove the gears, which is needed for the next step, Pull sideways on the little clip to remove it, then lift the gears out.
-
To complete the separation of the board from the midframe, you can remove the battery connections by pulling up on them until they come out while carefully de-routing the cables.
-
-
-
Start by removing any buttons and metal springs around the edges.
-
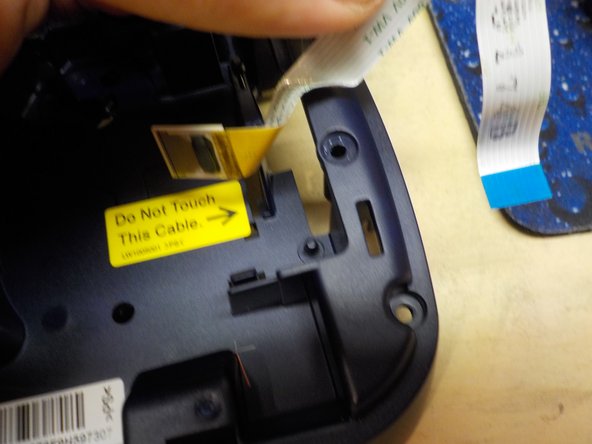
Then, if you choose to do so, you can unstick the label tape cartridge reader thing (I really don't know) from the plastic and unroute the flex cable.
-
-
-
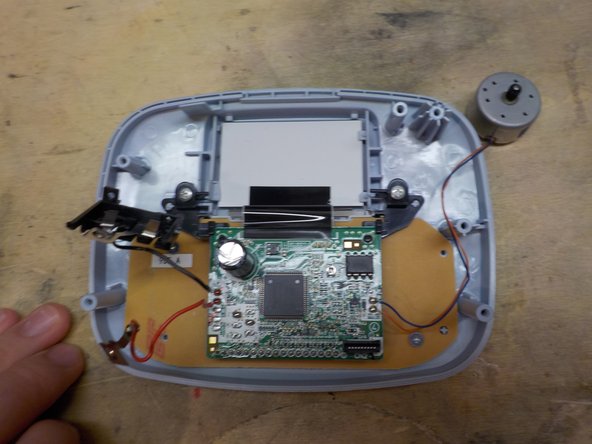
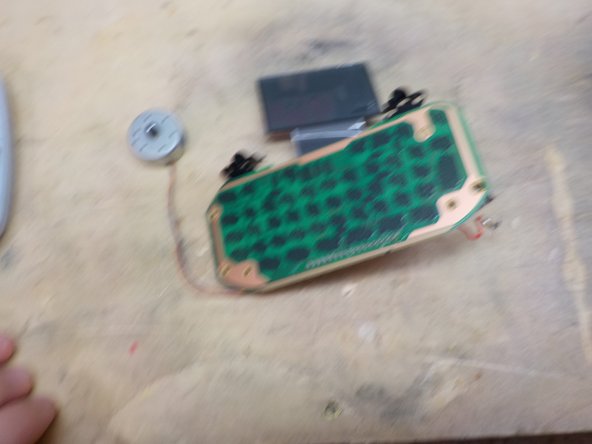
This is the main working pieces of the whole thing. You will see the following parts inside:
-
Screen (custom monochrome thing, soldered to board)
-
Keyboard. Membrane below.
-
Unknown chip of some kind on the main logic board that I assume is the CPU
-
Flex cable connector for the tape reader thing I mentioned last step.
-
Motor
-
Battery connections.
-
-
-
The 2 screws next to the display are P1, while the 1 on the keyboard is a P00, all Phillips. Go ahead and remove these now. Don't lift the parts out first though, as the screen is clipped in place.
-
After you have removed the screen, the board can be lifted out, minding the screen and motor attached.
-
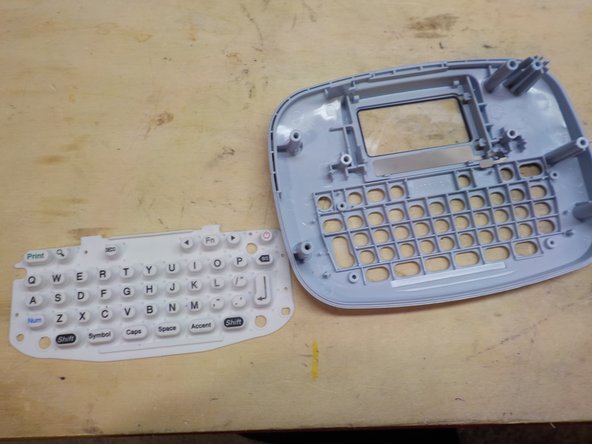
Finally, the keyboard membrane can be removed by carefully bending the metal retaining thing out of the way and then lifting the rubber membrane straight out.
-
-
-
These are all the parts laid out. I can tell this label maker wasn't designed to be repaired, but at the same time wasn't designed to not be repaired, either.
-
To reassemble, follow the steps in reverse order with a few potential extra steps to mount the motor.
-