주요 콘텐츠로 건너뛰기

필요한 것

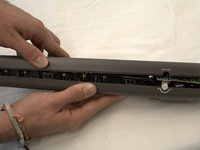
해당 분해도는 수리 안내서가 아닙니다. Electronics 수리는 자사의 서비스 설명서를 사용하세요.

  1. CCI Smart Strip 04941 Teardown, CCI Smart Strip 04941 Teardown: 1 단계, 이미지 1개 중 1개
    • The Assembled Product, unplugged from wall

  2. CCI Smart Strip 04941 Teardown: 2 단계, 이미지 2개 중 1개 CCI Smart Strip 04941 Teardown: 2 단계, 이미지 2개 중 2개
    • Turn Smart Strip upside down and locate four screw holes in corners

    • Unscrew four corner screws with #0 Phillips Screwdriver

  3. CCI Smart Strip 04941 Teardown: 3 단계, 이미지 2개 중 1개 CCI Smart Strip 04941 Teardown: 3 단계, 이미지 2개 중 2개
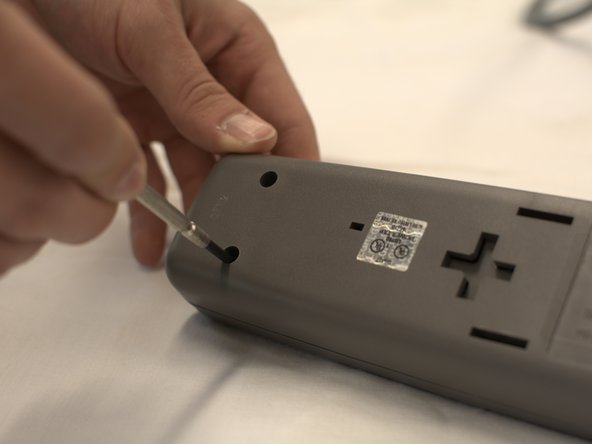
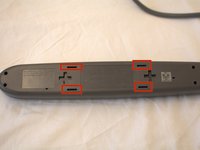
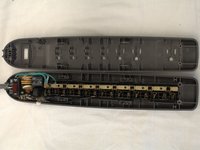
    • Locate four latch slots in case

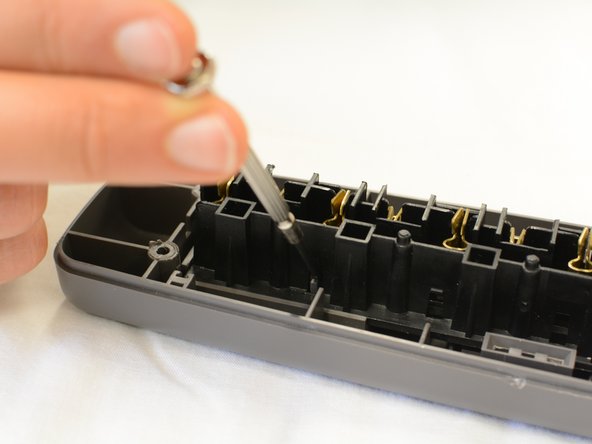
    • Use 2.4mm Slotted Screwdriver, put tip into center of slot, with tip on outer edge of slot, and press inward

  4. CCI Smart Strip 04941 Teardown: 4 단계, 이미지 2개 중 1개 CCI Smart Strip 04941 Teardown: 4 단계, 이미지 2개 중 2개
    • Take two halves of case apart with your hands

  5. CCI Smart Strip 04941 Teardown: 5 단계, 이미지 1개 중 1개
    • Lift Ground Copper Strip upward off of power plugs by hand

  6. CCI Smart Strip 04941 Teardown: 6 단계, 이미지 2개 중 1개 CCI Smart Strip 04941 Teardown: 6 단계, 이미지 2개 중 2개
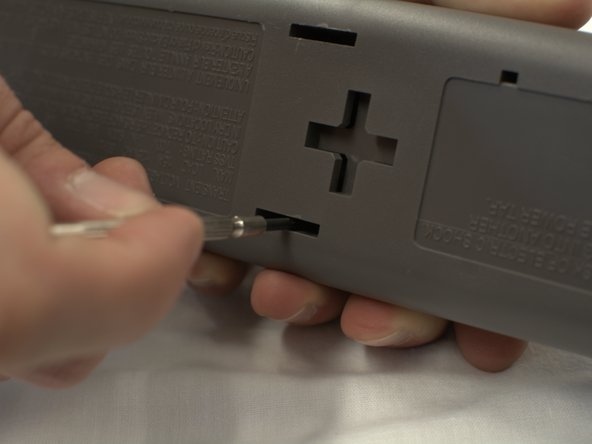
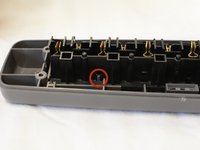
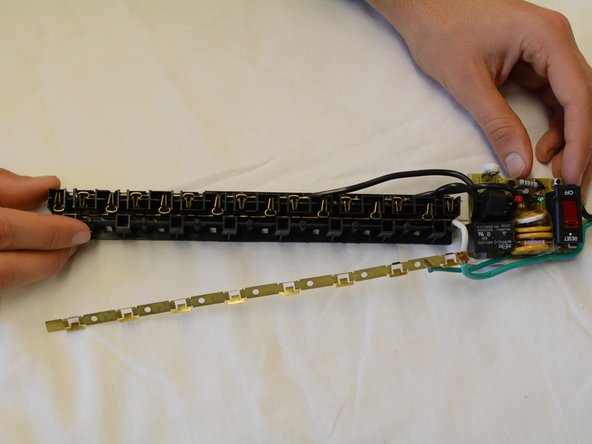
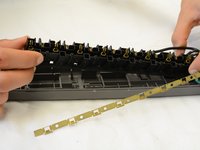
    • Locate latch securing power plugs to bottom of case

    • Using slotted 2.4mm screwdriver, pry latch away from power plugs to loosen power plugs

  7. CCI Smart Strip 04941 Teardown: 7 단계, 이미지 2개 중 1개 CCI Smart Strip 04941 Teardown: 7 단계, 이미지 2개 중 2개
    • Lift power plugs out of bottom of case along with circuit assembly

작성자

4다른 기여자 명과 함께

nils smith

회원 가입일: 11/14/13

194 평판

안내서 1개를 작성함

2가이드 댓글

This is great! Thanks so much!

nils smith - 답글

that awesome and i like how it fix

Joseph donkor - 답글

댓글 쓰기

조회 통계:

지난 24시간: 7

지난 7일: 67

지난 30일: 296

전체 시간: 3,936