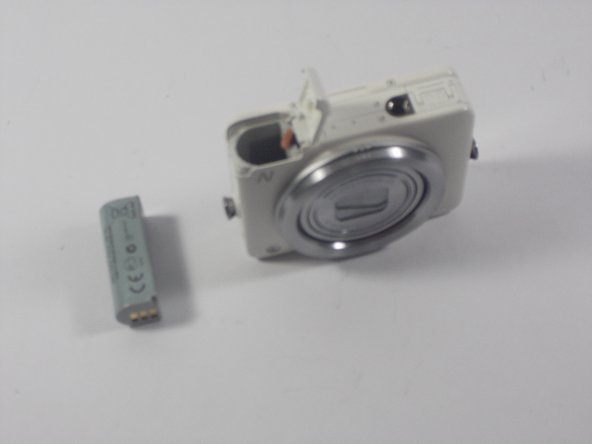
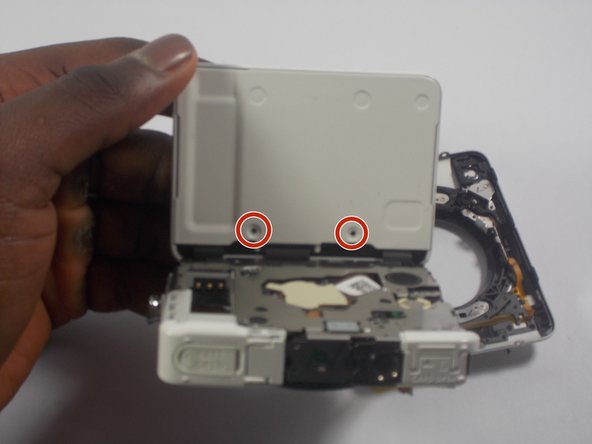
주요 콘텐츠로 건너뛰기

필요한 것

해당 분해도는 수리 안내서가 아닙니다. Canon PowerShot N 수리는 저희 서비스 설명서를 사용하십시오.

  1. Canon PowerShot N Teardown, Canon PowerShot N Teardown: 1 단계, 이미지 1/1
    • Locate battery housing cover.

  2. Canon PowerShot N Teardown: 2 단계, 이미지 1/1
    • Place finger on the textured portion of battery housing cover and slide cover in the direction indicated.

  3. Canon PowerShot N Teardown: 3 단계, 이미지 1/1
    • Find beige tab and push it away from the battery.

  4. Canon PowerShot N Teardown: 4 단계, 이미지 1/2 Canon PowerShot N Teardown: 4 단계, 이미지 2/2
    • Remove battery from battery slot with fingers.

  5. Canon PowerShot N Teardown: 5 단계, 이미지 1/1
    • Using a PH000 size screwdriver, unscrew four screws beneath screen.

  6. Canon PowerShot N Teardown: 6 단계, 이미지 1/1
    • Remove 2 screws on the bottom of the camera.

  7. Canon PowerShot N Teardown: 7 단계, 이미지 1/1
    • Remove 2 screws from the side of the camera with the on and off buttons.

  8. Canon PowerShot N Teardown: 8 단계, 이미지 1/1
    • Remove the back plate.

  9. Canon PowerShot N Teardown: 9 단계, 이미지 1/1
    • Locate 2 screws on “on/off” side of the camera and unscrew them.

  10. Canon PowerShot N Teardown: 10 단계, 이미지 1/1
    • Locate 2 screws on the other side of the camera and remove them.

  11. Canon PowerShot N Teardown: 11 단계, 이미지 1/1
    • Remove one screw from the bottom of the camera.

  12. Canon PowerShot N Teardown: 12 단계, 이미지 1/1
    • Remove front plate from motherboard so that one ribbon cable is exposed.

  13. Canon PowerShot N Teardown: 13 단계, 이미지 1/1
    • Locate the second ribbon cable.

  14. Canon PowerShot N Teardown: 14 단계, 이미지 1/2 Canon PowerShot N Teardown: 14 단계, 이미지 2/2
    • Using plastic spudger, push tab to release the ribbon cable.

  15. Canon PowerShot N Teardown: 15 단계, 이미지 1/1
    • Locate screw under released ribbon cable and remove it.

  16. Canon PowerShot N Teardown: 16 단계, 이미지 1/3 Canon PowerShot N Teardown: 16 단계, 이미지 2/3 Canon PowerShot N Teardown: 16 단계, 이미지 3/3
    • With the camera lens facing you, remove 4 screws around the lens.

  17. Canon PowerShot N Teardown: 17 단계, 이미지 1/1
    • Flip over and remove 1 screw from side with playback/phone options .

  18. Canon PowerShot N Teardown: 18 단계, 이미지 1/3 Canon PowerShot N Teardown: 18 단계, 이미지 2/3 Canon PowerShot N Teardown: 18 단계, 이미지 3/3
    • Unscrew 2 screws from top, bottom, and both sides of screen.

    • Pull off white cap which edges the screen.

  19. Canon PowerShot N Teardown: 20 단계, 이미지 1/2 Canon PowerShot N Teardown: 20 단계, 이미지 2/2
    • Remove white metal plate behind screen (tip: try not to bend).

  20. Canon PowerShot N Teardown: 21 단계, 이미지 1/2 Canon PowerShot N Teardown: 21 단계, 이미지 2/2
    • Push out LCD screen.

Jack Graver

회원 가입일: 03/04/16

313 평판

안내서 1개 작성함

UMass Dartmouth, Team 6-5, Bhusal Spring 2016 UMass Dartmouth, Team 6-5, Bhusal Spring 2016 회원

UMASSD-BHUSAL-S16S6G5

3 회원들

안내서 1개 작성하였습니다

댓글 0개

댓글 쓰기

조회 통계:

24 시간 전: 0

7일 전: 11

30일 전: 20

전체 시간: 1,305