주요 콘텐츠로 건너뛰기

필요한 것

해당 분해도는 수리 안내서가 아닙니다. Cyclops Helios 수리는 저희 서비스 설명서를 사용하십시오.

  1. Cyclops Helios Teardown, Cyclops Helios Teardown: 1 단계, 이미지 1/1
    • Power off Cyclops Helios before tearing down by pushing the black button until the LEDs no longer emit visible light.

    • Black button - circled in red

  2. Cyclops Helios Teardown: 2 단계, 이미지 1/3 Cyclops Helios Teardown: 2 단계, 이미지 2/3 Cyclops Helios Teardown: 2 단계, 이미지 3/3
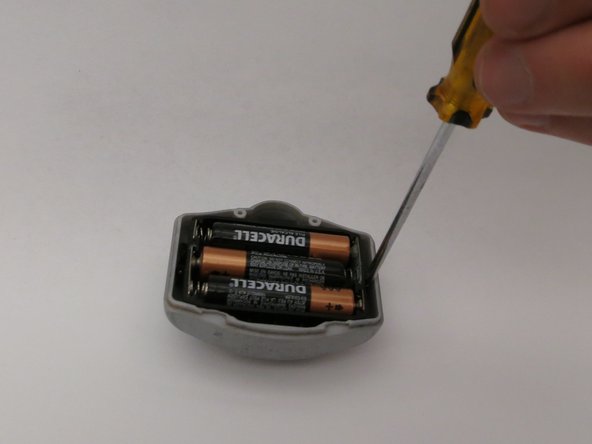
    • Using two hands, carefully separate the front panel and back panel of the Cyclops Helios.

    • Front panel - boxed in red

    • Back panel - boxed in blue

  3. Cyclops Helios Teardown: 3 단계, 이미지 1/2 Cyclops Helios Teardown: 3 단계, 이미지 2/2
    • Use a Phillips head screwdriver to remove two screws from the front panel.

    • The two screws fasten the outer enclosure with the inner electronics of the front panel.

  4. Cyclops Helios Teardown: 4 단계, 이미지 1/3 Cyclops Helios Teardown: 4 단계, 이미지 2/3 Cyclops Helios Teardown: 4 단계, 이미지 3/3
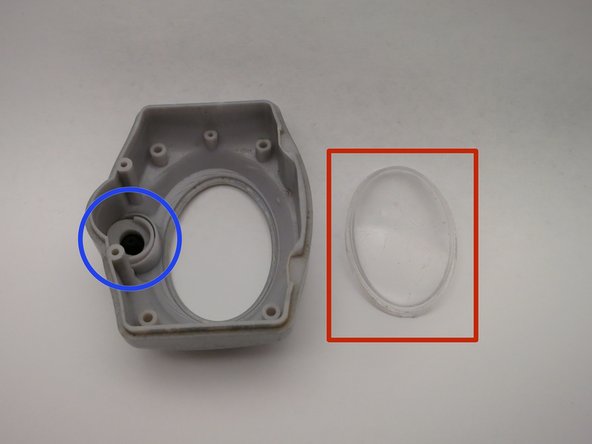
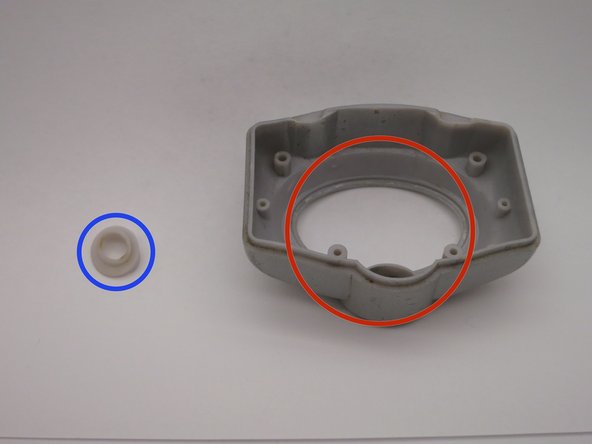
    • Within the enclosure of the front panel there is a clear plastic lens, and plastic button insert. Both are removable.

    • Clear plastic lens - boxed in red

    • Plastic button insert - circled in blue

  5. Cyclops Helios Teardown: 5 단계, 이미지 1/3 Cyclops Helios Teardown: 5 단계, 이미지 2/3 Cyclops Helios Teardown: 5 단계, 이미지 3/3
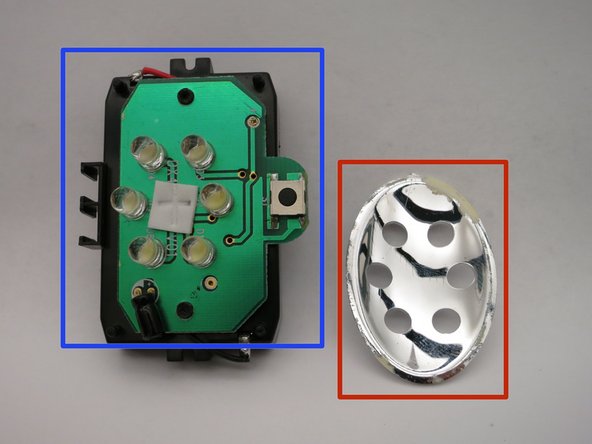
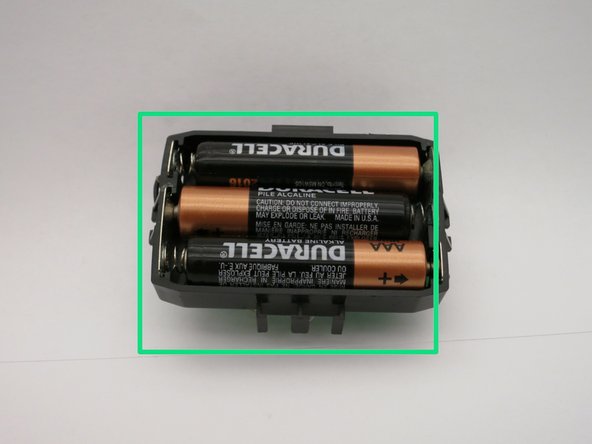
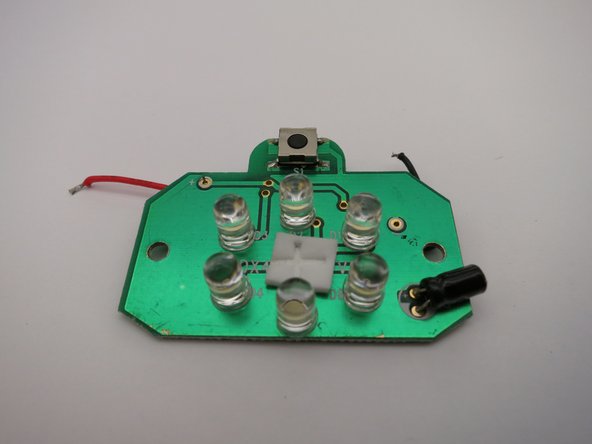
    • The inner electronics of module of the front panel includes a parabolic mirror, circuit board, and battery holder.

    • Circuit board - boxed in blue

    • Parabolic mirror - boxed in red

    • Battery holder - boxed in green

  6. Cyclops Helios Teardown: 6 단계, 이미지 1/2 Cyclops Helios Teardown: 6 단계, 이미지 2/2
    • Separate the circuit board from the battery holder by desoldering the black and red wires from the battery holder.

Shaun Koide

회원 가입일: 11/14/13

161 평판

안내서 1개 작성함

댓글 0개

댓글 쓰기

조회 통계:

24 시간 전: 1

7일 전: 9

30일 전: 14

전체 시간: 904