해당 분해도는 작업 중 입니다 – 최신 변경 사항을 보려면 주기적으로 다시 로드 하십시오!
분해도
Learn to take apart a Dell 48x IDE Internal CD-ROM Drive
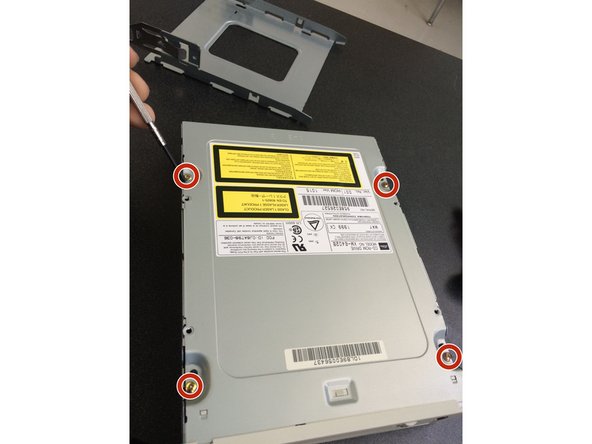
Unscrew the top four screws.
Make sure that you don't mix up the screws.
They are different and you don't want to use the wrong screws.
Why would they do that?
Take off the plate that you unscrewed last step
Put all the parts that you had taken off on the side so you do not lose them
Unscrew the four screws on the next plate.
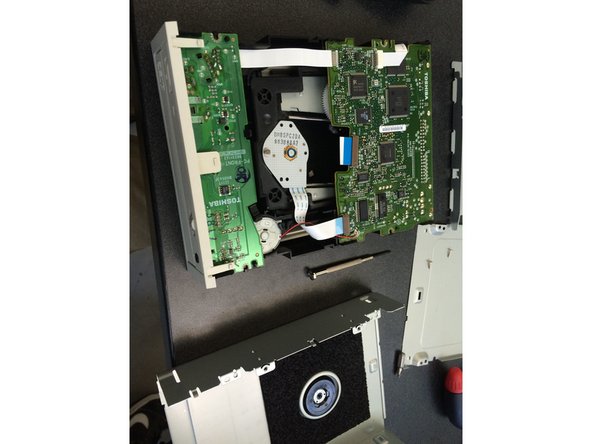
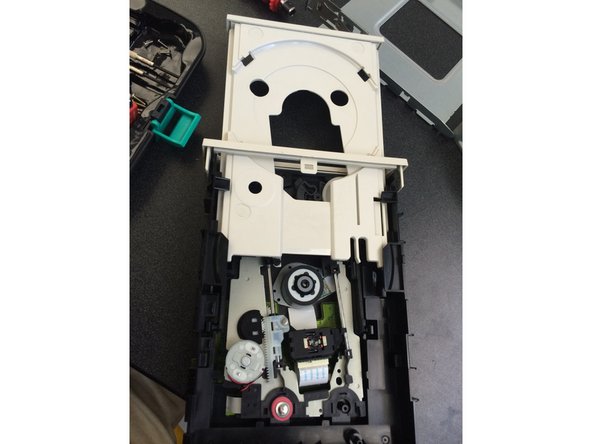
4- take off the top plate by lifting the back up and lightly pulling up.
the picture to the left is what it looks like after you take the plate off.
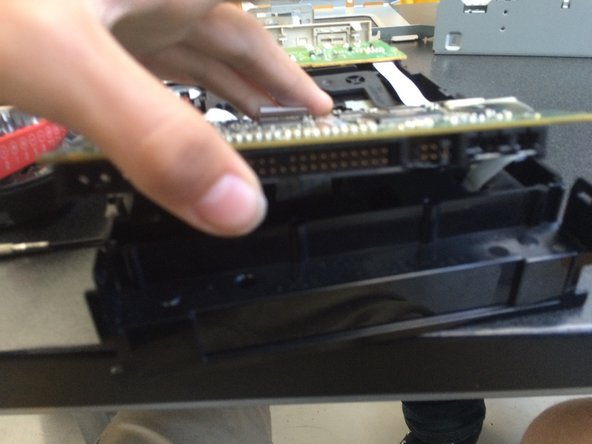
5-flip over and push the side tabs in and lift the bottom piece off (it might be hard to do but try not to force it off).
6-push piece down and slide the disk piece out.
7-what is would look like.
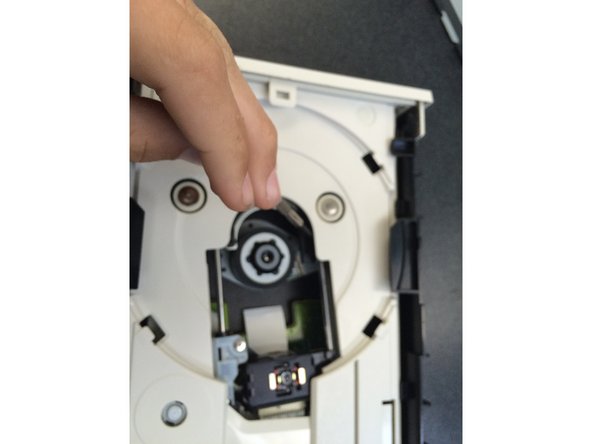
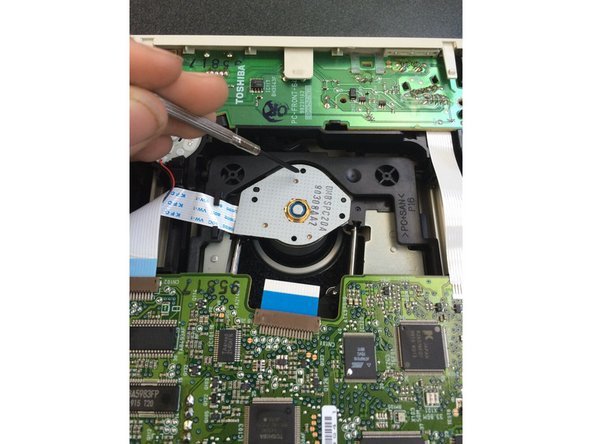
8-unscrew the three screws on the spin piece.
9- unclip the chip in the front/back then lightly lift the piece up.
to put this device back together just do the steps backwards, nothing is hard to do.
be cautious because there are wires under the chip do don't pull hard or you are going to break it.
다른 기여자 4명과 함께
회원 가입일: 09/14/15
45 평판
안내서 1개 작성함
배지: 1
해당 안내서를 사이트/포럼에 작은 위젯으로 포함하려면 크기를 선택하고 아래 코드를 복사하십시오.
24 시간 전: 0
7일 전: 0
30일 전: 1
전체 시간: 1,501