주요 콘텐츠로 건너뛰기

Dell Inspiron N4050 Teardown

  1. Dell Inspiron N4050 Teardown, Removing the battery part 1: 1 단계, 이미지 1/3 Dell Inspiron N4050 Teardown, Removing the battery part 1: 1 단계, 이미지 2/3 Dell Inspiron N4050 Teardown, Removing the battery part 1: 1 단계, 이미지 3/3
    • Check your laptop model

    • Turn it over to work on the bottom of the laptop

    • Open the first latch for the battery

  2. Dell Inspiron N4050 Teardown, Remove the battery part 2: 2 단계, 이미지 1/3 Dell Inspiron N4050 Teardown, Remove the battery part 2: 2 단계, 이미지 2/3 Dell Inspiron N4050 Teardown, Remove the battery part 2: 2 단계, 이미지 3/3
    • Open the second latch in the direction that the arrow is pointing. This requires more effort than the first one.

    • The battery will come out a little. Finish removing it gently.

  3. Dell Inspiron N4050 Teardown, Remove the bottom screws: 3 단계, 이미지 1/2 Dell Inspiron N4050 Teardown, Remove the bottom screws: 3 단계, 이미지 2/2
    • Remove the 8 screws.

    • Use a Phillips 0 screwdriver.

  4. Dell Inspiron N4050 Teardown, Removing the keyboard part 1: 4 단계, 이미지 1/3 Dell Inspiron N4050 Teardown, Removing the keyboard part 1: 4 단계, 이미지 2/3 Dell Inspiron N4050 Teardown, Removing the keyboard part 1: 4 단계, 이미지 3/3
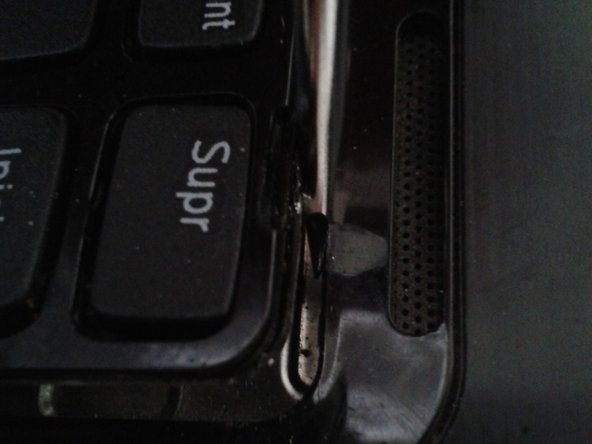
    • Turn the laptop with the keyboard facing up.

    • Use a flat-blade screwdriver to separate the keyboard from the computer case.

    • Tilt the keyboard as shown in the image. Do not remove it completely because it is connected to a cable.

  5. Dell Inspiron N4050 Teardown, Remove the cable that connects the keyboard to the motherboard: 5 단계, 이미지 1/2 Dell Inspiron N4050 Teardown, Remove the cable that connects the keyboard to the motherboard: 5 단계, 이미지 2/2
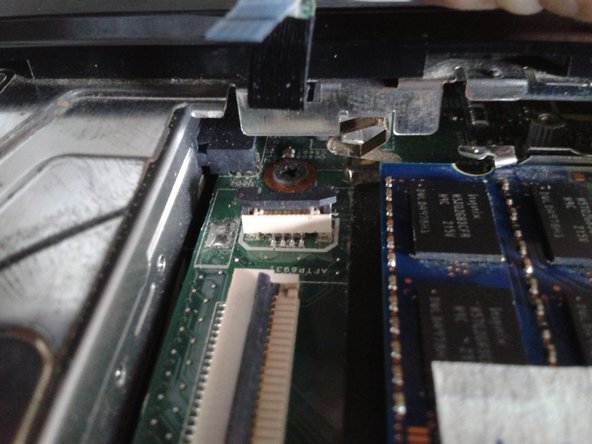
    • Remove the clip that holds the cable to the motherboard.

    • Remove the cable.

  6. Dell Inspiron N4050 Teardown, Remove the RAM: 6 단계, 이미지 1/2 Dell Inspiron N4050 Teardown, Remove the RAM: 6 단계, 이미지 2/2
    • Remove the memory cards by moving the retaining clips in the direction that the arrows are pointing.

  7. Dell Inspiron N4050 Teardown, Remove the screws: 7 단계, 이미지 1/3 Dell Inspiron N4050 Teardown, Remove the screws: 7 단계, 이미지 2/3 Dell Inspiron N4050 Teardown, Remove the screws: 7 단계, 이미지 3/3
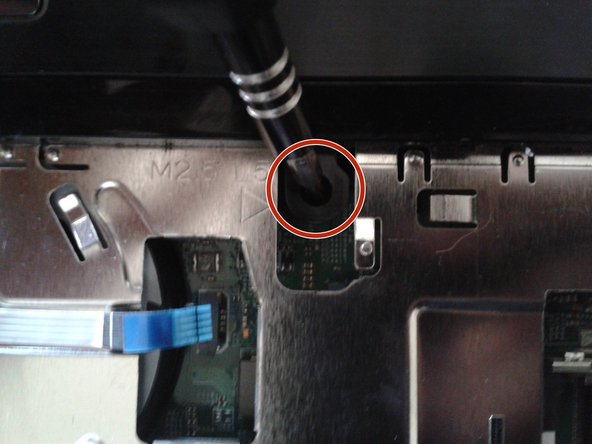
    • Remove the 3 screws.

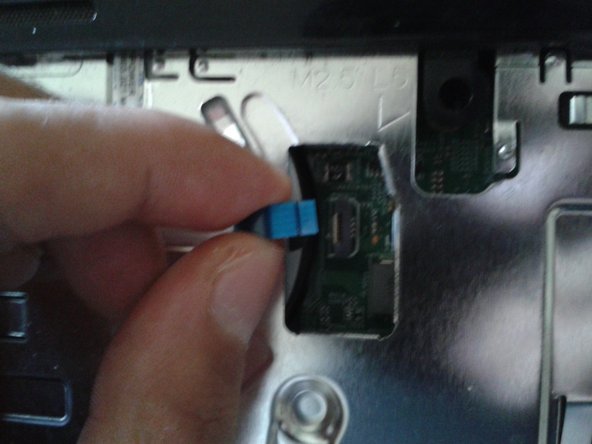
  8. Dell Inspiron N4050 Teardown, Remove the small cables: 8 단계, 이미지 1/3 Dell Inspiron N4050 Teardown, Remove the small cables: 8 단계, 이미지 2/3 Dell Inspiron N4050 Teardown, Remove the small cables: 8 단계, 이미지 3/3
    • Remove the 2 small cables.

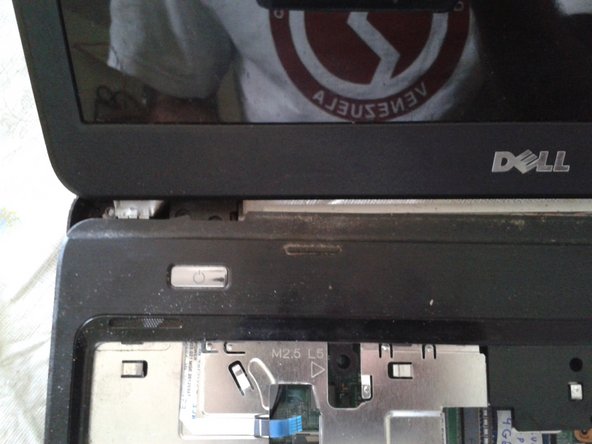
  9. Dell Inspiron N4050 Teardown: 9 단계, 이미지 1/2 Dell Inspiron N4050 Teardown: 9 단계, 이미지 2/2
    • Use a plastic tool to separate the top of the laptop.

  10. Dell Inspiron N4050 Teardown, Internal parts of the laptop: 10 단계, 이미지 1/1
    • CPU

    • DDR3 RAM memory, 2 slots avaiable

    • SATA hard disc

    • Heatsink

    • DVD unit

    • Wireless network card

    • Battery for the internal clock

결론

To reassemble your device, follow these instructions in reverse order.

다른 4명이 해당 안내서를 완성하였습니다.

다음 번역가들에게 특별히 감사 드립니다:

es en

100%

이 번역자 분들은 저희가 세상을 수리하는데 동참해 주시는 분입니다! 기여하시겠습니까?
번역 시작하기 ›

Marcos Mora

회원 가입일: 12/17/17

3,561 평판

안내서 11개 작성하였습니다

댓글 한 개

thanks, very clear and useful

Zerumz - 답글

댓글 쓰기

조회 통계:

24 시간 전: 1

7일 전: 23

30일 전: 70

전체 시간: 8,160