주요 콘텐츠로 건너뛰기

해당 분해도는 작업 중 입니다 – 최신 변경 사항을 보려면 주기적으로 다시 로드 하십시오!

필요한 것

  1. Dell Quietkey SK-8000 Keyboard Teardown, Remove Back Plastic Body: 1 단계, 이미지 1/2 Dell Quietkey SK-8000 Keyboard Teardown, Remove Back Plastic Body: 1 단계, 이미지 2/2
    • Flip the keyboard over to expose 8 screws.

    • Use a Phillips screwdriver to unscrew and remove each screw.

  2. Dell Quietkey SK-8000 Keyboard Teardown: 2 단계, 이미지 1/2 Dell Quietkey SK-8000 Keyboard Teardown: 2 단계, 이미지 2/2
    • Lift the keyboard upward from the bottom.

    • Do not pull too hard when lifting the base. Be careful not to destroy the wires connecting to the base of the keyboard.

    • Use a Phillips screwdriver to remove the remaining ten screws on the aluminum plate.

  3. Dell Quietkey SK-8000 Keyboard Teardown, Completion: 3 단계, 이미지 1/3 Dell Quietkey SK-8000 Keyboard Teardown, Completion: 3 단계, 이미지 2/3 Dell Quietkey SK-8000 Keyboard Teardown, Completion: 3 단계, 이미지 3/3
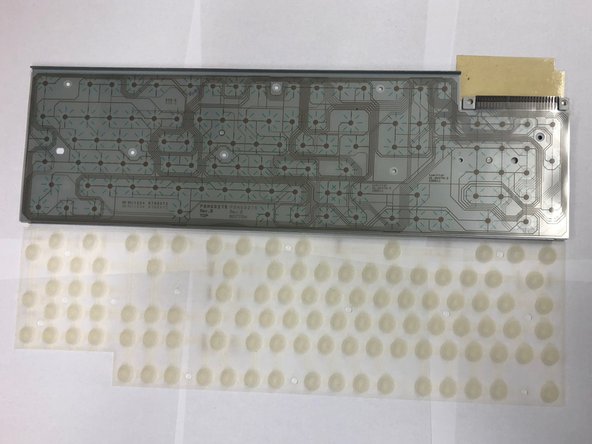
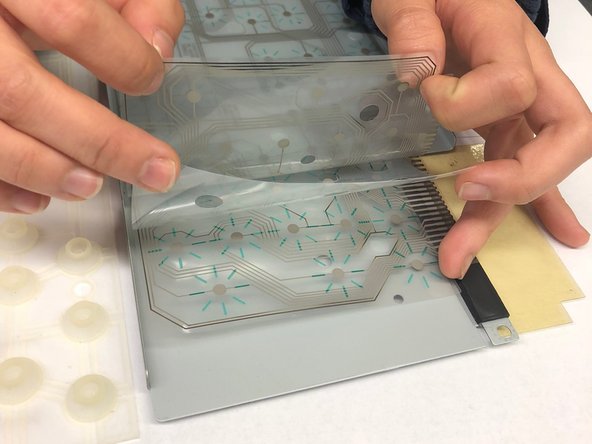
    • Carefully lift each part out. Each part should lift out very easily after the screws are removed.

  4. Dell Quietkey SK-8000 Keyboard Teardown, Siltek Chip Reveal: 4 단계, 이미지 1/1
    • The keyboard controller is seen to be a Siltek R4462.

Ion

회원 가입일: 09/29/15

479 평판

안내서 3개 작성하였습니다

Cal Poly, Team 10-5, Green Fall 2015 Cal Poly, Team 10-5, Green Fall 2015 회원

CPSU-GREEN-F15S10G5

3 회원들

안내서 4개 작성하였습니다

댓글 0개

댓글 쓰기

조회 통계:

24 시간 전: 0

7일 전: 2

30일 전: 13

전체 시간: 982