주요 콘텐츠로 건너뛰기

필요한 것

해당 분해도는 수리 안내서가 아닙니다. Digital Caliper 수리는 저희 서비스 설명서를 사용하십시오.

  1. Digital Caliper Teardown, Remove Battery: 1 단계, 이미지 1/2 Digital Caliper Teardown, Remove Battery: 1 단계, 이미지 2/2
    • Slide the battery compartment open.

    • Pull out the battery.

  2. Digital Caliper Teardown, Screw out the housing: 2 단계, 이미지 1/2 Digital Caliper Teardown, Screw out the housing: 2 단계, 이미지 2/2
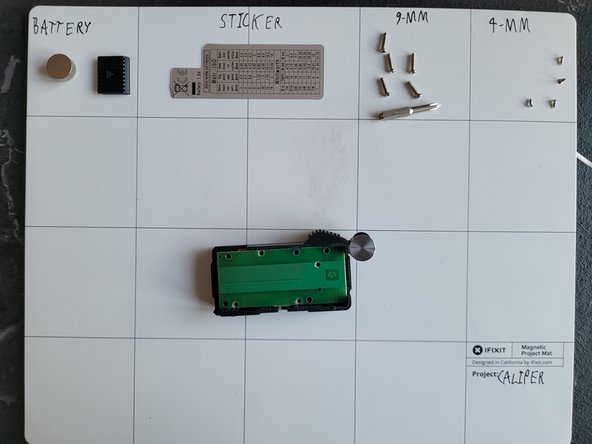
    • Remove the sticker and place it on a clean sticker-friendly surface.

    • Screw out the 9-mm screws using the J0 Bit.

  3. Digital Caliper Teardown, Housing dissasembly: 3 단계, 이미지 1/3 Digital Caliper Teardown, Housing dissasembly: 3 단계, 이미지 2/3 Digital Caliper Teardown, Housing dissasembly: 3 단계, 이미지 3/3
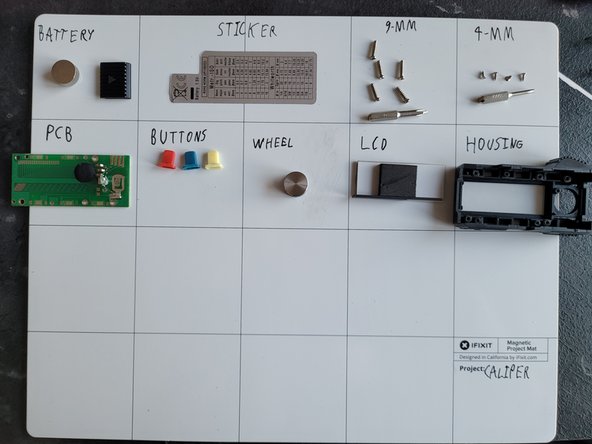
    • Screw out the 4-mm screws holding the PCB in place. Use the J000 bit.

    • Now take out all the parts from the housing.

  4. Digital Caliper Teardown, Body: 4 단계, 이미지 1/2 Digital Caliper Teardown, Body: 4 단계, 이미지 2/2
    • Remove the right/bottom 6mm screws.

    • Then the last 2 and the tightener screws. So you can pull it apart.

Sebastian

회원 가입일: 12/02/21

532 평판

안내서 2개 작성하였습니다

댓글 0개

댓글 쓰기

조회 통계:

24 시간 전: 2

7일 전: 18

30일 전: 102

전체 시간: 1,511