주요 콘텐츠로 건너뛰기

필요한 것

해당 분해도는 수리 안내서가 아닙니다. DrayTek Vigor 2820 수리는 저희 서비스 설명서를 사용하십시오.

  1. DrayTek Vigor 2820 Teardown, remove the front plate: 1 단계, 이미지 1/2 DrayTek Vigor 2820 Teardown, remove the front plate: 1 단계, 이미지 2/2
    • The front plate is attached to the bottom with 3 clips.

    • Using a flathead screwdriver, pry open the first clip.

    • Use a flat object to hold the first clip open.

    • Use the flathead to open the remaining clips.

  2. DrayTek Vigor 2820 Teardown, disassemble case: 2 단계, 이미지 1/2 DrayTek Vigor 2820 Teardown, disassemble case: 2 단계, 이미지 2/2
    이 단계에 사용된 도구:
    Flathead 3/32" or 2.5 mm Screwdriver
    $5.49
    구매
    • With the 2.5mm flathead, remove the rubber feet.

    • Unscrew the 4 screws holding the top and bottom parts of the case together.

  3. DrayTek Vigor 2820 Teardown, remove the ADSL module: 3 단계, 이미지 1/3 DrayTek Vigor 2820 Teardown, remove the ADSL module: 3 단계, 이미지 2/3 DrayTek Vigor 2820 Teardown, remove the ADSL module: 3 단계, 이미지 3/3
    • Unscrew the screws attaching the ADSL module to the mainboard.

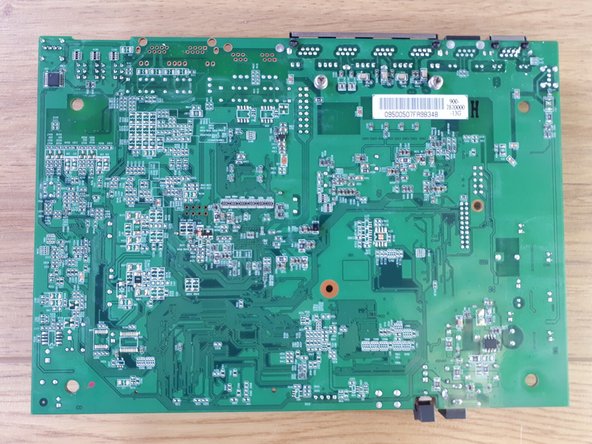
    • The mainboard:

    • Nanya Technology NT5DS16M16CS-5T 256Mb DDR SDRAM

    • Infineon Technologies PSB 6972 HL V1.2 Ethernet Switch Controller

    • Delta Electronics LFE8731

    • Delta Electronics LFE9208A

knipwim

회원 가입일: 09/01/18

8,527 평판

안내서 31개 작성하였습니다

댓글 0개

댓글 쓰기

조회 통계:

24 시간 전: 1

7일 전: 6

30일 전: 26

전체 시간: 1,305