분해도
I am tearing down the ps3 controller.
해당 분해도는 수리 안내서가 아닙니다. DualShock 3 수리는 저희 서비스 설명서를 사용하십시오.
PS3 controller
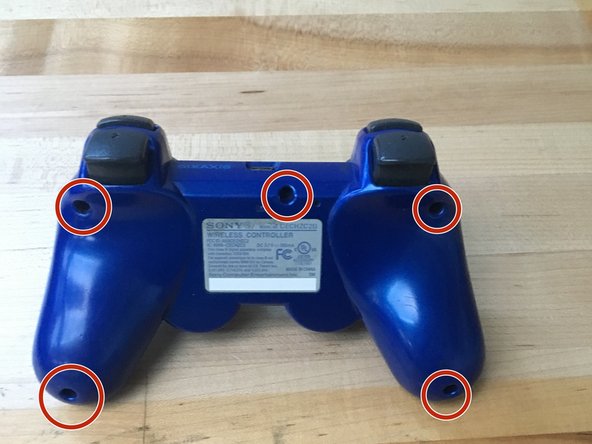
First take the screws of with a screw driver.
They are 5 screws.
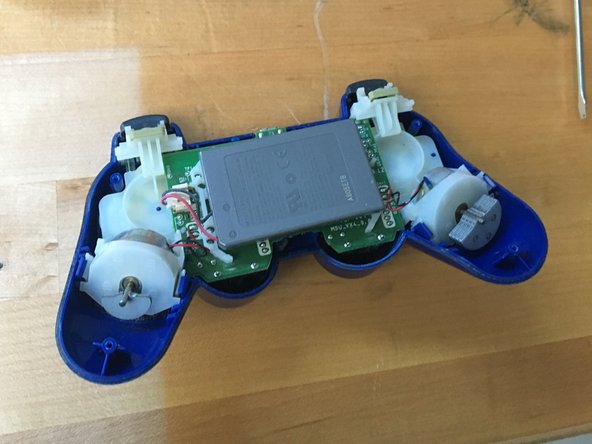
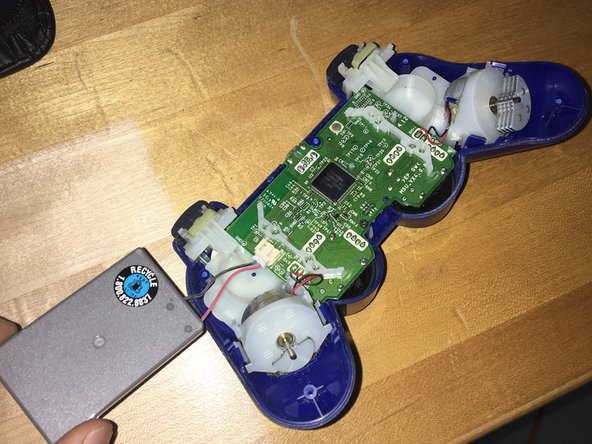
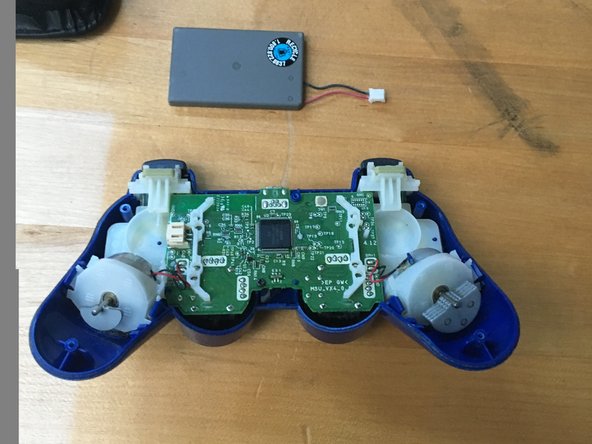
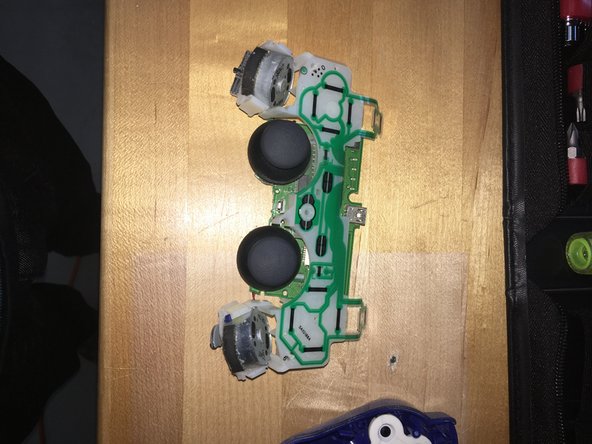
When your in you can take the battery out easily with your hands.
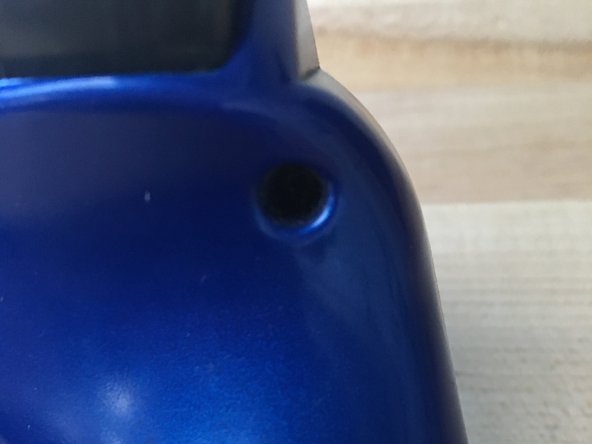
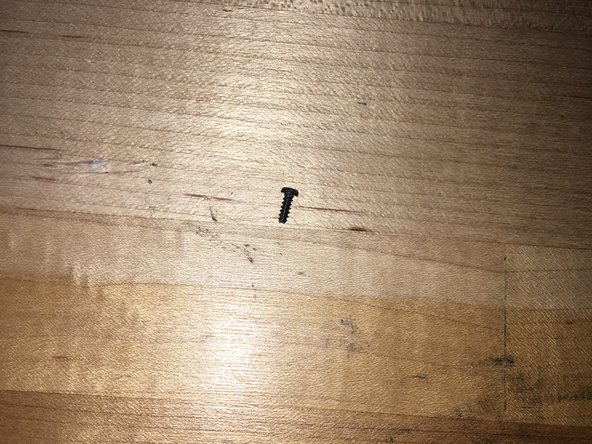
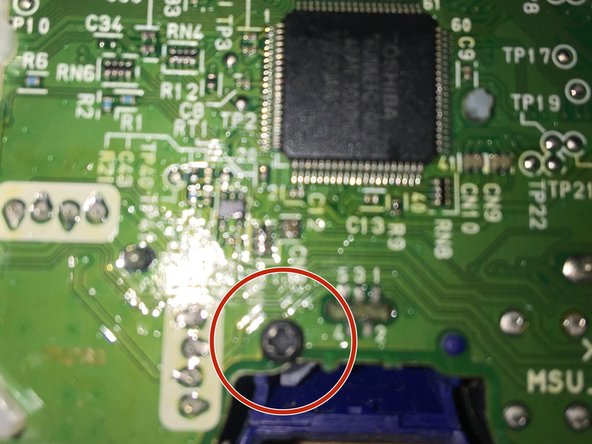
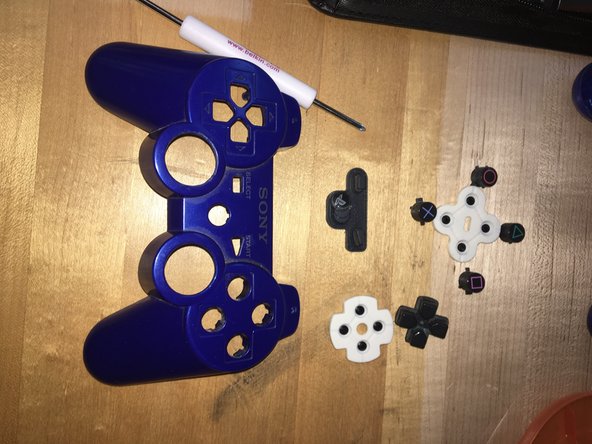
Take this screw out before you try to take out your buttons.
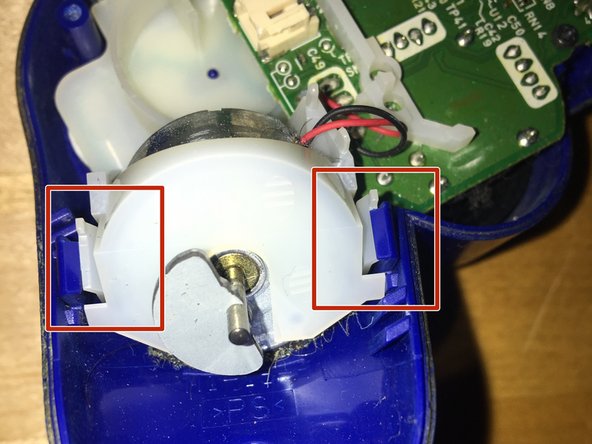
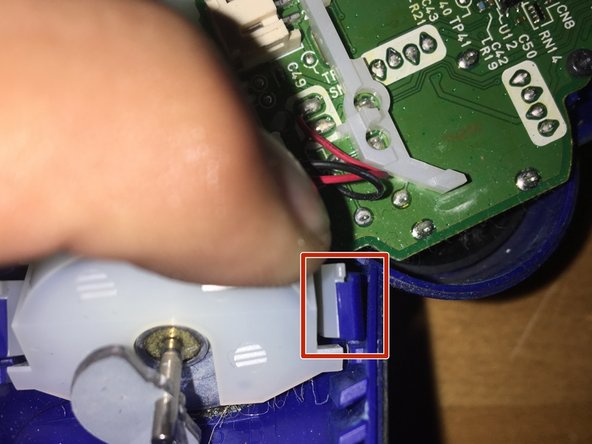
In order to take off the mother board you have to move those two white things away from the blue.
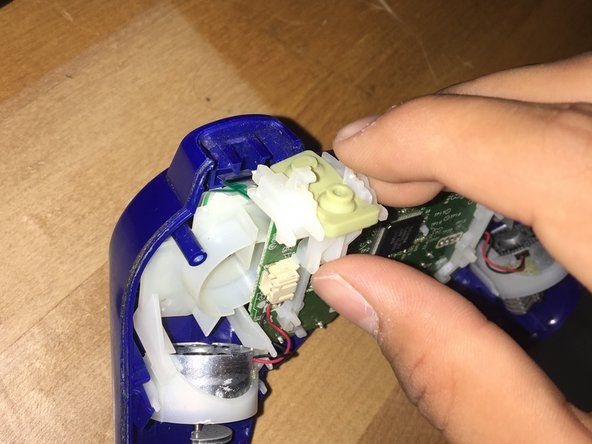
It is really easy to take the buttons off you just slide it off easily.
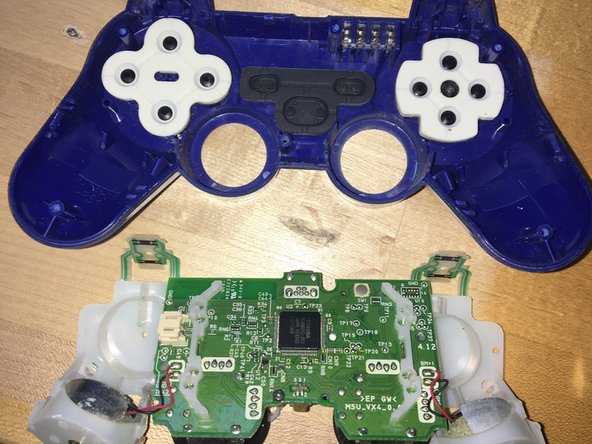
This is how it looks when your done with the ps3 controller,
다른 기여자 1명과 함께
회원 가입일: 10/24/16
258 평판
안내서 1개 작성함
배지: 0
해당 안내서를 사이트/포럼에 작은 위젯으로 포함하려면 크기를 선택하고 아래 코드를 복사하십시오.
24 시간 전: 0
7일 전: 0
30일 전: 0
전체 시간: 1,881