주요 콘텐츠로 건너뛰기

해당 분해도는 수리 안내서가 아닙니다. Flatron E2742 Monitor 수리는 저희 서비스 설명서를 사용하십시오.

  1. Flatron E2742 Monitor Teardown, Removing the back: 1 단계, 이미지 1/3 Flatron E2742 Monitor Teardown, Removing the back: 1 단계, 이미지 2/3 Flatron E2742 Monitor Teardown, Removing the back: 1 단계, 이미지 3/3
    • 1 - Remove the three screws on the back

    • 2 - Slip iFixit Opening Pick between the back and front.

    • 3 - use an iFixit Opening Tool to pry the halves apart. Work your way slowly around moving the pick until it stops and then prying with the Opening Tool.

  2. Flatron E2742 Monitor Teardown: 2 단계, 이미지 1/3 Flatron E2742 Monitor Teardown: 2 단계, 이미지 2/3 Flatron E2742 Monitor Teardown: 2 단계, 이미지 3/3
    • There are 3 connections and 6 screws that need to be removed.

    • The top connection needs to removed before you can pull off the white tape. Squeeze the tabs in and pull down.

    • Pry up the clip locks up before pulling out.

  3. Flatron E2742 Monitor Teardown: 3 단계, 이미지 1/1
    • There are several clips holding the front shroud on.

  4. Flatron E2742 Monitor Teardown: 4 단계, 이미지 1/2 Flatron E2742 Monitor Teardown: 4 단계, 이미지 2/2
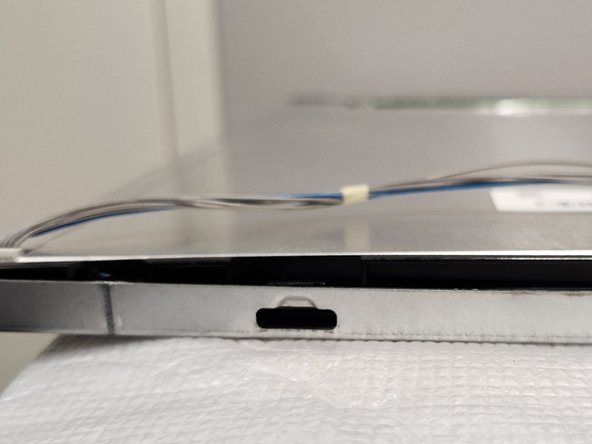
    • Remove the 2 screws and pry the sheet metal past the black tabs to separate the LDC module.

Michael M

회원 가입일: 12/01/23

109 평판

안내서 1개 작성함

댓글 0개

댓글 쓰기

조회 통계:

24 시간 전: 0

7일 전: 5

30일 전: 11

전체 시간: 152