주요 콘텐츠로 건너뛰기

필요한 것

해당 분해도는 수리 안내서가 아닙니다. Fnatic STREAK65 수리는 저희 서비스 설명서를 사용하십시오.

  1. Fnatic STREAK65 Teardown, Disconnect the USB-C cable: 1 단계, 이미지 1/2 Fnatic STREAK65 Teardown, Disconnect the USB-C cable: 1 단계, 이미지 2/2
    • Disconnect the USB-C cable that powers the keyboard

  2. Fnatic STREAK65 Teardown, Remove the keycaps: 2 단계, 이미지 1/2 Fnatic STREAK65 Teardown, Remove the keycaps: 2 단계, 이미지 2/2
    • Remove the keyboard keycaps either with special tools or simply with your fingers

  3. Fnatic STREAK65 Teardown, Remove the 13 Phillips #00 screws: 3 단계, 이미지 1/1
    • Unscrew the 13 Phillips #00 screws that secure the upper cover to the lower body

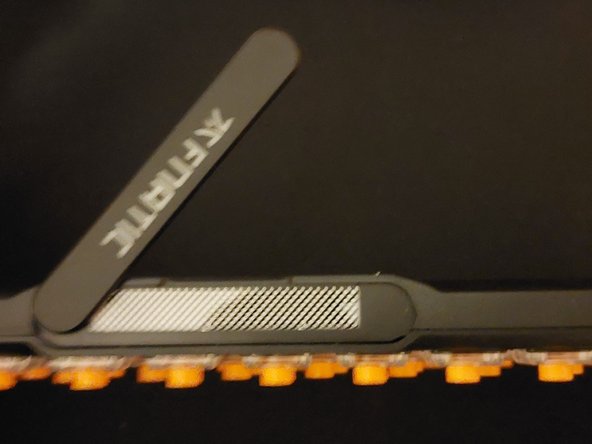
  4. Fnatic STREAK65 Teardown, Remove the light bar: 4 단계, 이미지 1/2 Fnatic STREAK65 Teardown, Remove the light bar: 4 단계, 이미지 2/2
    • Remove the light bar with a nail or a spudger

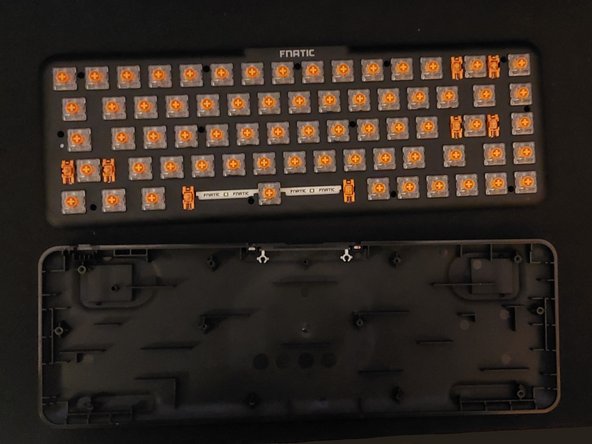
  5. Fnatic STREAK65 Teardown, Remove the upper cover: 5 단계, 이미지 1/2 Fnatic STREAK65 Teardown, Remove the upper cover: 5 단계, 이미지 2/2
    • Remove the top cover to free the motherboard with the soldered switches

  6. Fnatic STREAK65 Teardown, Reassemble everything: 6 단계, 이미지 1/2 Fnatic STREAK65 Teardown, Reassemble everything: 6 단계, 이미지 2/2
    • Follow the instructions in reverse order to reassemble the keyboard.

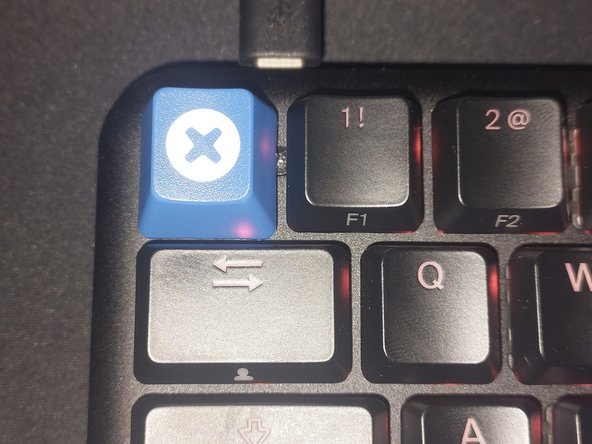
    • P.S You can replace one of your keyboard keys with the awesome official keycap from iFixit

Andrea Alfani

회원 가입일: 04/20/22

7,679 평판

안내서 5개 작성하였습니다

Kid fixers Kid fixers 회원

Community

158 회원들

안내서 296개 작성하였습니다

댓글 0개

댓글 쓰기

조회 통계:

24 시간 전: 3

7일 전: 14

30일 전: 98

전체 시간: 670