주요 콘텐츠로 건너뛰기

필요한 것

해당 분해도는 수리 안내서가 아닙니다. Harman Kardon HK3700 수리는 저희 서비스 설명서를 사용하십시오.

  1. Harman Kardon HK3700 Teardown, Introduction: 1 단계, 이미지 1/3 Harman Kardon HK3700 Teardown, Introduction: 1 단계, 이미지 2/3 Harman Kardon HK3700 Teardown, Introduction: 1 단계, 이미지 3/3
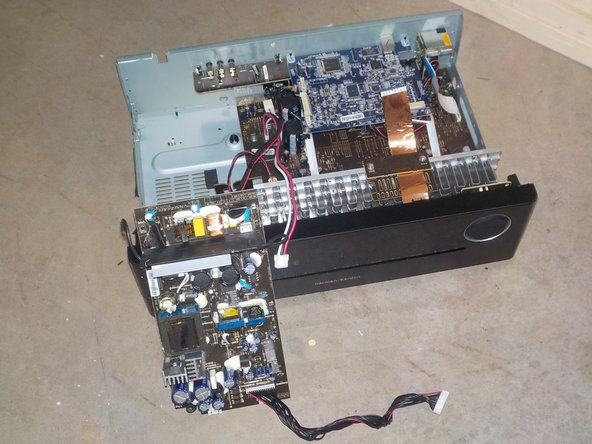
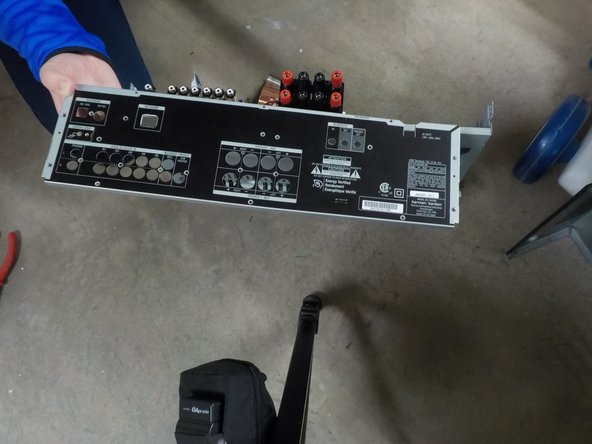
    • Here is the Harman/Kardon HK3700.

    • Please be careful with the high voltage capacitors and other components inside. I am not responsible for any of your actions as a result of this guide.

    • Using a P2 phillips screwdriver, you can remove all screws on the sides and back of the unit. After those are removed, you can remove the top cover by sliding it towards the back and then lifting away.

    • Your top cover will probably not be dented in like mine is.

  2. Harman Kardon HK3700 Teardown, The inside: 2 단계, 이미지 1/2 Harman Kardon HK3700 Teardown, The inside: 2 단계, 이미지 2/2
    • You should now be inside the enclosure.

  3. Harman Kardon HK3700 Teardown, Remove the cables and PSU: 3 단계, 이미지 1/3 Harman Kardon HK3700 Teardown, Remove the cables and PSU: 3 단계, 이미지 2/3 Harman Kardon HK3700 Teardown, Remove the cables and PSU: 3 단계, 이미지 3/3
    • Just start by removing any cables that are accessible.

    • After the cables have been disconnected, go ahead and remove the 4 phillips screws holding down the power supply board and lift it away from the enclosure.

  4. Harman Kardon HK3700 Teardown, IR Board: 4 단계, 이미지 1/2 Harman Kardon HK3700 Teardown, IR Board: 4 단계, 이미지 2/2
    • At this point, you can go ahead and remove all the screws from the back panel. This will make your life easier later.

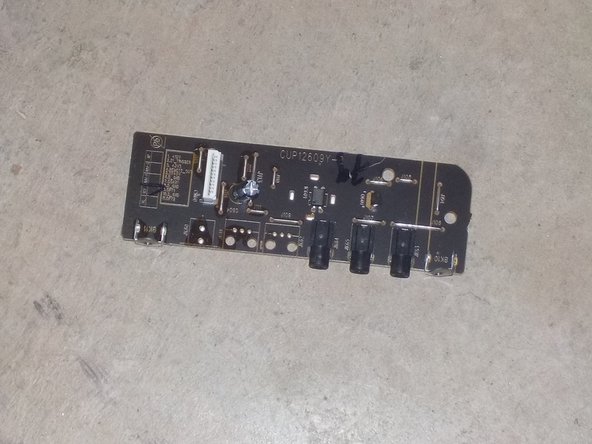
    • After the screws are removed, you can remove the IR Remote board.

  5. Harman Kardon HK3700 Teardown, Ethernet Card: 5 단계, 이미지 1/3 Harman Kardon HK3700 Teardown, Ethernet Card: 5 단계, 이미지 2/3 Harman Kardon HK3700 Teardown, Ethernet Card: 5 단계, 이미지 3/3
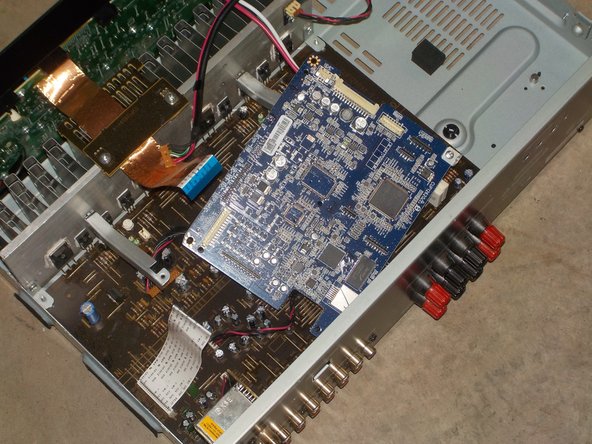
    • Remove the 2 screws holding the ethernet card down to the bracket. Then, if the back panel screws are removed and all cables are disconnected, you can remove the ethernet board from the device.

  6. Harman Kardon HK3700 Teardown, Remove the back panel: 6 단계, 이미지 1/2 Harman Kardon HK3700 Teardown, Remove the back panel: 6 단계, 이미지 2/2
    • Remove the screws holding on the back panel from both sides.

    • After the screws are removed, go ahead and remove the back panel.

  7. Harman Kardon HK3700 Teardown, Remove the mainboard: 7 단계, 이미지 1/3 Harman Kardon HK3700 Teardown, Remove the mainboard: 7 단계, 이미지 2/3 Harman Kardon HK3700 Teardown, Remove the mainboard: 7 단계, 이미지 3/3
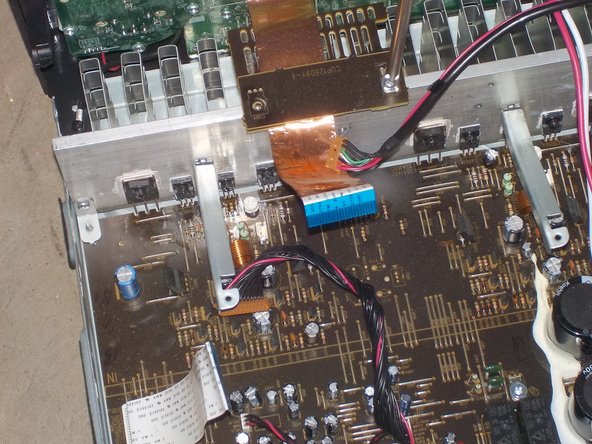
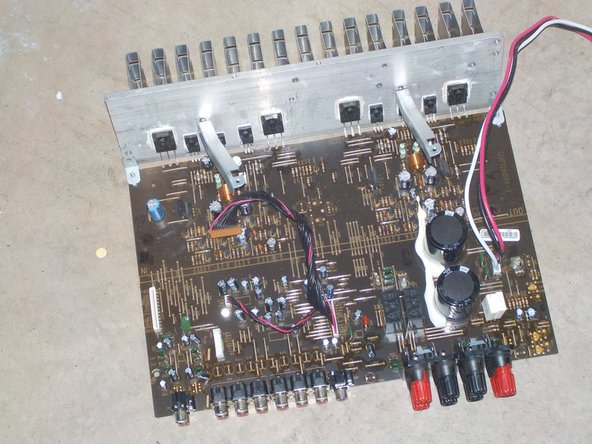
    • Remove all the screws holding down the main board and heat sink. Unplug the cable from the front panel if you can, or cut it if you can't. If you do cut it, it can be re-soldered later if you wish.

    • You can now remove the board from the frame.

    • I did not remove the transistors from the heat sink, but you can with a phillips screwdriver and something to separate the transistors from their thermal compound.

  8. Harman Kardon HK3700 Teardown, Feet: 8 단계, 이미지 1/1
    • Remove the screws and lift away the feet. That's all there is to it.

  9. Harman Kardon HK3700 Teardown, Remove the front panel: 9 단계, 이미지 1/3 Harman Kardon HK3700 Teardown, Remove the front panel: 9 단계, 이미지 2/3 Harman Kardon HK3700 Teardown, Remove the front panel: 9 단계, 이미지 3/3
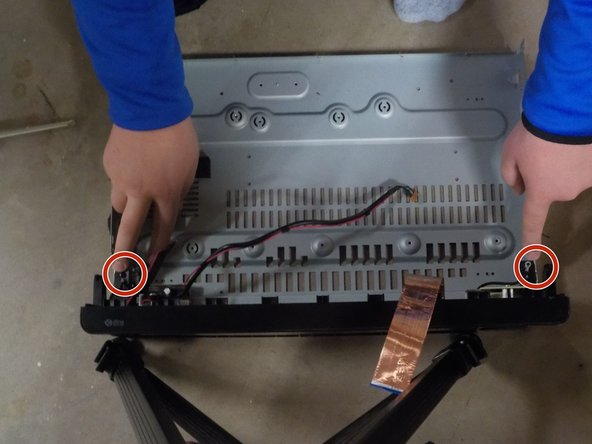
    • Remove the screws from the bottom of the frame holding the front panel on.

    • Also remove the 2 larger screws from the top holding the front panel on

    • After these screws are removed, you can remove the front panel and set the frame aside.

  10. Harman Kardon HK3700 Teardown, Front panel disassembly: 10 단계, 이미지 1/2 Harman Kardon HK3700 Teardown, Front panel disassembly: 10 단계, 이미지 2/2
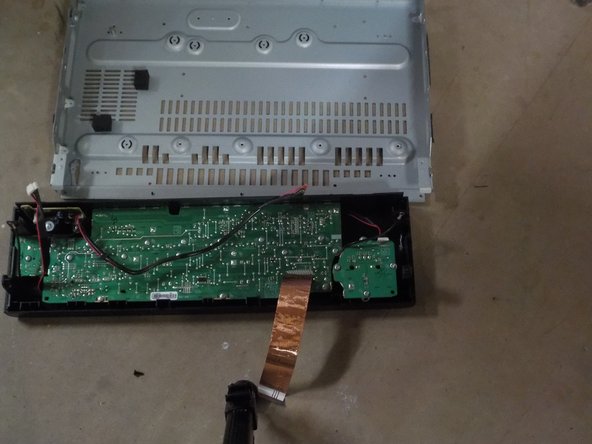
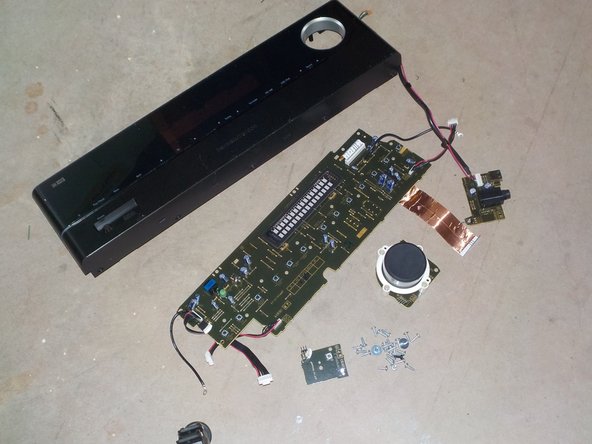
    • Remove all the cables you can access.

    • Remove all the screws from the back of the front panel. All the pieces then lift out of the front panel.

  11. Harman Kardon HK3700 Teardown, Conclusion: 11 단계, 이미지 1/2 Harman Kardon HK3700 Teardown, Conclusion: 11 단계, 이미지 2/2
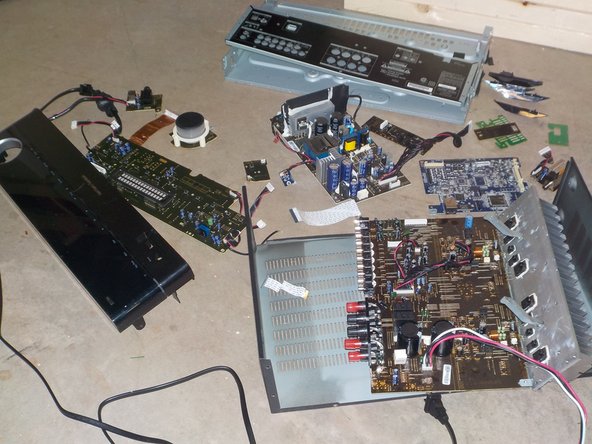
    • This is all the parts laid out. There isn't much more to say about it.

    • As a bonus, here is the original retail box for this unit. I just thought I should include it before recycling the box.

nerdbug96

회원 가입일: 06/17/21

1,462 평판

안내서 8개 작성하였습니다

댓글 0개

댓글 쓰기

조회 통계:

24 시간 전: 3

7일 전: 9

30일 전: 36

전체 시간: 1,704