주요 콘텐츠로 건너뛰기

필요한 것

해당 분해도는 수리 안내서가 아닙니다. Ikea Bekant 수리는 저희 서비스 설명서를 사용하십시오.

  1. Ikea Bekant Controller Teardown, Overview: 1 단계, 이미지 1/1
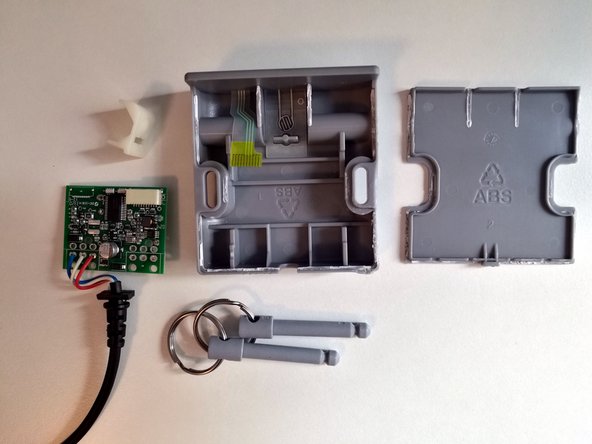
    • The controller consists of a grey case with a black cable and a connector.

    • Plugged into the case is a saftey pin. Shown here with a spare saftey pin dangling on the left.

  2. Ikea Bekant Controller Teardown, opening the case: 2 단계, 이미지 1/3 Ikea Bekant Controller Teardown, opening the case: 2 단계, 이미지 2/3 Ikea Bekant Controller Teardown, opening the case: 2 단계, 이미지 3/3
    • Since the case is glued shut, it needs to be pried open carefully (probably causing some degree of damage). To do so, pry it open at one point with a thin flat screw driver.

    • When the opening is wide enough, a chip card may be used, in order to keep the damage at a minimum.

  3. Ikea Bekant Controller Teardown, extracting the components: 3 단계, 이미지 1/1
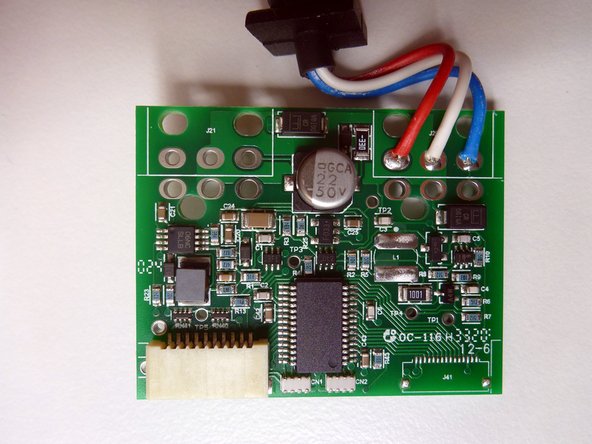
    • Before removing the circuit board one has to unplug the ribbon cable for the buttons.

    • After pulling out the saftey pin remove the white piece of plastic.

  4. Ikea Bekant Controller Teardown, a closer look at the circuit board: 4 단계, 이미지 1/2 Ikea Bekant Controller Teardown, a closer look at the circuit board: 4 단계, 이미지 2/2
    • Finally, a closer look at the circuit board.

다음 번역가들에게 특별히 감사 드립니다:

de en

100%

Curt Seeling님은 저희가 세상을 수리하는데 동참하신 분입니다! 기여하시겠습니까?
번역 시작하기 ›

Curt Seeling

회원 가입일: 06/26/18

177 평판

안내서 1개 작성함

댓글 0개

댓글 쓰기

조회 통계:

24 시간 전: 3

7일 전: 21

30일 전: 89

전체 시간: 3,660