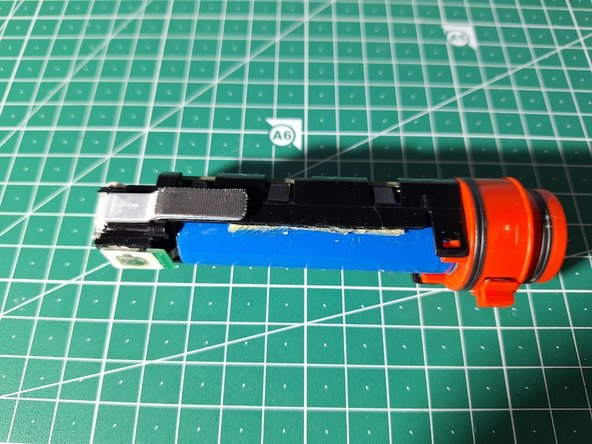
주요 콘텐츠로 건너뛰기

필요한 것

해당 분해도는 수리 안내서가 아닙니다. Flashlight 수리는 저희 서비스 설명서를 사용하십시오.

  1. Knog PWR Rider 450 Lumen - Teardown, Remove the lens: 1 단계, 이미지 1/3 Knog PWR Rider 450 Lumen - Teardown, Remove the lens: 1 단계, 이미지 2/3 Knog PWR Rider 450 Lumen - Teardown, Remove the lens: 1 단계, 이미지 3/3
    • I was not able to remove it without breaking it. It has two latches on it's sides. On the picture, the O-ring is also broken while testing another way of opening it.

    • I managed to force open it (and break the latching parts) by using flat head screwdriver and opening picks.

  2. Knog PWR Rider 450 Lumen - Teardown, Remove the 2 screws: 2 단계, 이미지 1/1
    • Remove the 2 screws (the ones that are NOT near the led)

  3. Knog PWR Rider 450 Lumen - Teardown, Pull the assembly out: 3 단계, 이미지 1/3 Knog PWR Rider 450 Lumen - Teardown, Pull the assembly out: 3 단계, 이미지 2/3 Knog PWR Rider 450 Lumen - Teardown, Pull the assembly out: 3 단계, 이미지 3/3
    • You can now pull from the red side, the whole assembly will come out.

  4. Knog PWR Rider 450 Lumen - Teardown, Search for what you want to fix: 4 단계, 이미지 1/3 Knog PWR Rider 450 Lumen - Teardown, Search for what you want to fix: 4 단계, 이미지 2/3 Knog PWR Rider 450 Lumen - Teardown, Search for what you want to fix: 4 단계, 이미지 3/3
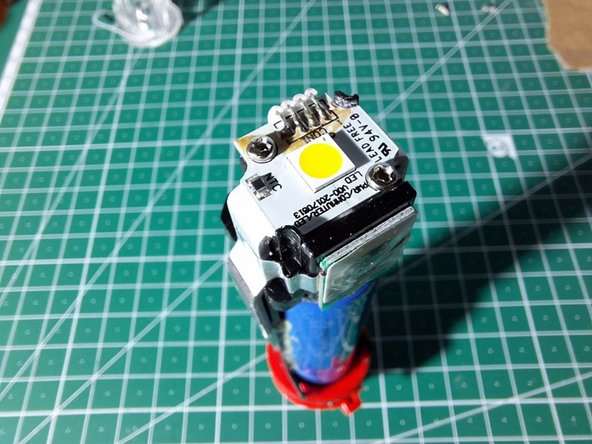
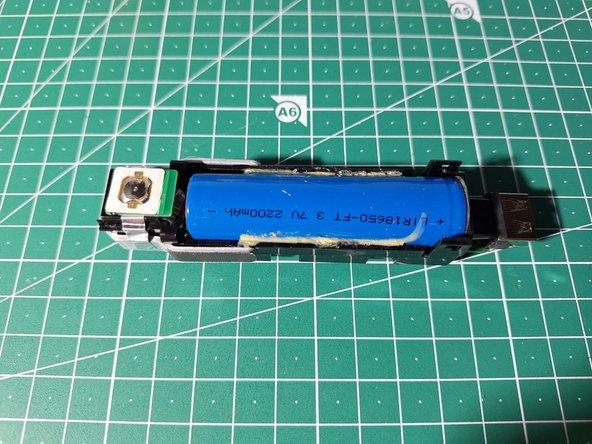
    • The soldering tabs for the battery are very easily broken. In my case it was the part that caused the lamp to not turn on (although charging and programming was fine)

  5. Knog PWR Rider 450 Lumen - Teardown, Remount the lamp: 5 단계, 이미지 1/2 Knog PWR Rider 450 Lumen - Teardown, Remount the lamp: 5 단계, 이미지 2/2
    • Do the steps in reverse order to mount the lamp.

    • If required, use hot-glue to hold the lens

    • Do not put hot-glue in-between the lens and the LED

Nicolas Esseiva

회원 가입일: 03/05/19

131 평판

안내서 1개 작성함

댓글 한 개

спасиб тебе, чувак, нигде нет инфы как этот фонарь разобрать, получается там стоит обычный 18650, что-то спустя 4 года начал быстро разряжаться

Nik -B - 답글

댓글 쓰기

조회 통계:

24 시간 전: 1

7일 전: 7

30일 전: 56

전체 시간: 245