주요 콘텐츠로 건너뛰기

동영상 개요

해당 분해도는 수리 안내서가 아닙니다. LG KE970 수리는 저희 서비스 설명서를 사용하십시오.

  1. LG KE970 Teardown, Remove the bottom plate: 1 단계, 이미지 1/2 LG KE970 Teardown, Remove the bottom plate: 1 단계, 이미지 2/2
    • Press this button to unlock and remove bottom plate

  2. LG KE970 Teardown, Disconnect Battery (Follow this guide until that step, if you need battery replacement): 2 단계, 이미지 1/3 LG KE970 Teardown, Disconnect Battery (Follow this guide until that step, if you need battery replacement): 2 단계, 이미지 2/3 LG KE970 Teardown, Disconnect Battery (Follow this guide until that step, if you need battery replacement): 2 단계, 이미지 3/3
    • Insert your blackstick and remove the battery

  3. LG KE970 Teardown, Remove rubber screw covers: 3 단계, 이미지 1/3 LG KE970 Teardown, Remove rubber screw covers: 3 단계, 이미지 2/3 LG KE970 Teardown, Remove rubber screw covers: 3 단계, 이미지 3/3
    • Find the hidden screws under the rubber covers.

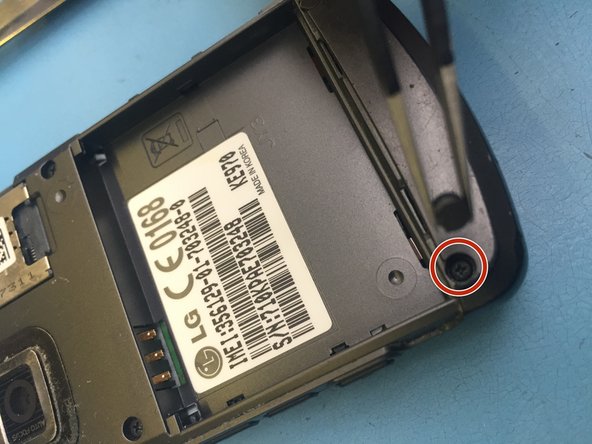
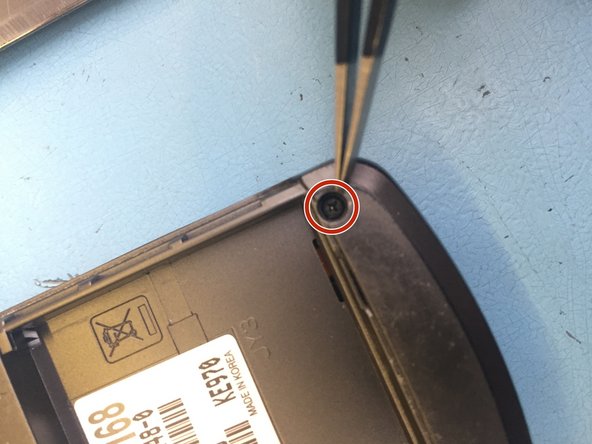
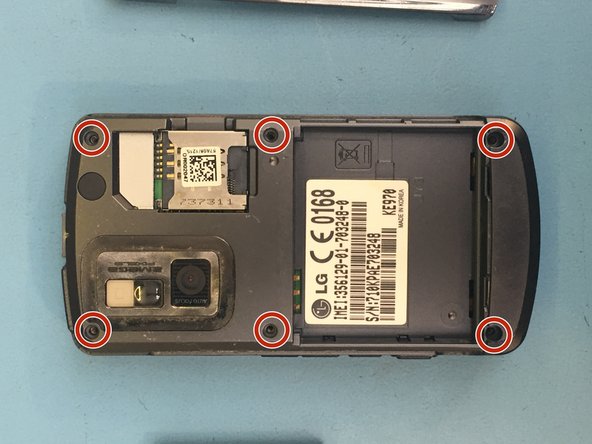
  4. LG KE970 Teardown, Remove 6 screws from the back: 4 단계, 이미지 1/2 LG KE970 Teardown, Remove 6 screws from the back: 4 단계, 이미지 2/2
    • 6 same size screws should be removed.

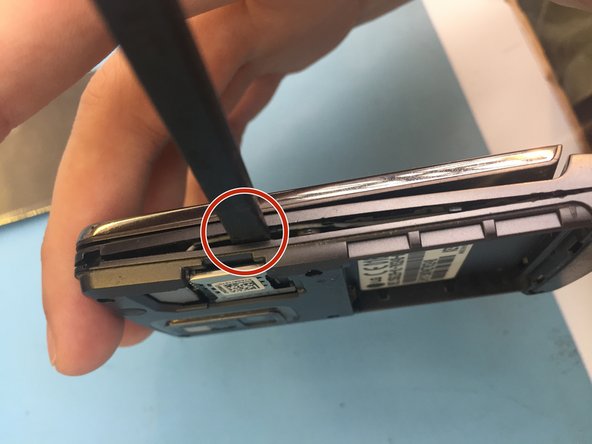
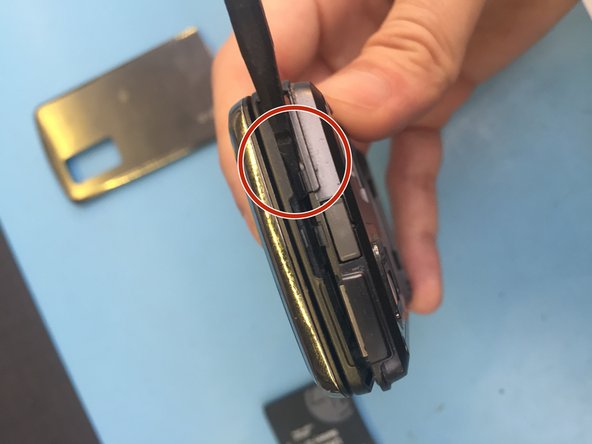
  5. LG KE970 Teardown, Separate front and back part: 5 단계, 이미지 1/3 LG KE970 Teardown, Separate front and back part: 5 단계, 이미지 2/3 LG KE970 Teardown, Separate front and back part: 5 단계, 이미지 3/3
    • Insert your blackstick and try to slide it from the one side to the other. At some point you can hear the "click" sound. It's really fragile so be careful. Don't put the blackstick too much inside because you might damage other parts. Try to be as gentle as you can. If you don't feel it, take your time. It's better if you do a break.

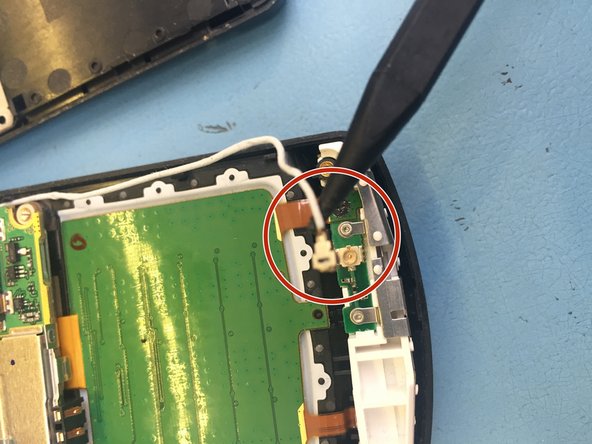
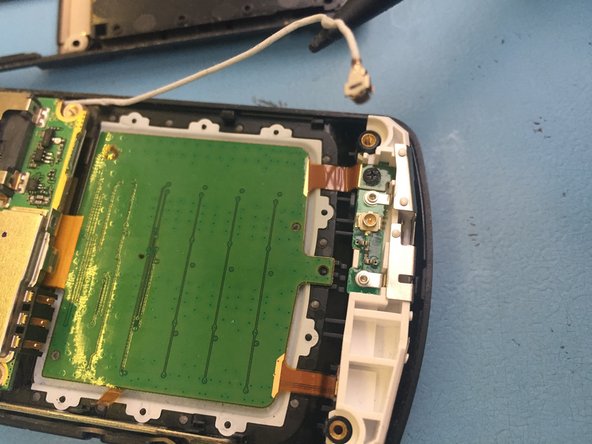
  6. LG KE970 Teardown, Disconnect the antenna: 6 단계, 이미지 1/3 LG KE970 Teardown, Disconnect the antenna: 6 단계, 이미지 2/3 LG KE970 Teardown, Disconnect the antenna: 6 단계, 이미지 3/3
    • Once the two parts are separated we should disconnect the antenna to proceed further. Insert your blackstick under the antenna and push it up very gently.

  7. LG KE970 Teardown, Unscrew the front part: 7 단계, 이미지 1/3 LG KE970 Teardown, Unscrew the front part: 7 단계, 이미지 2/3 LG KE970 Teardown, Unscrew the front part: 7 단계, 이미지 3/3
    • The display can be unscrewed. 6 silver screws are holding it on the main body. Although soldering required to replace this part, since the flex cable is attached on the Motherboard. So I leave it here.

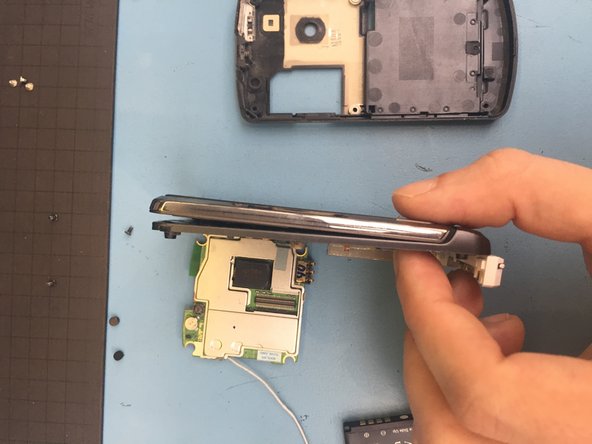
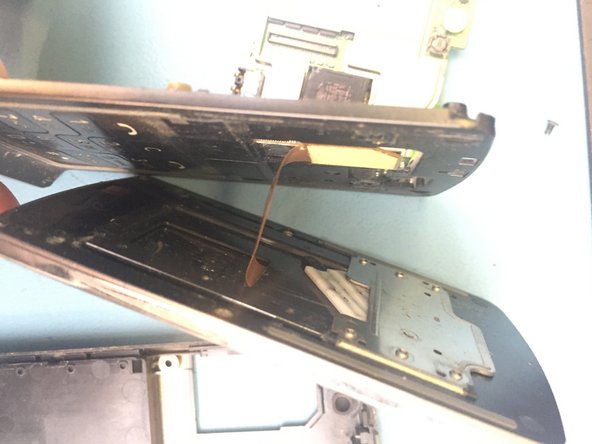
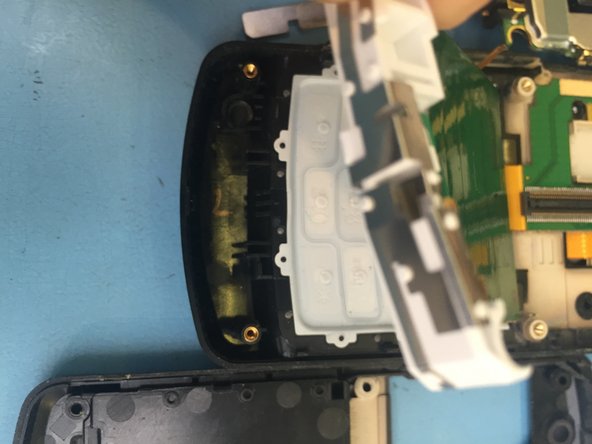
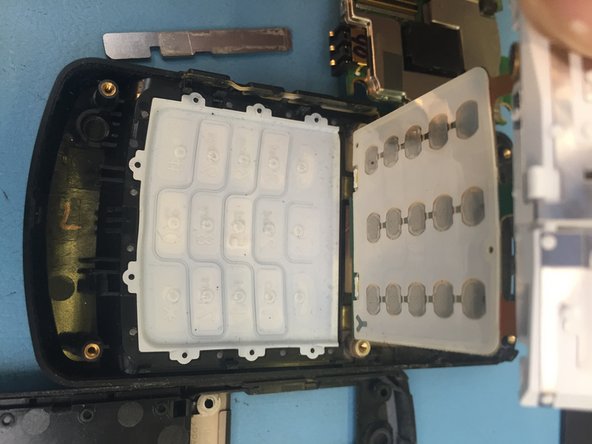
  8. LG KE970 Teardown, Find the keyboard: 8 단계, 이미지 1/3 LG KE970 Teardown, Find the keyboard: 8 단계, 이미지 2/3 LG KE970 Teardown, Find the keyboard: 8 단계, 이미지 3/3
    • Remove the last screw and you have access to the keyboard underneath.

Kosmar

회원 가입일: 06/23/21

492 평판

안내서 4개 작성하였습니다

ksmr.repair ksmr.repair 회원

Business

1 회원

안내서 4개 작성하였습니다

댓글 0개

댓글 쓰기

조회 통계:

24 시간 전: 0

7일 전: 0

30일 전: 10

전체 시간: 503