분해도
해당 분해도는 수리 안내서가 아닙니다. LG Xpression C395 수리는 저희 서비스 설명서를 사용하십시오.
Remove the back plate and battery
Remove the 7 Philips screws on the mid frame and un-clip it from the body
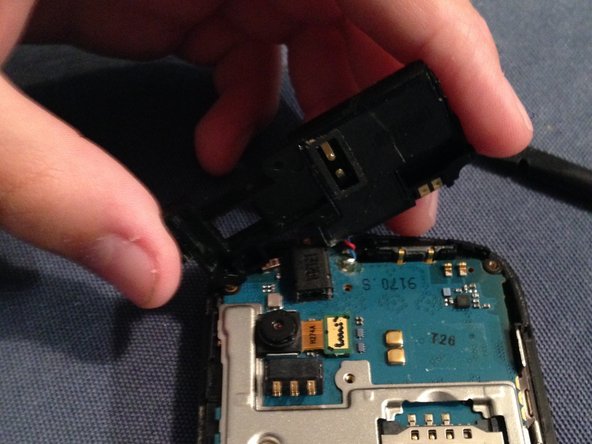
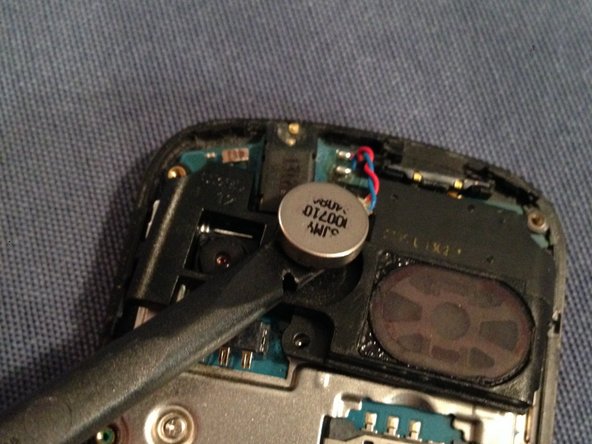
Take out the volume rocker daughter board, the black speaker plastic and the vibrate motor.
Remove the 2 Phillips screws and remove the motherboard
Remember there is a Ribbon cable under the motherboard
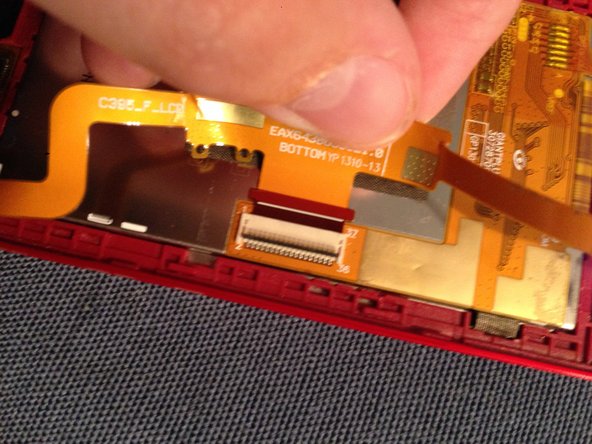
Remove the screen Ribbon cable and the keyboard
Remove the 4 Phillips screws holding in the keyboard plastic
Remove 4 more Phillips screws and remove the back of the screen
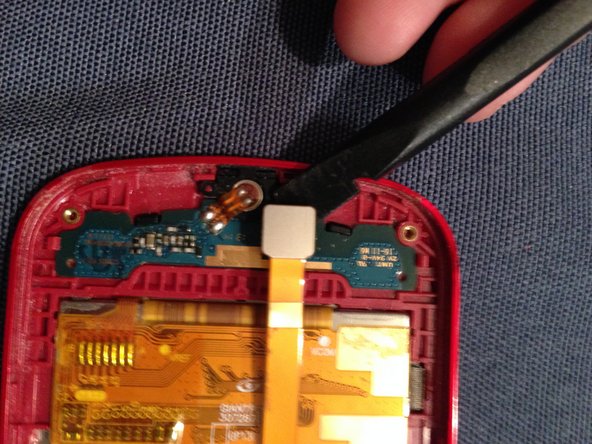
Remove the bottom button, earpiece and screen ribbon cable
After all of this you can remove the screen and conclude this teardown
다른 기여자 1명과 함께
회원 가입일: 08/28/19
169 평판
안내서 1개 작성함
배지: 0
Business
1 회원
안내서 1개 작성하였습니다
해당 안내서를 사이트/포럼에 작은 위젯으로 포함하려면 크기를 선택하고 아래 코드를 복사하십시오.
24 시간 전: 0
7일 전: 2
30일 전: 5
전체 시간: 686