소개
While this teardown is meant for the Lennox Y0349, the steps remain similar for other Lennox thermostats such as the Y2081. The steps are simple, and could be completed by anyone with a few basic tools. However, a long flathead screwdriver will make the job much easier.
필요한 것
-
-
Pushing in at the bottom of the thermostat, pull down and remove the thermostat from the wall. Note: the circuit breaker for the HVAC system MUST be off. Use caution when handling electrical wires.
-
-
-
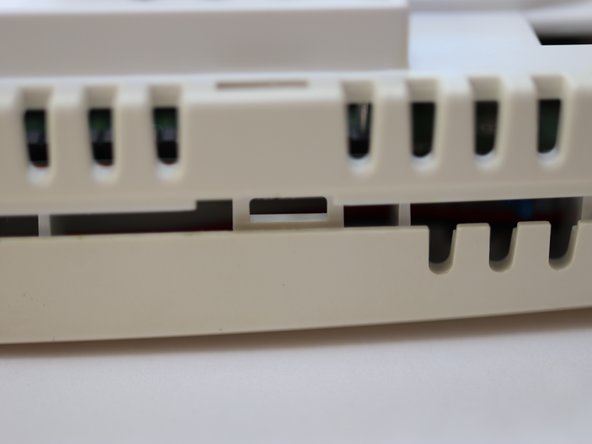
Locate the plastic tabs, and using a flat headed screwdriver, push them inward. This may take some force, but the plastic should give fairly easily.
-
-
-
-
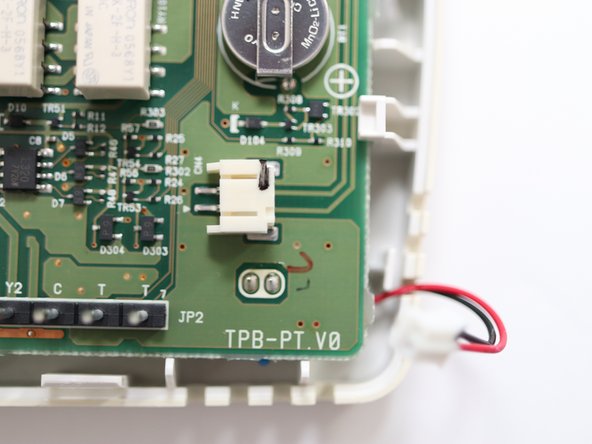
The board is exposed! Now simply push back the plastic tabs connecting the board and disconnect the cables
-
-
-
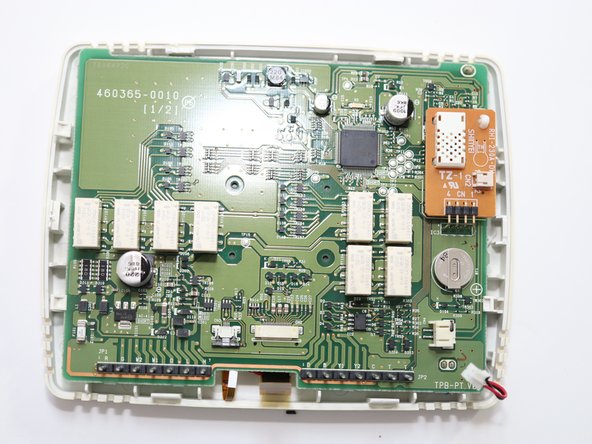
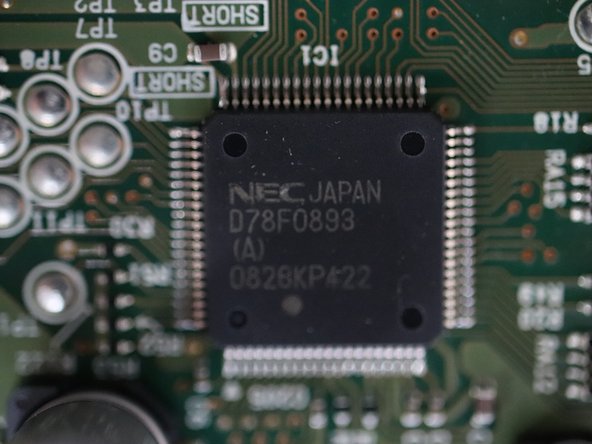
Now that the board is removed, we see 8 3 volt relays, the temperature and humidity sensor (on it's own board) a small battery, and the microprocessor.
-
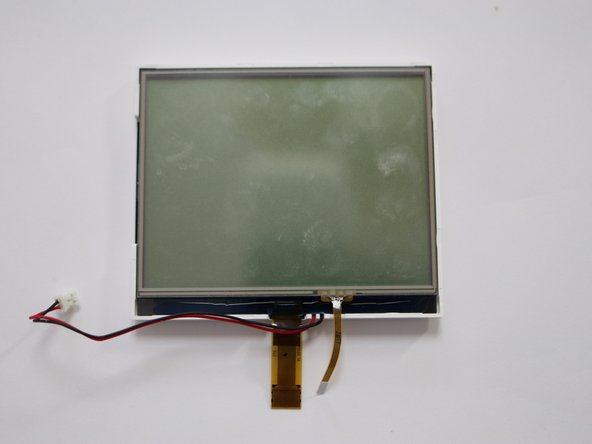
The screen has 3 cables (the wide one is for the LCD, the skinny one if for the digitizer, and the simple, red and black one is for the backlighting.
-