소개
I am tearing down a router!
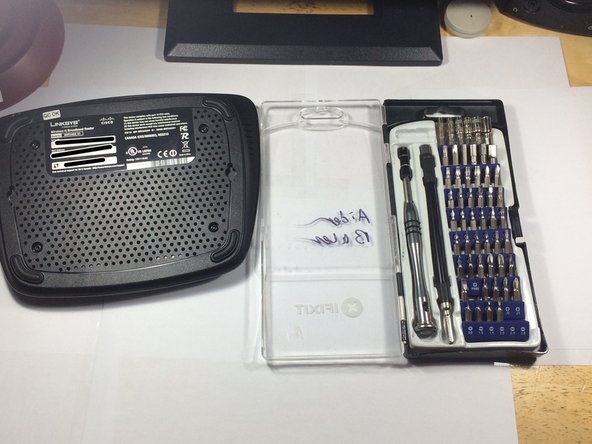
필요한 것
-
-
this is the linksys WRT54G2 V1.
-
The Internet in jack.
-
The 4 Ethernet out jacks
-
One reset button.
-
One 12 Volt DC .5 amp inlet.
-
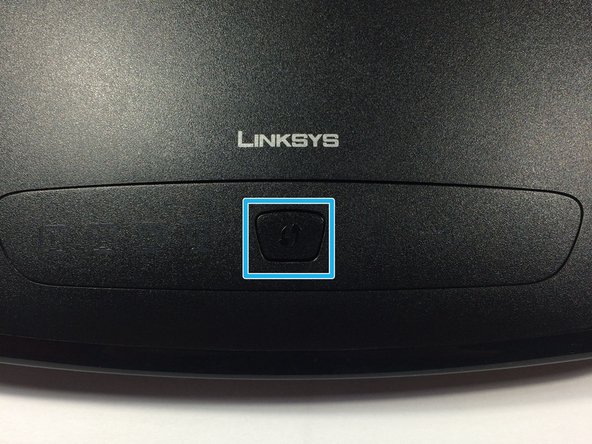
1 WPS button.
-
-
-
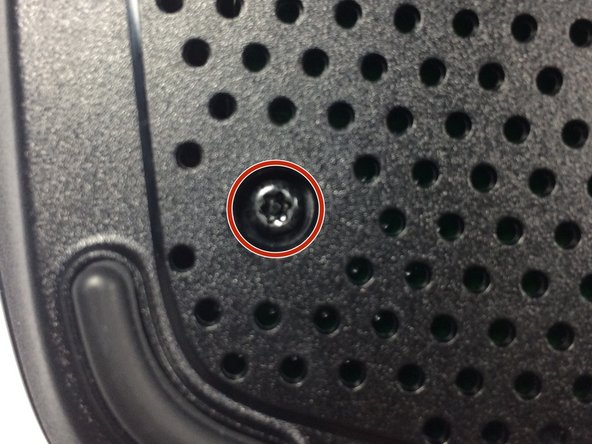
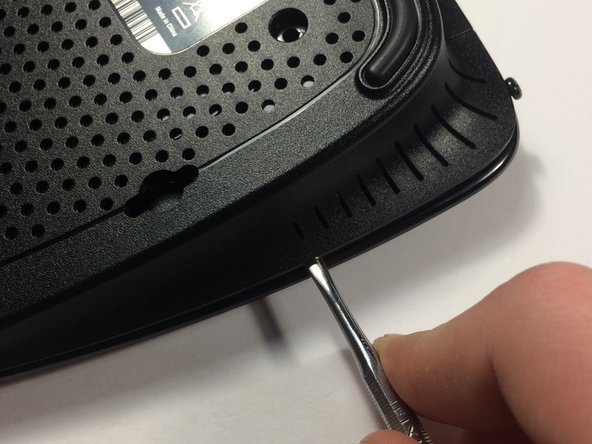
This is the back of the router. and 4 of its screws must be removed
-
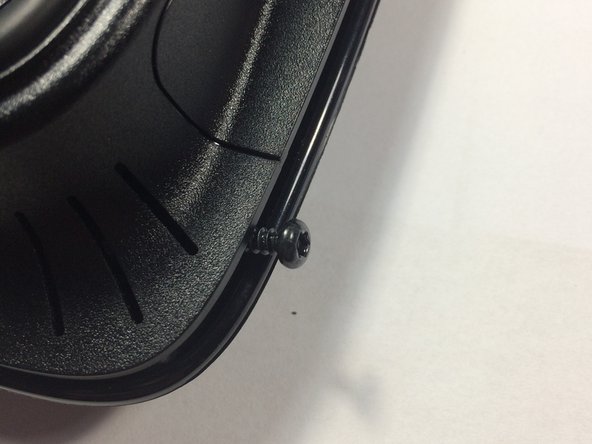
WHAT IS THIS? A new screw!
-
-
-
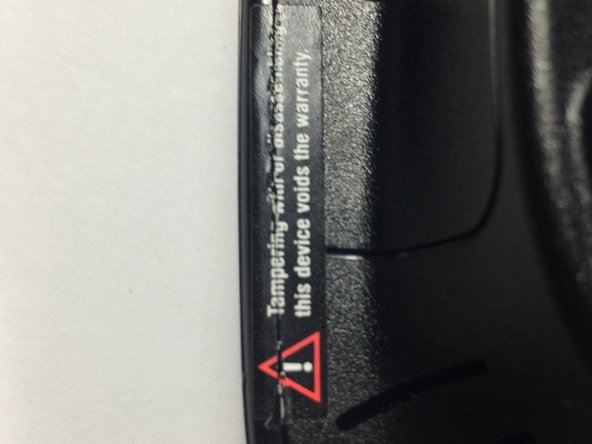
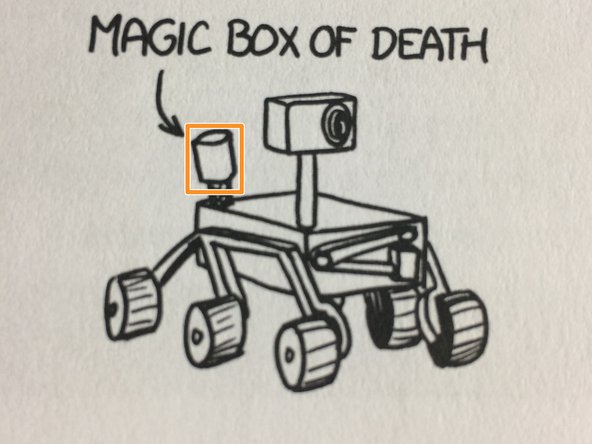
I feel a disturbance in this repair...
-
AHA! its darth voider! WE MUST DESTROY HIM!
-
iFixit emerges once again! VICTORY!
-
-
-
-
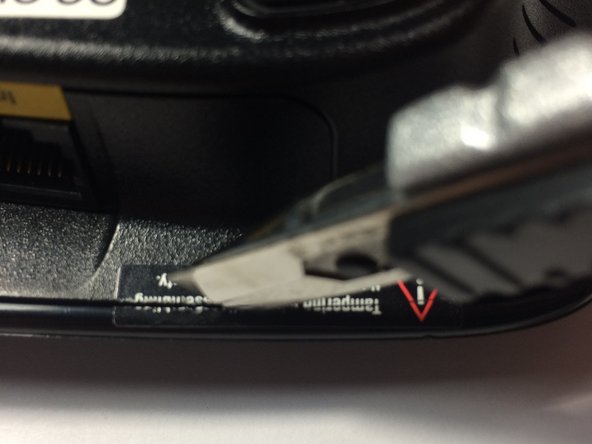
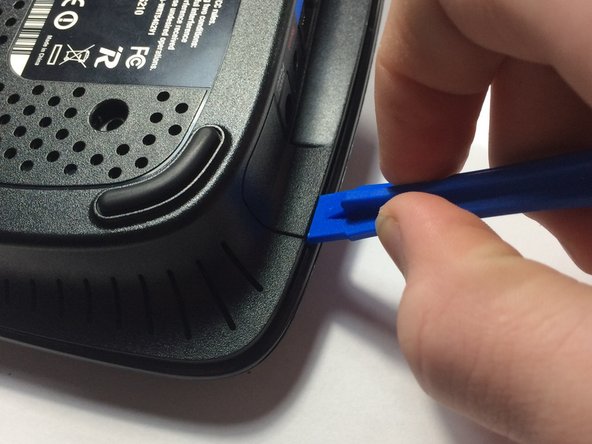
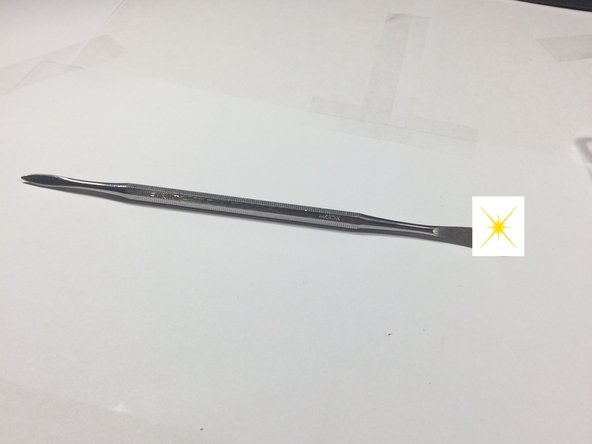
How do we open this? Rip it open? No... As tempting as that is there must be a more elegant way...
-
iFixit tools are elegant right? Use a iFixit Opening Tool to do the trick. mostly in the back corners.
-
-
-
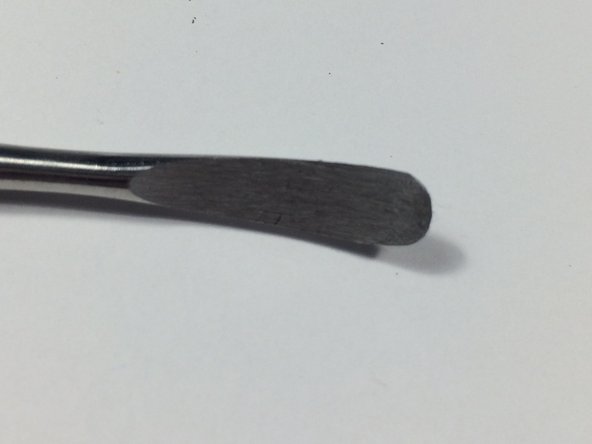
Engraved with the word IFIXIT to show authenticity.
-
Made with REAL metal
-
Look at that obviously not edited in shine!
-
Luckily I own one of these beauties. you can buy one too! BUY THE SPUDGENATOR 9000 HERE!
-
-
-
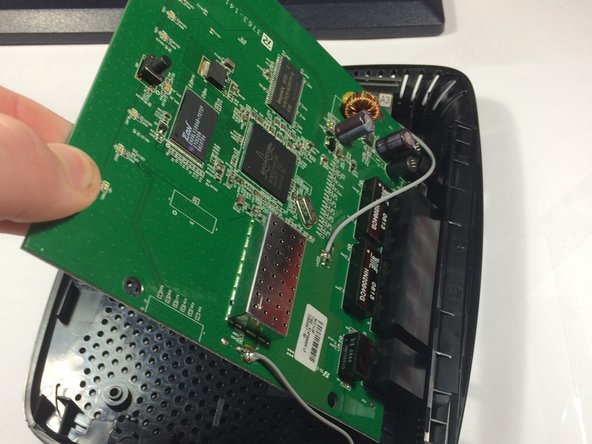
2 antennas
-
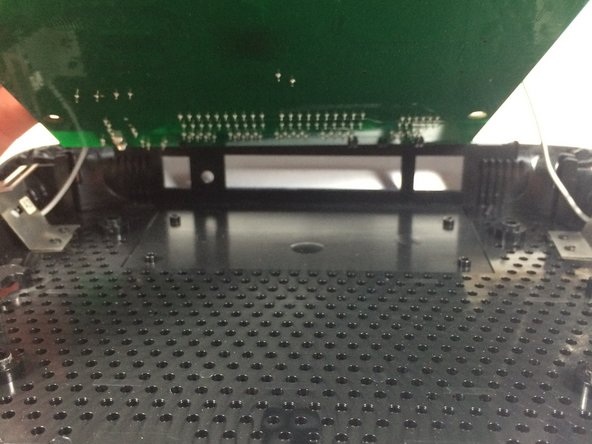
MAGIC BOX OF DEATH!
-


