주요 콘텐츠로 건너뛰기

필요한 것

해당 분해도는 수리 안내서가 아닙니다. Linksys WRT54G 수리는 저희 서비스 설명서를 사용하십시오.

  1. Linksys WRT54G Teardown, Get your Linksys: 1 단계, 이미지 1/2 Linksys WRT54G Teardown, Get your Linksys: 1 단계, 이미지 2/2
    • The Linksys WRT54G series is a series of Wi-Fi gateways manufactured by Linksys, a subsidiary of Cisco Systems.

  2. Linksys WRT54G Teardown, Antenna Removal: 2 단계, 이미지 1/2 Linksys WRT54G Teardown, Antenna Removal: 2 단계, 이미지 2/2
    • Let's begin with the teardown! First, unscrew the antennas from the back of the router and set them aside.

  3. Linksys WRT54G Teardown, Front Panel Removal: 3 단계, 이미지 1/3 Linksys WRT54G Teardown, Front Panel Removal: 3 단계, 이미지 2/3 Linksys WRT54G Teardown, Front Panel Removal: 3 단계, 이미지 3/3
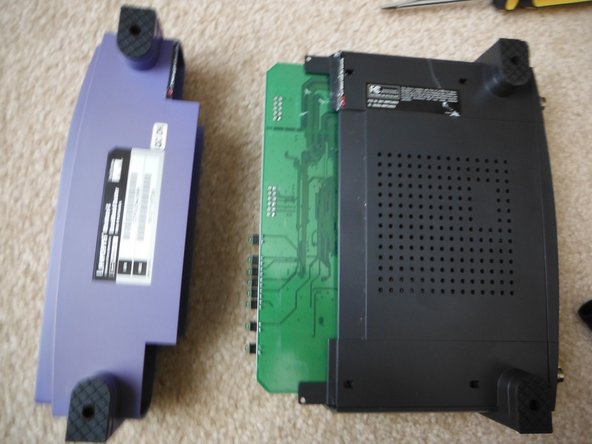
    • Lets get into the internals! First, flip the unit over and insert a small flat-head screwdriver in between the warranty sticker and the front panel and gently pry it open.

    • Beware! It may take some effort to pry the panel off. Also, be careful not to damage the motherboard, like I did.

    • This will certainly void your warranty from 2002, in case you wanted to know.

  4. Linksys WRT54G Teardown, Remove Top Panel: 4 단계, 이미지 1/3 Linksys WRT54G Teardown, Remove Top Panel: 4 단계, 이미지 2/3 Linksys WRT54G Teardown, Remove Top Panel: 4 단계, 이미지 3/3
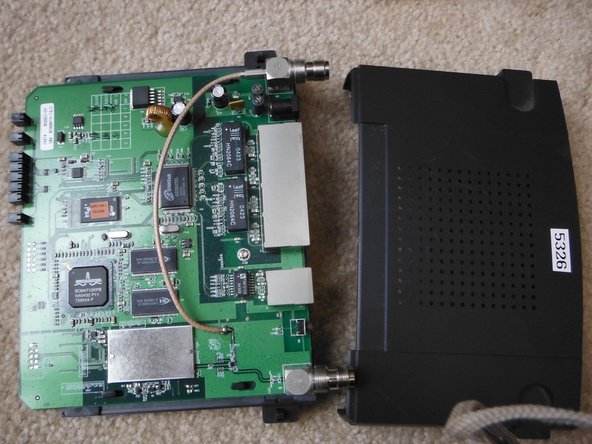
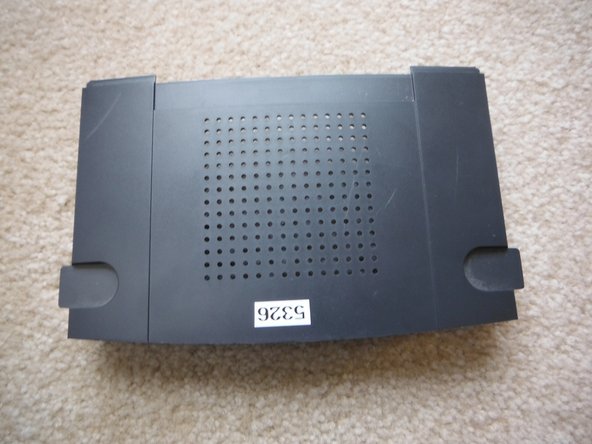
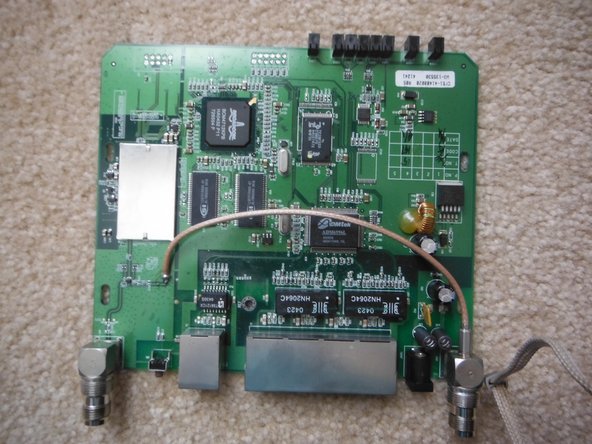
    • Now, slide the top plastic panel off and put it aside you now have a clear view of the motherboard.

    • Intel TE28F320 Flash Memory

    • Broadcom BCM4712KPB (I think it’s a modem chip)

    • Admtek ADM6996L Ethernet Controller

    • Activity LEDs

    • Issi 42S16400-6T Random Access Memory (unsure how much)

    • An assortment of other chips I couldn't find.

  5. Linksys WRT54G Teardown, Remove Motherboard: 5 단계, 이미지 1/3 Linksys WRT54G Teardown, Remove Motherboard: 5 단계, 이미지 2/3 Linksys WRT54G Teardown, Remove Motherboard: 5 단계, 이미지 3/3
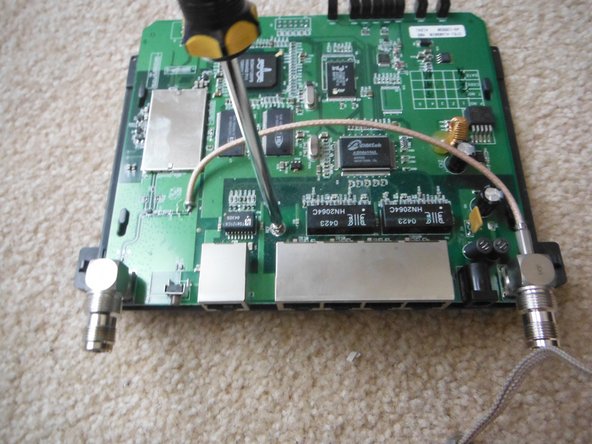
    • Time to remove the motherboard! Unscrew the single Phillips screw, slide the motherboard and then lift it out.

    • Single Phillips screw

    • Plastic slips holding the motherboard in place.

  6. Linksys WRT54G Teardown, Done!: 6 단계, 이미지 1/1
    • You're done! Thanks for sticking with me for my first teardown!

    • If you want to reassemble this, just do this guide in reverse order! (assuming you didn't break it like I did)

Reed Crosby

회원 가입일: 12/07/16

4,368 평판

안내서 1개 작성함

Kid fixers Kid fixers 회원

Community

156 회원들

안내서 292개 작성하였습니다

댓글 2개

Happened to get one of these from goodwill recently and wanted to take it apart to take a look. This was really helpful for doing that, deeply appreciate these teardown posts.

Chris Caldwell - 답글

댓글 쓰기

조회 통계:

24 시간 전: 3

7일 전: 12

30일 전: 46

전체 시간: 7,462