주요 콘텐츠로 건너뛰기

해당 분해도는 작업 중 입니다 – 최신 변경 사항을 보려면 주기적으로 다시 로드 하십시오!

필요한 것

  1. M6013 Capacitor Meter Teardown, Removing Battery: 1 단계, 이미지 1/2 M6013 Capacitor Meter Teardown, Removing Battery: 1 단계, 이미지 2/2
    • Remove the circled screw

    • Remove battery case and batteries

  2. M6013 Capacitor Meter Teardown, Removing Case: 2 단계, 이미지 1/3 M6013 Capacitor Meter Teardown, Removing Case: 2 단계, 이미지 2/3 M6013 Capacitor Meter Teardown, Removing Case: 2 단계, 이미지 3/3
    • Remove circled screws

    • Pull case apart

    • Watch out for buttons, they will fall out easily.

  3. M6013 Capacitor Meter Teardown, Remove Circuit Board: 3 단계, 이미지 1/3 M6013 Capacitor Meter Teardown, Remove Circuit Board: 3 단계, 이미지 2/3 M6013 Capacitor Meter Teardown, Remove Circuit Board: 3 단계, 이미지 3/3
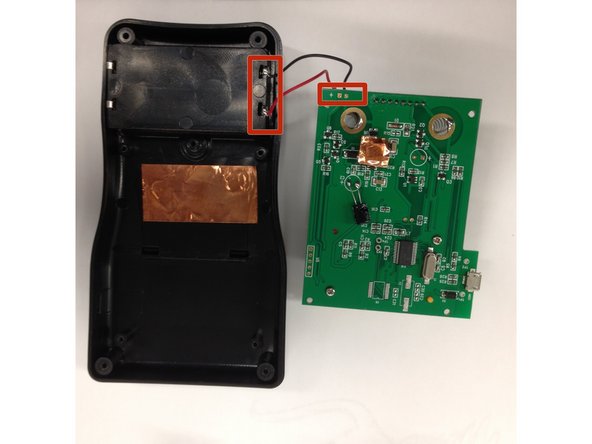
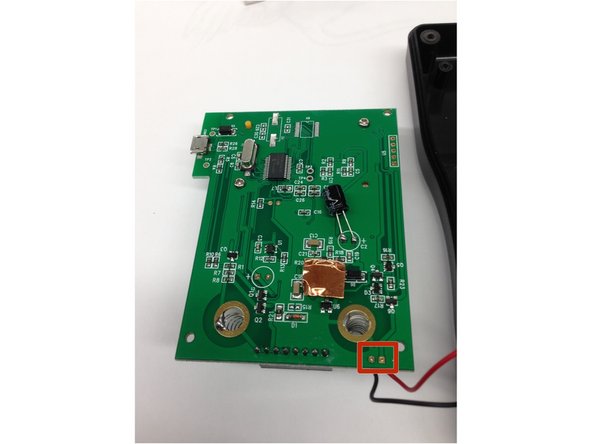
    • Remove circled screws

    • Be careful when removing the circuit board, the battery cable is still connected.

    • Unsolder the square locations either on the circuit board or the case to fully remove the circuit board

    Good morning, community, I need help to identify the value of resistors R10, R6, R7, R1 of my m6013 that broke down by mistake.

    Ing_cor - 답글

  4. M6013 Capacitor Meter Teardown, Microprocessor: 4 단계, 이미지 1/2 M6013 Capacitor Meter Teardown, Microprocessor: 4 단계, 이미지 2/2
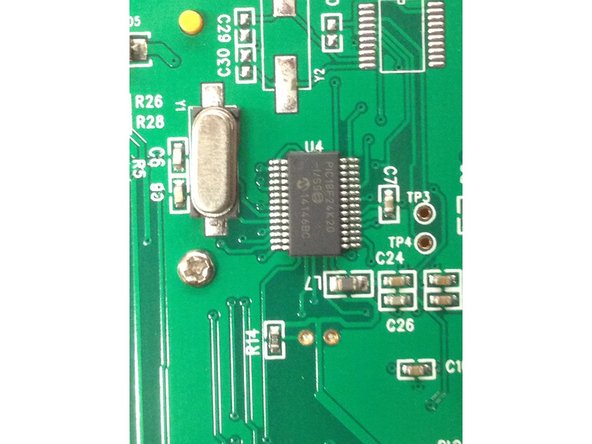
    • Location of microprocessor

  5. M6013 Capacitor Meter Teardown, Remove Display: 5 단계, 이미지 1/2 M6013 Capacitor Meter Teardown, Remove Display: 5 단계, 이미지 2/2
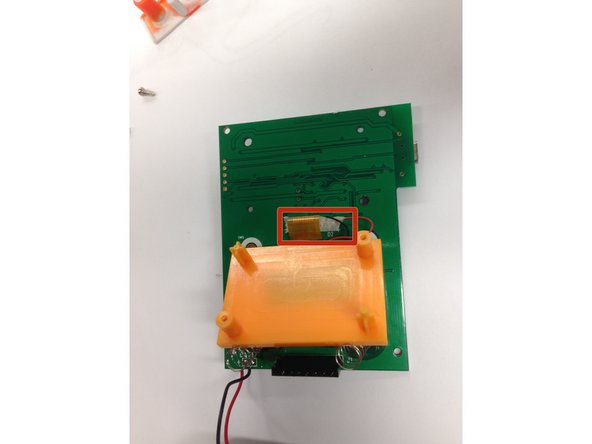
    • Remove the cable connector

    • Remove Display

Ted Hsueh

회원 가입일: 09/20/12

170 평판

안내서 3개 작성하였습니다

Cal Poly, Team 16-56, Forte Fall 2012 Cal Poly, Team 16-56, Forte Fall 2012 회원

CPSU-FORTE-F12S16G56

5 회원들

안내서 13개 작성하였습니다

댓글 2개

Add some specs on start and foto of the unit ....

Mateusz - 답글

Hello everyone, can someone help me identify the regulator that is in the printed circuit of this capacimeter identified with "U1" and the diode "D1" I appreciate any information.

CHUCHOX - 답글

댓글 쓰기

조회 통계:

24 시간 전: 0

7일 전: 0

30일 전: 6

전체 시간: 599