주요 콘텐츠로 건너뛰기

필요한 것

해당 분해도는 수리 안내서가 아닙니다. Macintosh Quadra 610 수리는 저희 서비스 설명서를 사용하십시오.

  1. Macintosh Quadra 610 Teardown, Top Cover: 1 단계, 이미지 1/3 Macintosh Quadra 610 Teardown, Top Cover: 1 단계, 이미지 2/3 Macintosh Quadra 610 Teardown, Top Cover: 1 단계, 이미지 3/3
    • To start, lift the two tabs on the back of the computer and take the cover off.

  2. Macintosh Quadra 610 Teardown, Power Supply: 2 단계, 이미지 1/1
    이 단계에 사용된 도구:
    Phillips #1 Screwdriver
    $5.49
    구매
  3. Macintosh Quadra 610 Teardown: 3 단계, 이미지 1/2 Macintosh Quadra 610 Teardown: 3 단계, 이미지 2/2
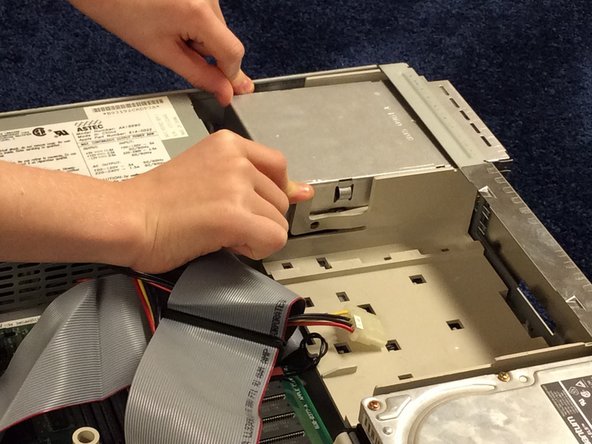
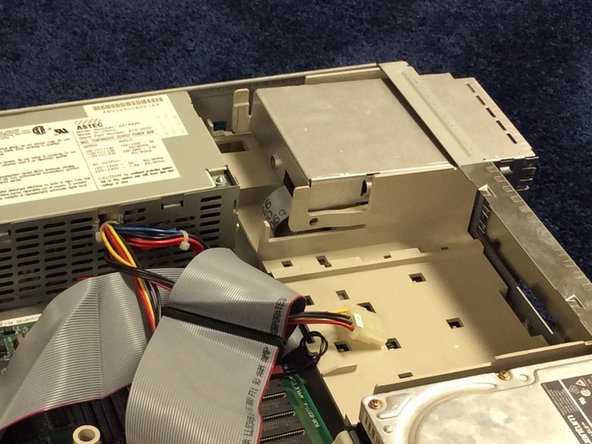
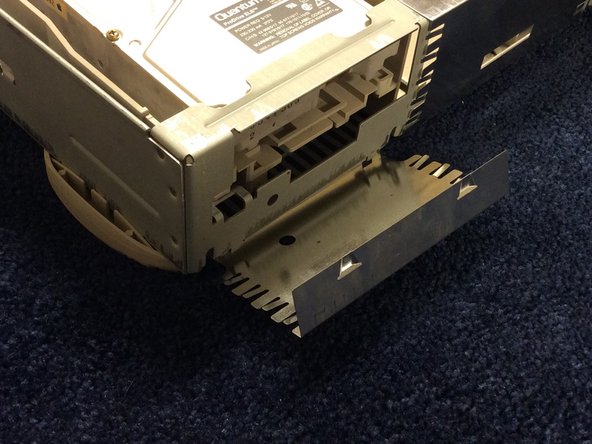
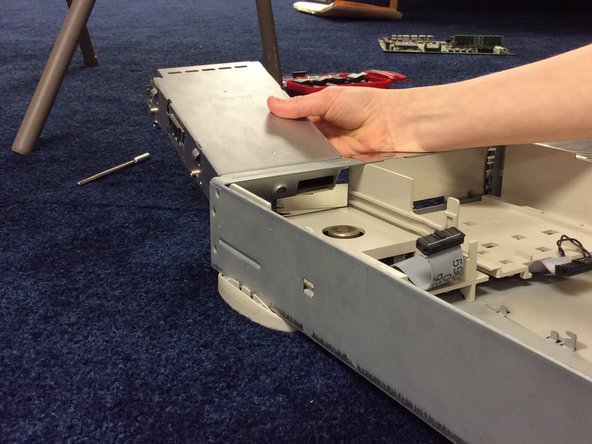
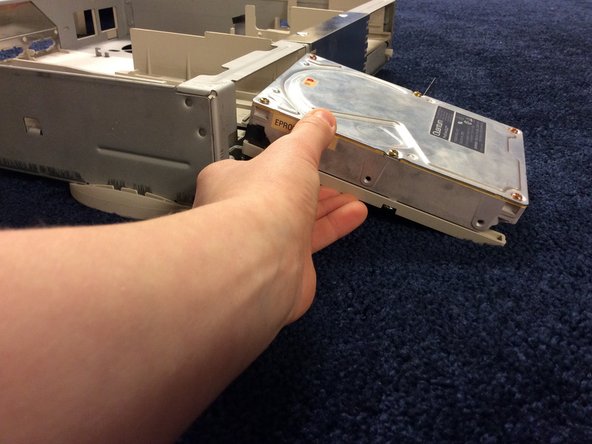
    • To gain better access to the power supply, push the two tabs securing the floppy drive out and slide the floppy drive forward a few inches.

    • If you have a CD-ROM drive installed in the Mac, disconnect the SCSI ribbon cable, the CD-ROM power supply cable, and the CD-ROM audio cable. Remove the EMI shield in the front of the CD-ROM drive also.

  4. Macintosh Quadra 610 Teardown: 4 단계, 이미지 1/2 Macintosh Quadra 610 Teardown: 4 단계, 이미지 2/2
    • Grab the power connector for the hard drive and take it out of the hard drive.

    • Make sure that you grab the connector, and not the wires, or you will risk damage to the connection.

  5. Macintosh Quadra 610 Teardown: 5 단계, 이미지 1/2 Macintosh Quadra 610 Teardown: 5 단계, 이미지 2/2
    • Grab the main power connector that is connected to the motherboard and pull gradually and firmly toward the power supply.

    • Make sure that you grab the connector, and not the wires, or you will risk damage to the connection.

  6. Macintosh Quadra 610 Teardown: 6 단계, 이미지 1/3 Macintosh Quadra 610 Teardown: 6 단계, 이미지 2/3 Macintosh Quadra 610 Teardown: 6 단계, 이미지 3/3
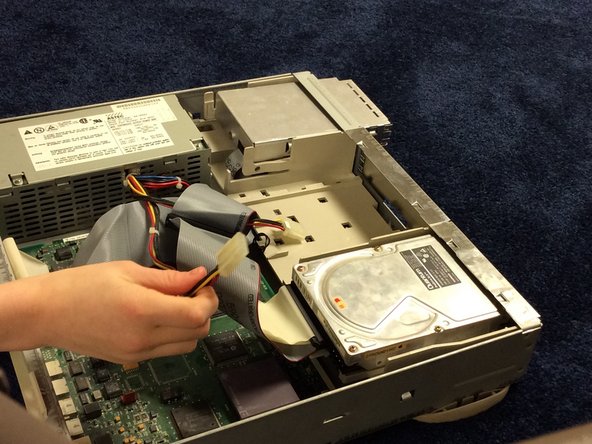
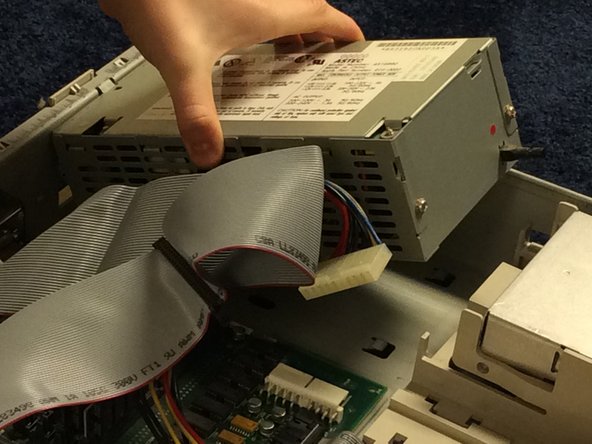
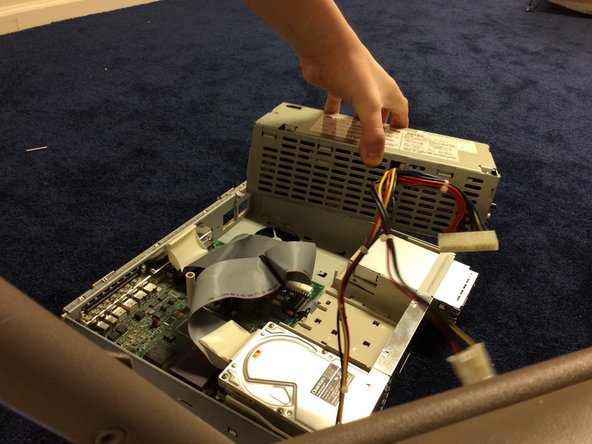
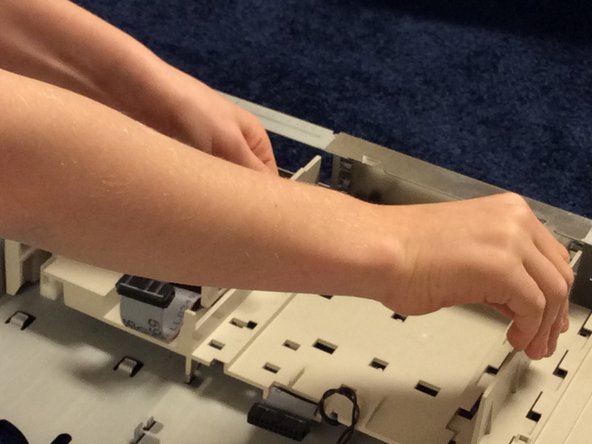
    • Push the power supply toward the front of the computer, lift up the side of the power supply closest to the floppy drive, and take the power supply out of the Mac.

  7. Macintosh Quadra 610 Teardown, Motherboard: 7 단계, 이미지 1/2 Macintosh Quadra 610 Teardown, Motherboard: 7 단계, 이미지 2/2
    이 단계에 사용된 도구:
    Phillips #1 Screwdriver
    $5.49
    구매
  8. Macintosh Quadra 610 Teardown: 8 단계, 이미지 1/3 Macintosh Quadra 610 Teardown: 8 단계, 이미지 2/3 Macintosh Quadra 610 Teardown: 8 단계, 이미지 3/3
    • Take out the SCSI ribbon cable, using the provided straps connected to the cable to pull it out.

    • Do not pull on the cable itself, or you will risk damage to the connection.

  9. Macintosh Quadra 610 Teardown: 9 단계, 이미지 1/3 Macintosh Quadra 610 Teardown: 9 단계, 이미지 2/3 Macintosh Quadra 610 Teardown: 9 단계, 이미지 3/3
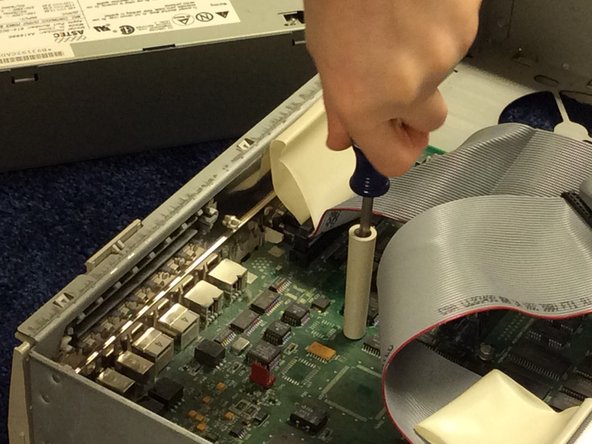
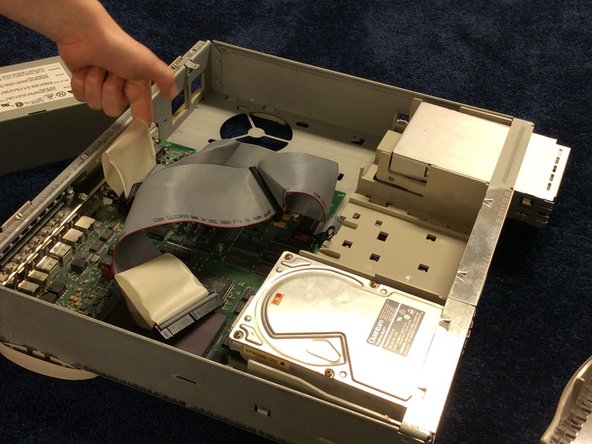
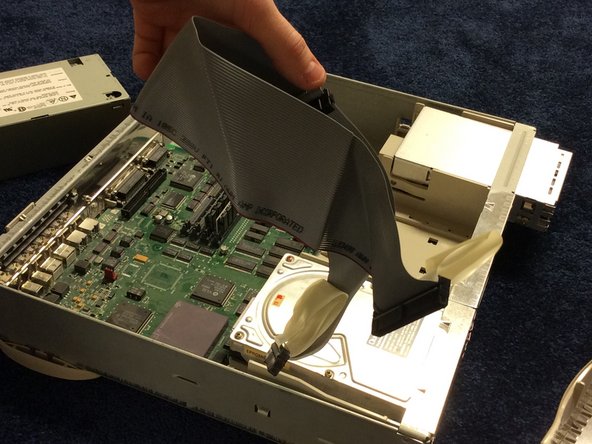
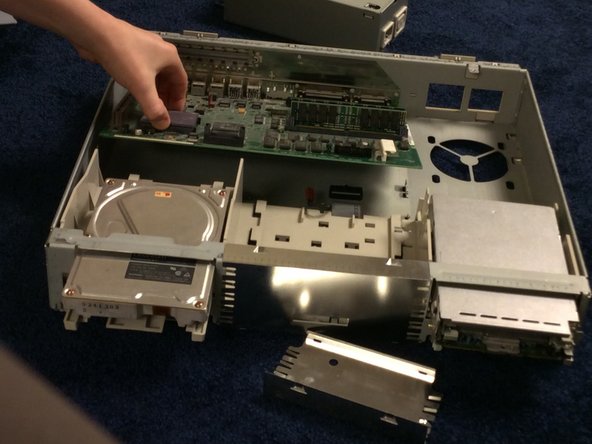
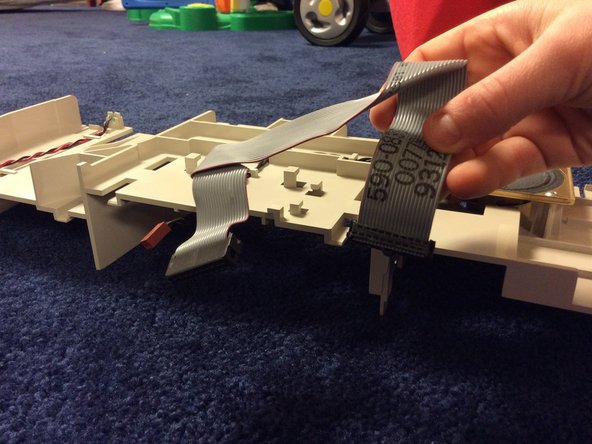
    • Remove the floppy drive cable from the motherboard. It may be necessary to lift up the edge of the motherboard to make it easier to remove the connector.

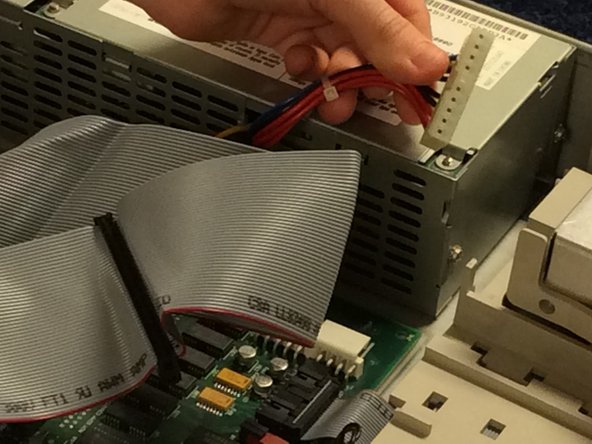
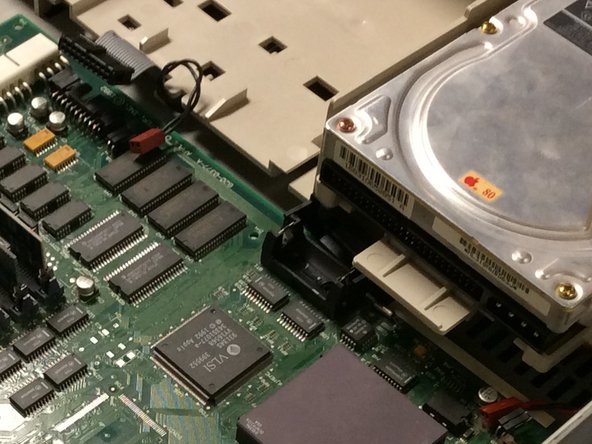
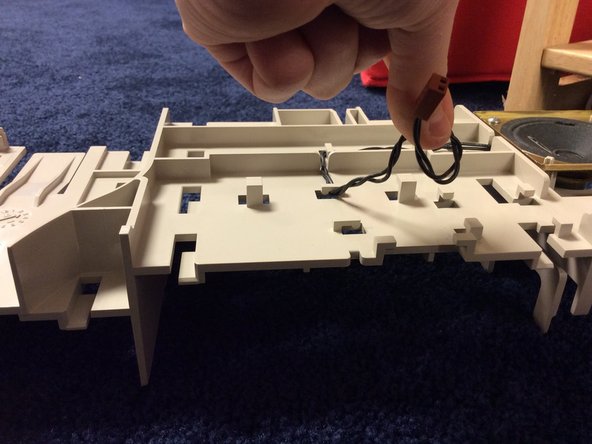
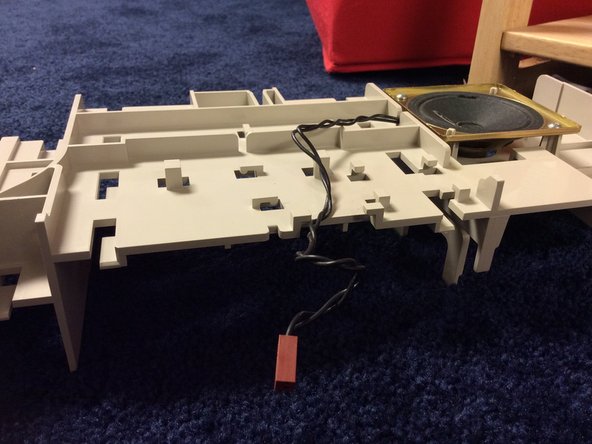
    • Remove the speaker cable from the motherboard.

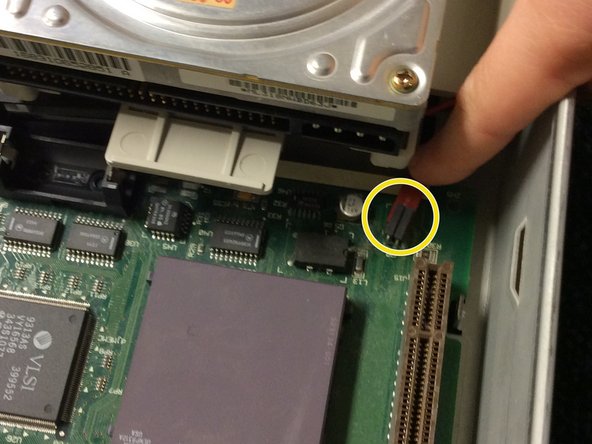
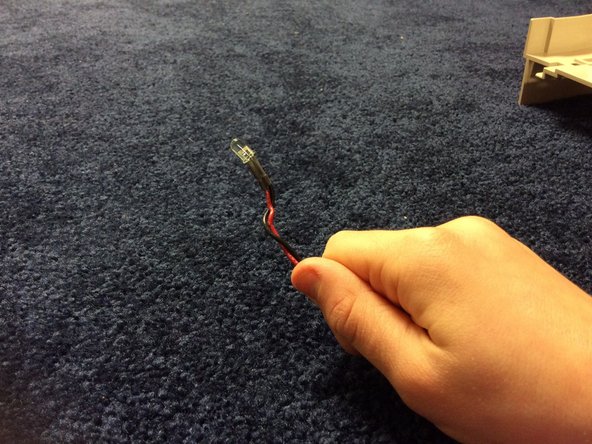
    • Remove the LED cable from the motherboard.

    • Make sure to pull only on the connector, and not the wires, or you will risk damage to the connection.

    • If you have a CD-ROM drive installed in the Mac, remove the CD-ROM audio cable from the motherboard.

  10. Macintosh Quadra 610 Teardown: 10 단계, 이미지 1/2 Macintosh Quadra 610 Teardown: 10 단계, 이미지 2/2
    • Push up on the two tabs for the EMI shield, and fold it down.

  11. Macintosh Quadra 610 Teardown: 11 단계, 이미지 1/2 Macintosh Quadra 610 Teardown: 11 단계, 이미지 2/2
    • Push down on the tab marked, and push the hard drive forward a few inches.

    • If you have a CD-ROM drive installed in the Mac, push up on the tab in the front of the computer, and slide the CD-ROM drive forward a few inches.

  12. Macintosh Quadra 610 Teardown: 12 단계, 이미지 1/3 Macintosh Quadra 610 Teardown: 12 단계, 이미지 2/3 Macintosh Quadra 610 Teardown: 12 단계, 이미지 3/3
    • Slide the motherboard forward, and lift it out of the Mac.

  13. Macintosh Quadra 610 Teardown: 13 단계, 이미지 1/1
    • Let's take a look at the internal components:

    • 20 MHz Motorola 68LC040

    • 32 MB RAM, expandable to 68 MB.

  14. Macintosh Quadra 610 Teardown, Floppy Drive: 14 단계, 이미지 1/2 Macintosh Quadra 610 Teardown, Floppy Drive: 14 단계, 이미지 2/2
    • Disconnect the floppy cable from the drive, pulling on the cable.

    • It's okay to pull on the cable this time, but only do it with gradual force, don't just yank it out.

  15. Macintosh Quadra 610 Teardown: 15 단계, 이미지 1/2 Macintosh Quadra 610 Teardown: 15 단계, 이미지 2/2
    • Push the floppy drive out of the Mac.

  16. Macintosh Quadra 610 Teardown, Hard Drive: 16 단계, 이미지 1/2 Macintosh Quadra 610 Teardown, Hard Drive: 16 단계, 이미지 2/2
    • Take the hard drive, and pull it out the front of the Mac.

    • If you don't have a CD-ROM drive installed in your Mac, skip ahead to Step 18.

    • Push the CD-ROM drive out of the computer (I don't have a CD-ROM drive installed in mine, so I can't give you any pictures. Sorry!).

  17. Macintosh Quadra 610 Teardown, Internal Chassis: 18 단계, 이미지 1/3 Macintosh Quadra 610 Teardown, Internal Chassis: 18 단계, 이미지 2/3 Macintosh Quadra 610 Teardown, Internal Chassis: 18 단계, 이미지 3/3
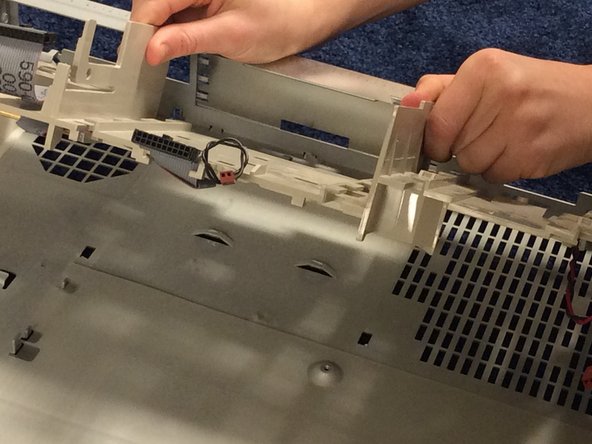
    • The chassis is secured to the bottom cover by two tabs at the front of the unit, two rail and tab sets at the sides of the unit, support posts at the back of the chassis, and hidden brackets that slide into the bottom cover.

    • Step 1: Press up on one of the front tabs while lifting the support post. Step 2: Repeat this step on the other side until the internal chassis slides easily toward the back of the computer.

  18. Macintosh Quadra 610 Teardown: 19 단계, 이미지 1/2 Macintosh Quadra 610 Teardown: 19 단계, 이미지 2/2
    • Flip the internal chassis over, and take out the floppy cable, carefully unthreading it from its routing guides.

  19. Macintosh Quadra 610 Teardown: 20 단계, 이미지 1/2 Macintosh Quadra 610 Teardown: 20 단계, 이미지 2/2
    • Take out the LED cable, carefully removing it from its routing guides.

  20. Macintosh Quadra 610 Teardown: 21 단계, 이미지 1/3 Macintosh Quadra 610 Teardown: 21 단계, 이미지 2/3 Macintosh Quadra 610 Teardown: 21 단계, 이미지 3/3
    • Carefully remove the speaker wire from its routing guides.

  21. Macintosh Quadra 610 Teardown: 22 단계, 이미지 1/3 Macintosh Quadra 610 Teardown: 22 단계, 이미지 2/3 Macintosh Quadra 610 Teardown: 22 단계, 이미지 3/3
    이 단계에 사용된 도구:
    TR10 Torx Security Screwdriver
    $5.99
    구매
  22. Macintosh Quadra 610 Teardown, Good Job!: 23 단계, 이미지 1/1
    • Congratulations! You just took apart your Macintosh Quadra / Centris 610!

    • Follow these steps in reverse to put it back together.

DominoRider2431

회원 가입일: 01/26/16

11 평판

안내서 1개 작성함

댓글 0개

댓글 쓰기

조회 통계:

24 시간 전: 0

7일 전: 2

30일 전: 6

전체 시간: 3,189