주요 콘텐츠로 건너뛰기

필요한 것

해당 분해도는 수리 안내서가 아닙니다. Moodo Smart Aroma Diffuser 수리는 저희 서비스 설명서를 사용하십시오.

  1. Moodo Smart Aroma Diffuser  Teardown, Device: 1 단계, 이미지 1/2 Moodo Smart Aroma Diffuser  Teardown, Device: 1 단계, 이미지 2/2
    • The device can be opened by removing the 4 Philips screws visible from the bottom

  2. Moodo Smart Aroma Diffuser  Teardown, Fan assembly: 2 단계, 이미지 1/1
    • The fan and air guidance assembly is attached to the main PCB with 2 screws.

    • Each fan has one connector for power and one for the pod sensor - these need to be disconnected from the PCB before removing the fan assembly. If you want to replace a fan, you will need to unhook the sensor cables from the sides.

    • Fans used are: 1604KL-01W-B39-B00 NMB Technologies DC Fans DC Axial Fan, 40x10mm, 5VDC, 4.2CFM

  3. Moodo Smart Aroma Diffuser  Teardown, PCB: 3 단계, 이미지 1/2 Moodo Smart Aroma Diffuser  Teardown, PCB: 3 단계, 이미지 2/2
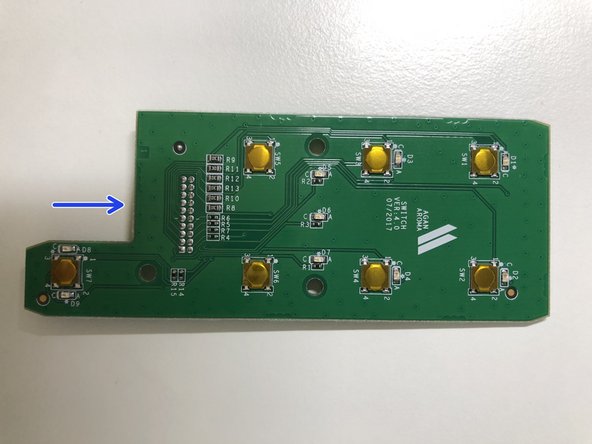
    • The main PCB connects to the control PCB with a ribbon cable.

    • It can be removed with 2 screws.

    • The 2 cell battery pack is located under the main PCB.

Markus

회원 가입일: 01/01/20

132 평판

안내서 1개 작성함

댓글 0개

댓글 쓰기

조회 통계:

24 시간 전: 0

7일 전: 2

30일 전: 9

전체 시간: 766