필요한 것
-
이 단계는 번역되지 않았습니다. 번역을 도와주십시오
-
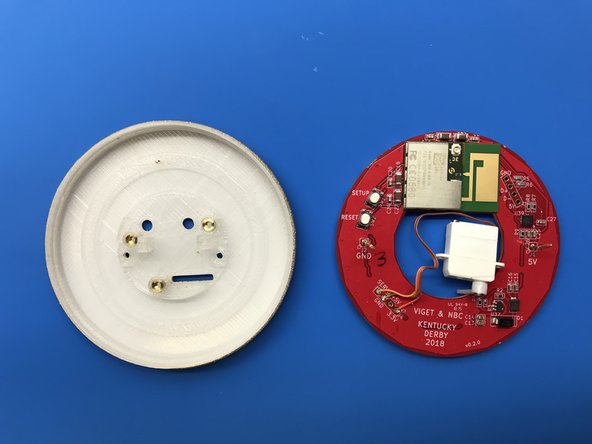
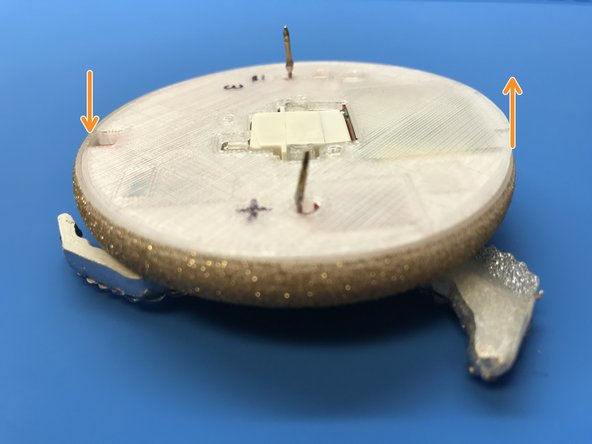
Gather all components and flip everything over.
-
Mount the head, tail, and both legs by placing them over their pivot points.
-
-
이 단계는 번역되지 않았습니다. 번역을 도와주십시오
-
Carefully align the linkage with the mounting holes on both legs.
-
Place two 3mm eyeglass screws into either end of the linkage.
-
Tighten the screws. These screws will self-tap into the legs. Be careful to not over-tighten and seize the linkage.
-
-
이 단계는 번역되지 않았습니다. 번역을 도와주십시오
-
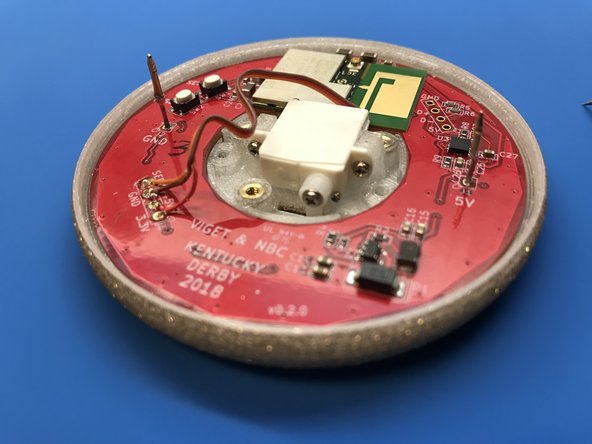
Pull the servo through the donut hole of the PCB (top to bottom).
-
Orient the servo arm to the left (aligned with the rest of the body). This represents the zero degree location.
-
Manually move the servo arm down 90 degrees so it is now points downward into the work surface.
-
Mount the servo to the enclosure.
-
-
-
이 단계는 번역되지 않았습니다. 번역을 도와주십시오
-
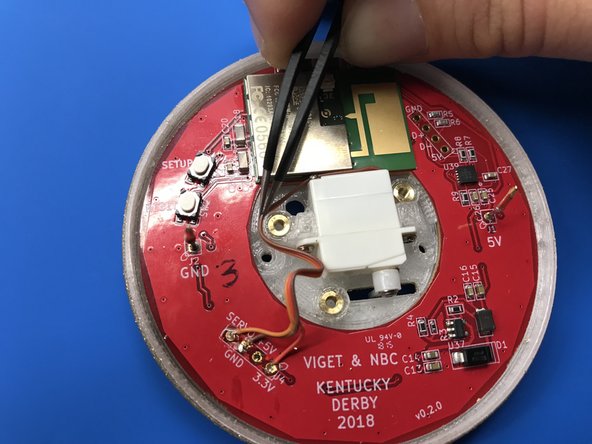
Place the PCB overtop the servo.
-
Route the servo's wire around various components as depicted.
-
Coil extra wire in available space.
-
-
이 단계는 번역되지 않았습니다. 번역을 도와주십시오
-
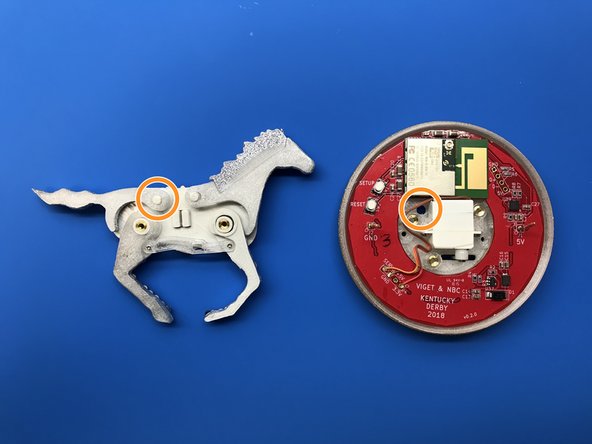
Align the enclosure with the mounting holes on the backside of the horse's body.
-
Align servo arm with the drive gap in the linkage. Double check this correct before tightening.
-
Use two M2 screws to attach the horse to the enclosure.
-
-
이 단계는 번역되지 않았습니다. 번역을 도와주십시오
-
Start by placing the bottom notched-side into the lip of the enclosure.
-
Align all three mounting holes from above.
-
Press firmly with both hands (avoid putting pressure on horse) and work your hands around the edges until the back is pressed flush.
-
Secure the back of the enclosure by driving three M2 screws into place. DO NOT OVER TIGHTEN!
-
-
이 단계는 번역되지 않았습니다. 번역을 도와주십시오
-
Attach wiring harness to brooch.
-
Plug wiring harness into USB power supply.
-