소개
NeXT Computer was founded in October of 1985 when Steve Jobs was forced out of Apple by John Scully. He started NeXT as a high-end computer company targeted at the University/Scientist/Computing Industry. NeXT only ever released , the NeXTStation, and The NeXTCube, in different variations. NeXT computers were high-end workstation computers, and only a few thousand were ever sold. The NeXTStation featured a, though the Turbo NeXTStation featured a68040. There were color and non-color variations of the NeXTStation. The world's first web server was created by Tim Berners-Lee, at CERN on a NeXTCube. NeXT computers were used to make games like Doom, and Wolfenstein. This is my&W NeXTStation. Mac OS X Is based off of NeXTStep, the NeXT OS.
필요한 것
-
-
The NeXTStation, this is a great addition to any computer collection.
-
-
-
Turn the NeXTStation around, and remove this screw:
-
Then, lift the top cover of the computer. This will reveal the guts.
-
The ports from left to right: SCSI2, Keyboard & Mouse, DSP Port, DB-19(MegaPixel Display), DB-9(Serial), RJ-45(Ethernet), Coaxial (10b2 Ethernet), Power
-
I find notes in everything!
" Keyboard & Mouse"
Nope! Those are serial ports. The keyboard plugs into the monitor, and the mouse plugs into the keyboard.
Also the DB-9 is the printer port, by which the NeXT laser printer was attached. I don't think it could be used for general serial communications. On the other hand, if I recall correctly the DSP port *was* usable for high-speed serial communications.
-
-
-
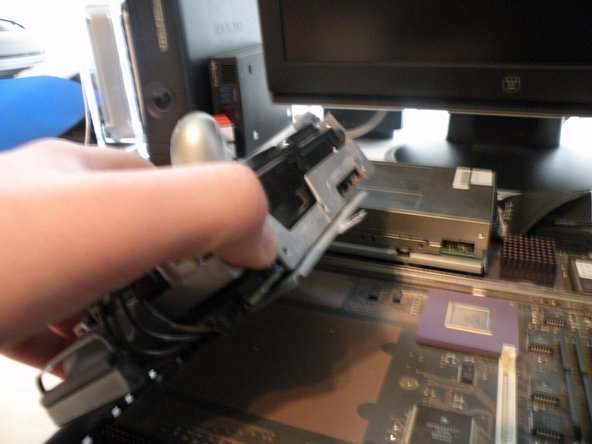
Removing the hard drive:
-
The NeXTStation uses a 50-Pin SCSI Hard Drive up to 4GB.
-
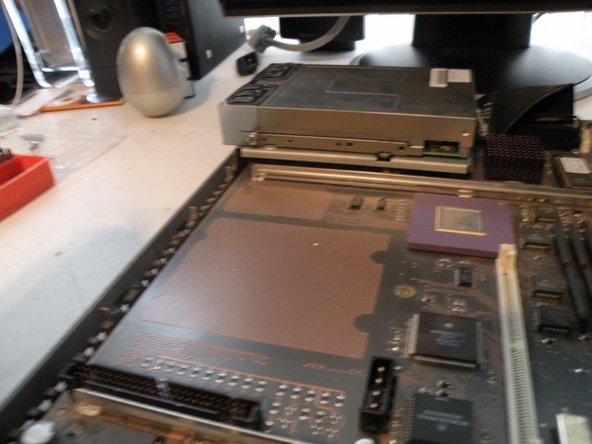
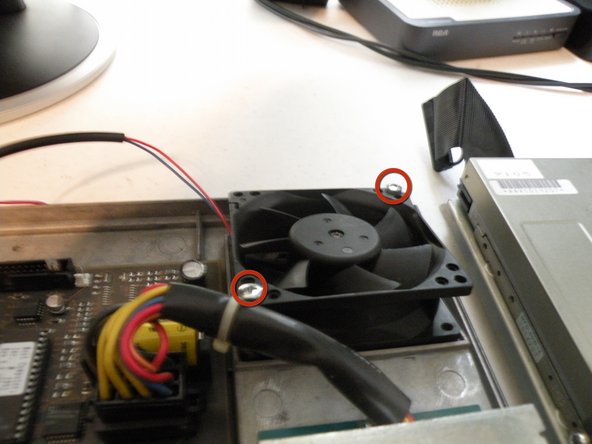
Remove all of the cables from the logic board.
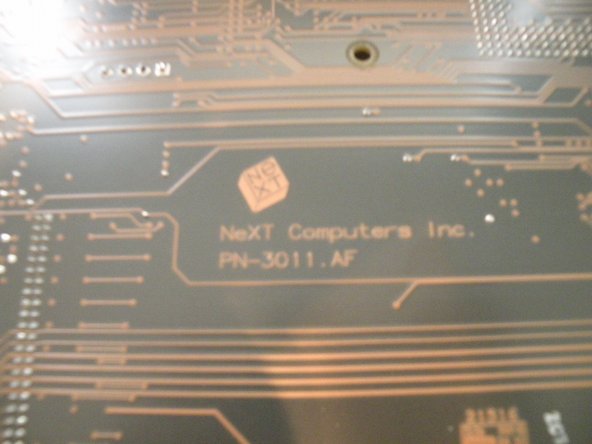
It's incredible how modern this board looks, despite its being so dated.
tabormeister로 부터 인용:
It's incredible how modern this board looks, despite its being so dated.
Yep, this was one fast of a workstation back in 90"
-
-
-
-
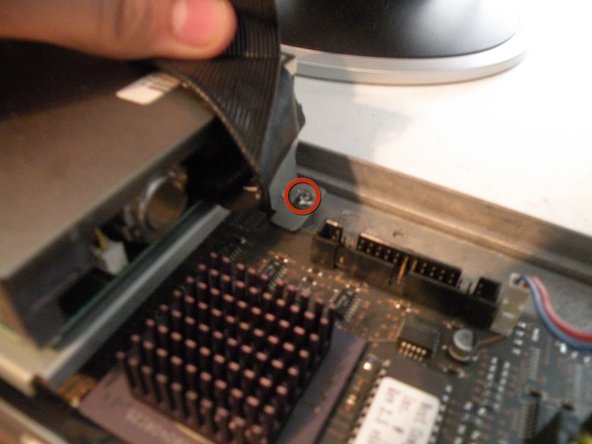
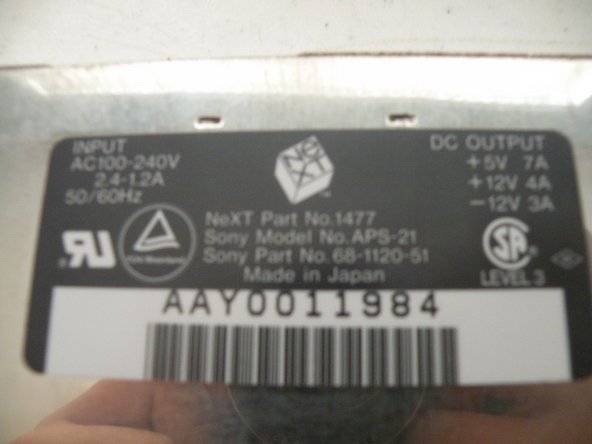
Power Supply:
-
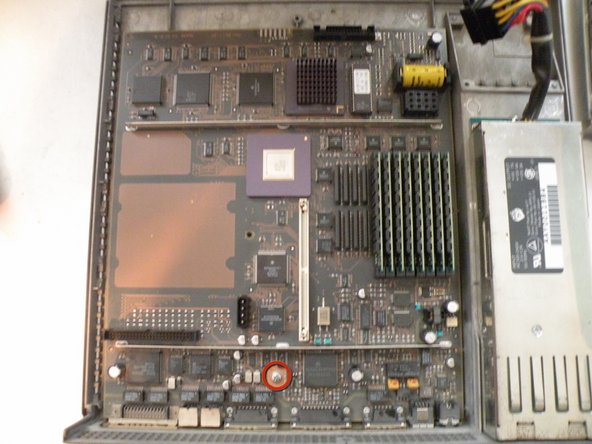
Remove this screw.
-
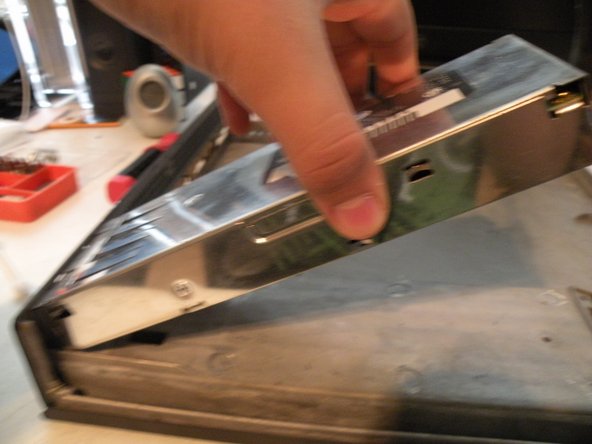
Lift the power supply up, and out.
The power supply is the (only?) weak spot on this beauty! It is always the MOSFETs which burn out. So make sure you use heat sink compound when you re-assemble it!
If it is broken, maybe this page can help: http://heller.no-ip.org/~heller/NeXT/pow...
-
-
-
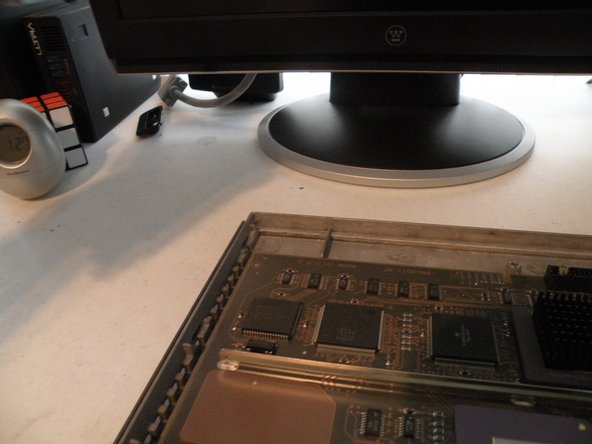
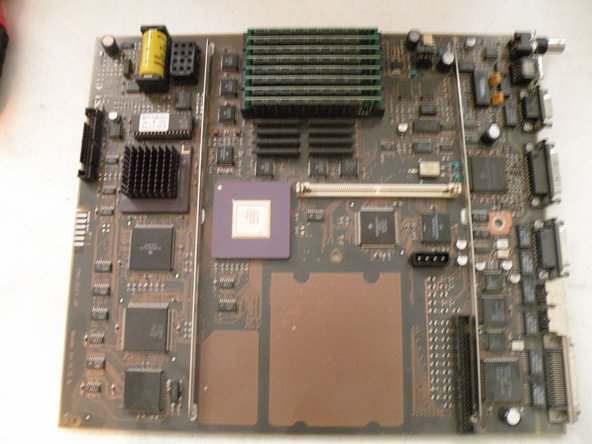
The Logic Board Overview:
-
The Board has a 25Mhz Motorola 68040 CPU, This board features a ton of chips for something made nearly 20 years ago.
-
The CPU: Motorola XC68040RC25
-
The Co-Procesor: MB610313
-
Motorola Chips
-
Intel Chips
-
AMD Chips (Intel and AMD In the same computer?)
-
Fujitsu Chips
-


팀

댓글 3개
http://www.youtube.com/watch?v=jhfUKEu7s...
The Machine to Build the Machines:
Watch NeXT's revolutionary computer controlled (NeXT Cubes - no less) assembly line in action!
Juddy로 부터 인용:
http://www.youtube.com/watch?v=jhfUKEu7s... The Machine to Build the Machines: Watch NeXT's revolutionary computer controlled (NeXT Cubes - no less) assembly line in action!
Amazing!
MB610313 - ICP (Integrated Channel Processor). Basically DMA on steroids for almost all of the main sub components of the system. I believe that the cube, or at least the 25Mhz 030/040 cubes, had two of these.