소개
필요한 것
-
-
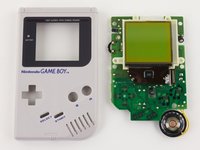
Nintendo Gameboy가 시장에 출시된 최초의 휴대용 게임기는 아니었지만 Nintendo Gameboy는 휴대용 게임기라는 것을 대중화하고 휴대용 게임 산업의 신호탄을 쏘아 올렸습니다.
-
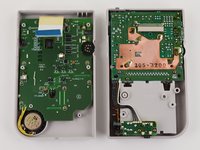
사양:
-
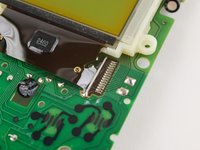
4.19 MHz 8비트 프로세서
-
8KB 램
-
2.6" 160x144 STN LCD 디스플레이
-
-
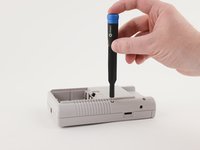
이 단계에 사용된 도구:Mako Driver Kit - 64 Precision Bits$39.95
-
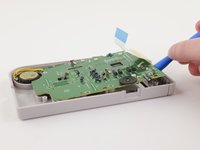
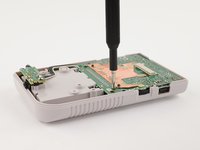
케이스는 6개의 트라이포인트 Y1 나사로 고정되어 있습니다. 1989년 당시에도, 닌텐도는 기존 나사가 우리같은 수리인에게 취약하다고 생각했던 것 같습니다. 다행히도, 자사의 마코 드라이버 키트는 필요한 비트를 제공합니다.
-
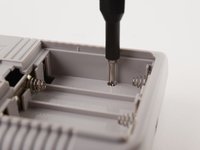
닌텐도는 그나마 드라이버가 배터리 칸에 잘 들어갈 수 있는 홈을 제공했습니다.
-
-


다음 번역가들에게 특별히 감사 드립니다:
100%


이 번역인들은 저희가 세상을 수리하는 데 도움을 주고 있어요! 기여하시겠습니까?
번역 시작하기 ›

댓글 8개
We truly have come a long way =) Thanks for the share.
2020. Thanks
Great tear down, thank you for highlighting the chips.
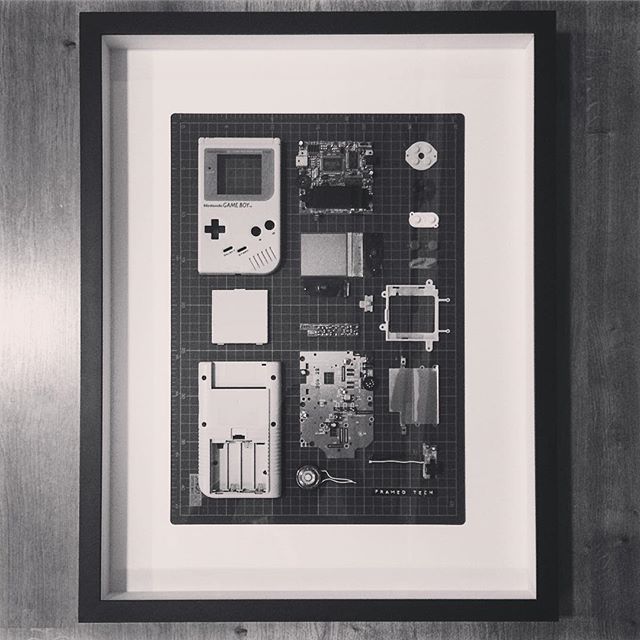
Great tear down! I want to use an old gameboy to frame it like this:
https://images.squarespace-cdn.com/conte...
Regarding Step 7, it says here: “The LCD display is attached to the circuit board with clips and couple of screws. Unfortunately, the display's cable is soldered to the board.”
My question: what’s the best and cleanest way to remove the LCD display? It doesn’t have to function again afterwards, it just needs to look as nice and cleanly taken apart as possible :)
If anyone has a good hint, please let me know! Thanks!
Fanning a soldering iron back and forth on the soldered connection should do the trick!