소개
Released in 2016, the Pocket C.H.I.P. was a handheld computer produced by the now defunct company Next Thing Co. It included a C.H.I.P. computer, also produced by Next Thing Co.
It runs its own Debian-based Linux distro, C.H.I.P. OS. Included with C.H.I.P. OS is a Linux terminal, a file manager, a music maker, and PICO-8 for game playing and making.
Specs:
- 1GHz Allwinner R8 ARMv7 CPU
- 512 MB RAM
- Mali 400 GPU
- Wi-Fi 802.11b/g/n
- Bluetooth 4.0
- 1Wh 3.7V battery rated for 5 hours
- 4 GB on board storage
- 4.3 inch 480×272 pixel resistive touchscreen
- GPIO Headers
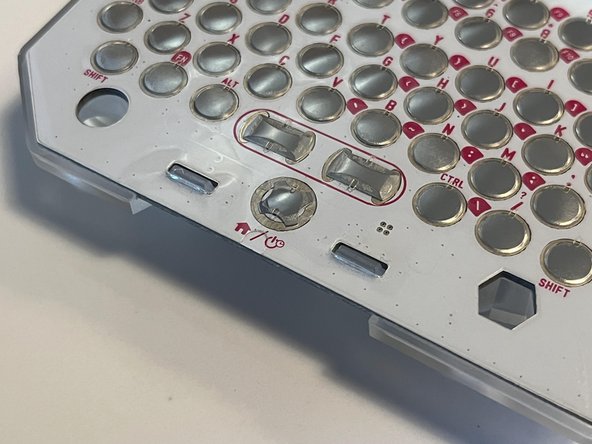
- Keyboard with 4-way d-pad
- Micro USB for charging
- USB-A for peripherals
- 1/8-inch audio jack
필요한 것
-
-
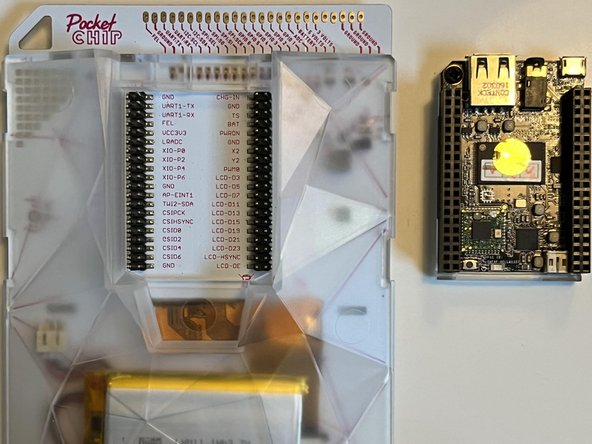
To start off, power off the computer, remove the CHIP on the back.
-
You shouldn't need any special tools for this, but it might be a little tight, so you might need to wiggle it a bit.
-
-
-
-
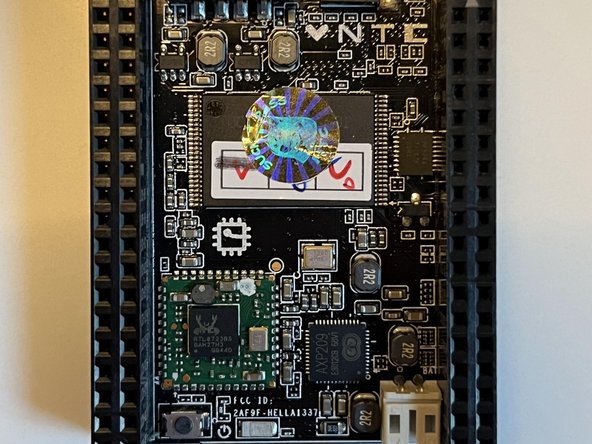
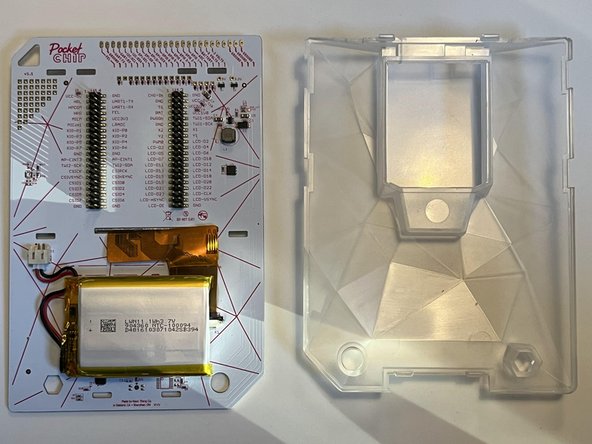
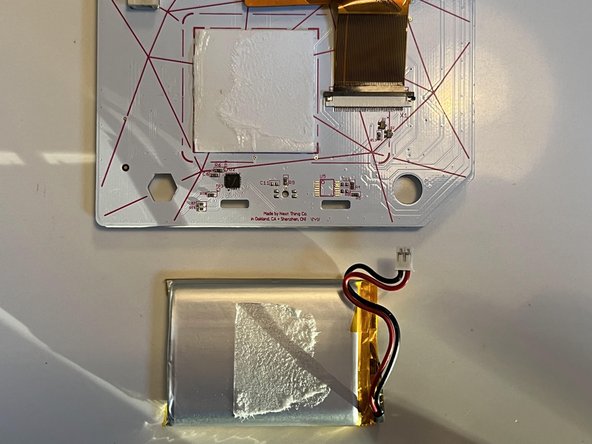
Next, we need to remove the LiPo battery.
-
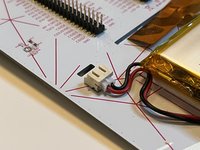
First, we need to unplug it from the CHIP. Simply pull it from the connector.
-
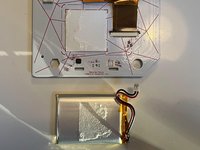
There is some adhesive holding the battery to the main board. I found twisting it while pulling worked wonders.
-
-
-
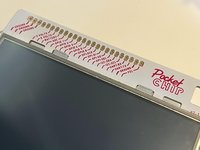
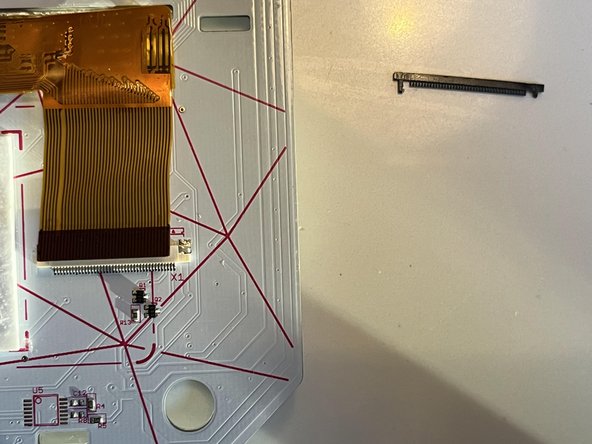
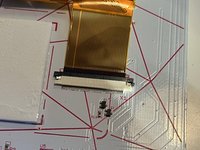
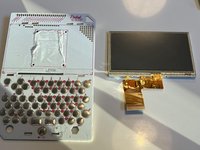
The screen connector was hidden by the battery. Now that it's revealed, we can do our thing.
-
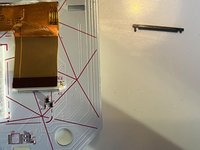
Pull the black bar up on both sides. It should come out completely.
-
You can now pull the ribbon cable up.
-
-
-
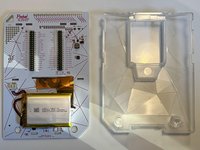
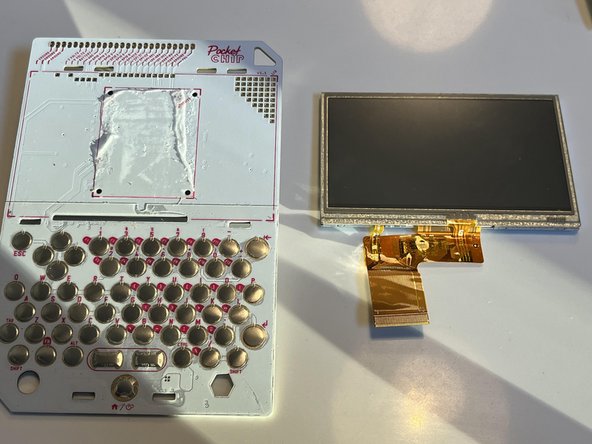
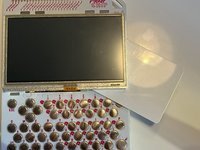
There is some adhesive behind the screen. I put a card behind it and kind of sawed it off to remove it.
-
-
-
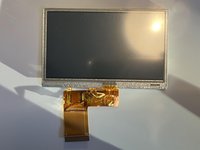
That's it, we've taken apart the Pocket chip! The only pieces are
-
The main board with the keyboard
-
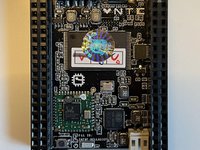
The main CHIP computer
-
The LiPo battery
-
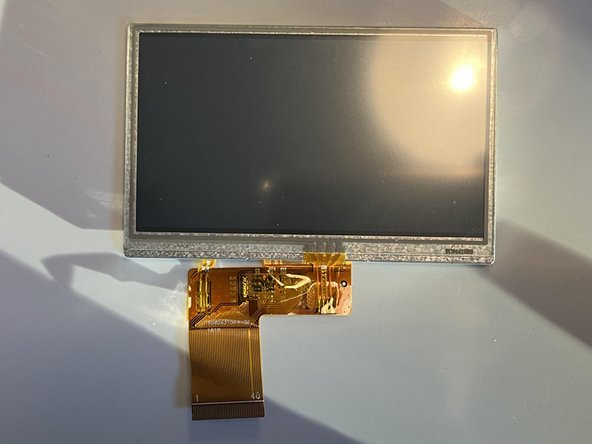
The screen
-
And the back case.
-