주요 콘텐츠로 건너뛰기

필요한 것

해당 분해도는 수리 안내서가 아닙니다. Razer Pro Click Mobile 수리는 저희 서비스 설명서를 사용하십시오.

  1. Razer Pro Click Mobile Teardown, Teardown: 1 단계, 이미지 1/1
    • The Razer Pro Click Mobile mouse served me well for over a year and a half. It's a compact bluetooth mouse that handles magnificently.

    • Unfortunately, curiosity is not the only thing that drove me when I decided to do this teardown. The left button stopped working :(

    • therefore, I (am going to) FIX IT (see what i did there :] ?)

  2. Razer Pro Click Mobile Teardown: 2 단계, 이미지 1/2 Razer Pro Click Mobile Teardown: 2 단계, 이미지 2/2
    • And now, for the teardown. Open the battery compartment as you do every time this power hog runs out of juice. As you can see, i'm using rechargeables for that reason

    • Pull the two marked plastic elements outwards.

  3. Razer Pro Click Mobile Teardown: 3 단계, 이미지 1/2 Razer Pro Click Mobile Teardown: 3 단계, 이미지 2/2
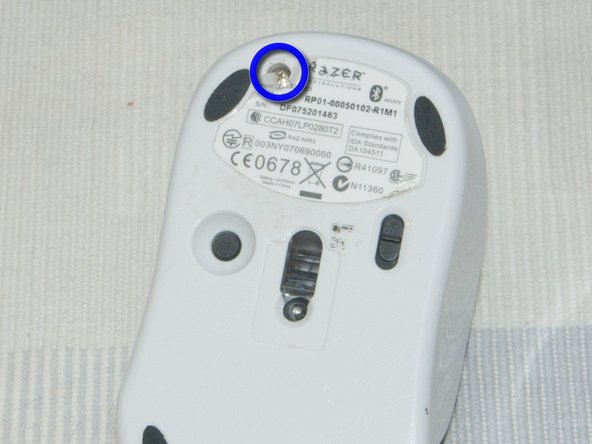
    • Remove the two philips screws marked.

    • There is a third screw under the sticker, on the underside of the mouse. The sticker breaks easily and this probably voids the warranty.

  4. Razer Pro Click Mobile Teardown: 4 단계, 이미지 1/2 Razer Pro Click Mobile Teardown: 4 단계, 이미지 2/2
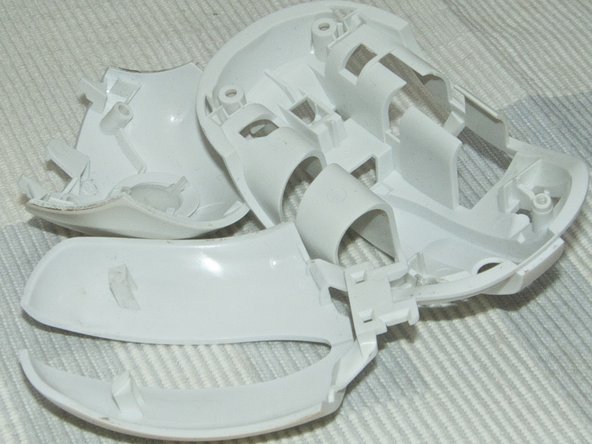
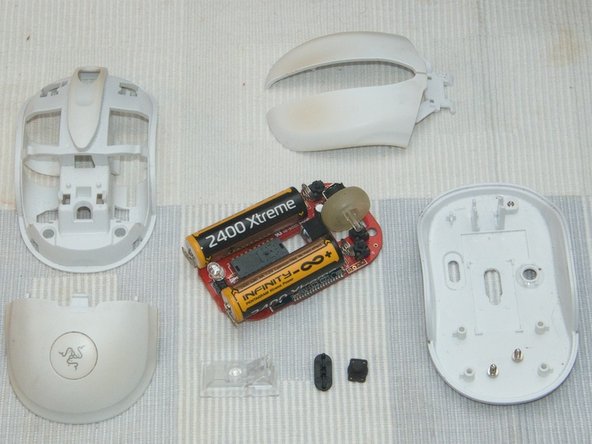
    • You may now remove the main plastic cover.

    • The plastics are very thick and look firm. My model survived a LOT of abuse, but apparently i dropped it one time too many for the left button to work.

  5. Razer Pro Click Mobile Teardown: 5 단계, 이미지 1/3 Razer Pro Click Mobile Teardown: 5 단계, 이미지 2/3 Razer Pro Click Mobile Teardown: 5 단계, 이미지 3/3
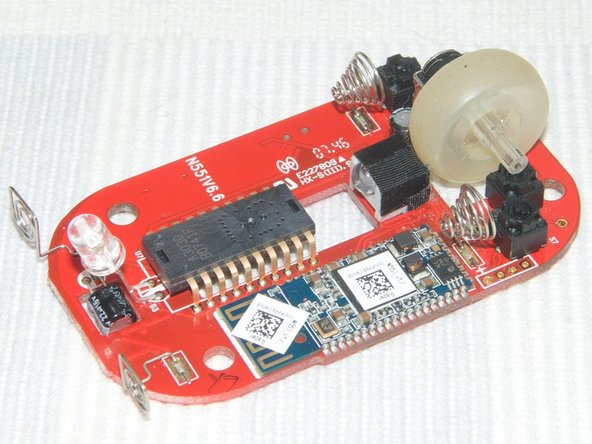
    • Now we may remove the main board.

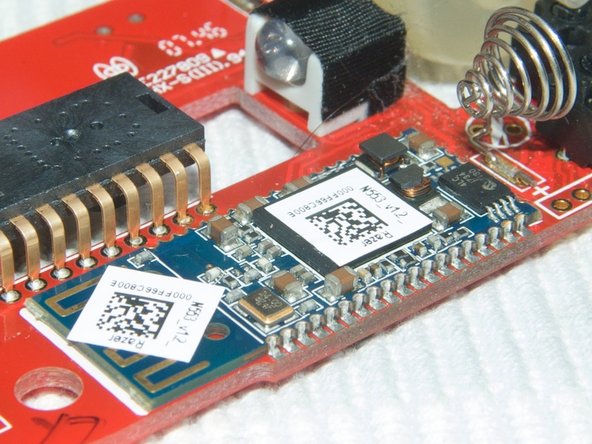
    • The device consists of two chips

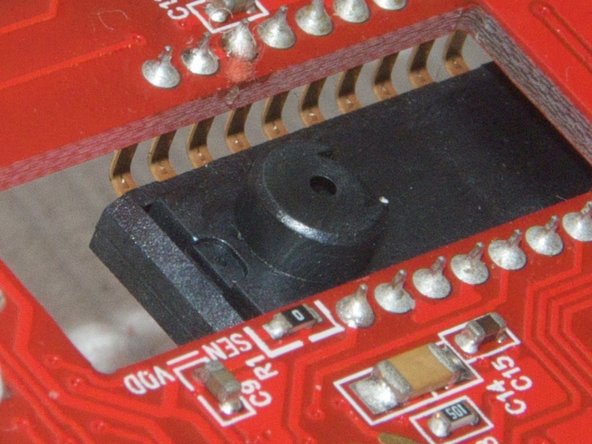
    • The optical sensor is on the middle unit signed: A3030 B0741F

    • The second chip is on a separate, blue board. On it there is a white sticker with "Razer" and N553_v1.2_ signed on it

    • The rest of the elements are LEDs, buttons, the wheel mechanism, a single capacitor and springs for the battery

  6. Razer Pro Click Mobile Teardown: 6 단계, 이미지 1/2 Razer Pro Click Mobile Teardown: 6 단계, 이미지 2/2
    • On the bottom we see the lens, the on/off switch and the reset button

    • I love the little window they did for the capacitor.

    • The optical sensor looks freaky. I wonder which crazy government is watching me now.

  7. Razer Pro Click Mobile Teardown: 7 단계, 이미지 1/1
    • The batteries look enormous when inserted now. They weigh significantly more then the board itself.

  8. Razer Pro Click Mobile Teardown: 8 단계, 이미지 1/2 Razer Pro Click Mobile Teardown: 8 단계, 이미지 2/2
    • For a size comparison, here is the mouse, the original iPhone, a 2 polish zloty coin and a party invitation :)

baq

회원 가입일: 10/14/09

305 평판

안내서 3개 작성하였습니다

댓글 0개

댓글 쓰기

조회 통계:

24 시간 전: 1

7일 전: 9

30일 전: 52

전체 시간: 13,490