주요 콘텐츠로 건너뛰기

필요한 것

해당 분해도는 수리 안내서가 아닙니다. Rowenta AC6221 수리는 저희 서비스 설명서를 사용하십시오.

  1. Rowenta AC6221 Teardown, Rowenta AC6221 Teardown: 1 단계, 이미지 1/3 Rowenta AC6221 Teardown, Rowenta AC6221 Teardown: 1 단계, 이미지 2/3 Rowenta AC6221 Teardown, Rowenta AC6221 Teardown: 1 단계, 이미지 3/3
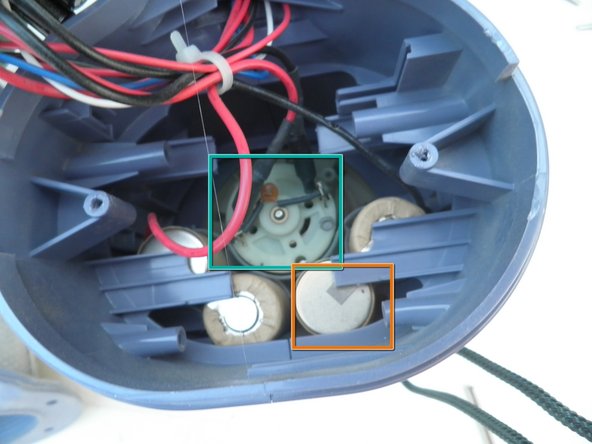
    • The 4.8 Rowenta vacuum can be used for a variety of purposes.

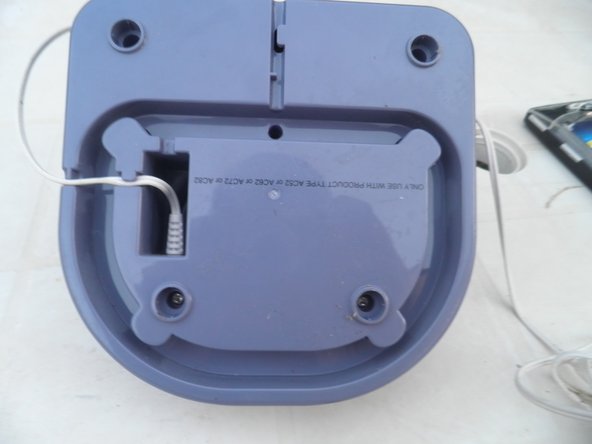
    • It is charged through its pedestal. The power of the pedestal is:

    • Input: 230V - 50 Hz - 7W (AC)

    • Output: 7.5V - 300 mA (DC)

  2. Rowenta AC6221 Teardown: 2 단계, 이미지 1/3 Rowenta AC6221 Teardown: 2 단계, 이미지 2/3 Rowenta AC6221 Teardown: 2 단계, 이미지 3/3
    • This vacuum has several parts:

    • The tip

    • The reservoir which holds the dust and debris

    • The engine (4.8V)

    • The pedestal

    • The power supply

    • From top to bottom, the reservoir contains 3 parts: the housing, container, and filter.

  3. Rowenta AC6221 Teardown: 3 단계, 이미지 1/3 Rowenta AC6221 Teardown: 3 단계, 이미지 2/3 Rowenta AC6221 Teardown: 3 단계, 이미지 3/3
    • Remove the two outer Philips #00 screws from the bottom of the engine.

    • The back of the circuit board will now be visible.

  4. Rowenta AC6221 Teardown: 4 단계, 이미지 1/3 Rowenta AC6221 Teardown: 4 단계, 이미지 2/3 Rowenta AC6221 Teardown: 4 단계, 이미지 3/3
    • Remove the two inner screws.

    • Insert a flat screwdriver between the cover and the base of the engine and remove the cover.

    • The wires of the vacuum are now visible.

  5. Rowenta AC6221 Teardown: 6 단계, 이미지 1/2 Rowenta AC6221 Teardown: 6 단계, 이미지 2/2
    • The wires of the vacuum are now visible.

    • The wires connect the charger light, switch,engine, and power wires.

    • The green box labels the engine.

    • The orange box labels one of the four batteries (4*1.2V)

  6. Rowenta AC6221 Teardown: 7 단계, 이미지 1/2 Rowenta AC6221 Teardown: 7 단계, 이미지 2/2
    • The top of the circuit board contains components including capacitors, resistors, wires, and a chip.

    • The bottom side shows the tracks that connect the components.

  7. Rowenta AC6221 Teardown: 8 단계, 이미지 1/2 Rowenta AC6221 Teardown: 8 단계, 이미지 2/2
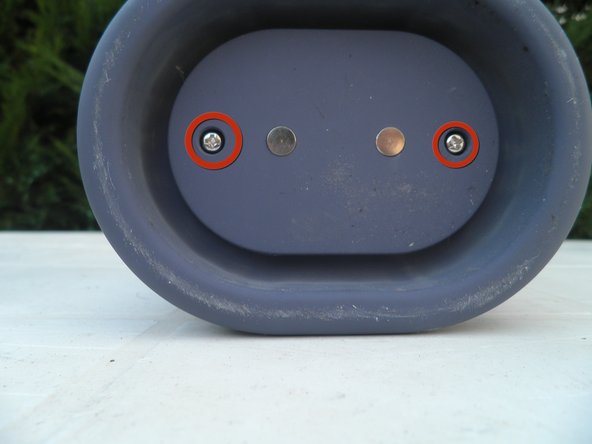
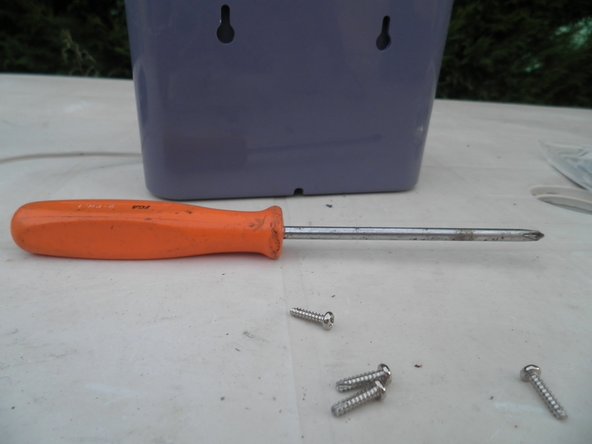
    • Remove the screw securing the handle with a screwdriver.

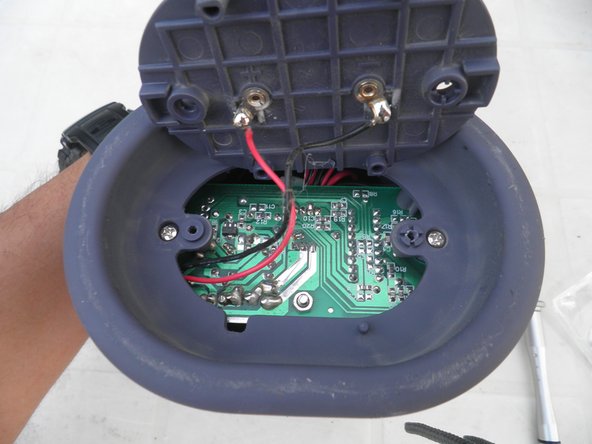
    • Open the handle to see the inside using the flat screwdriver.

    • Warning: The handle is difficult to open

    • Warning: In this procedure, the handle was not opened to keep the vacuum intact.

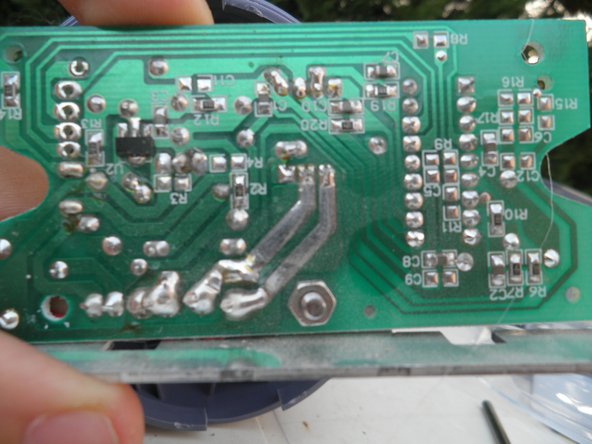
    I removed the handle top and I found it to be quite difficult. I needed to use a plastic pry tool to pull the handle cover a bit to the outside (left and right) because there are some plastic holders that grab the handle. These plastic holder are placed two on each side and one at the end of the handle top. Force was required for the removal.

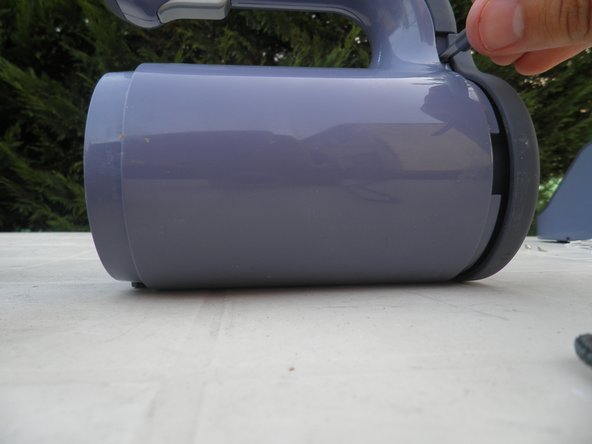
    After this the body can be separated by pulling and pressing on the middle to detach the white plastic holders.

    Tavi - 답글

  8. Rowenta AC6221 Teardown: 9 단계, 이미지 1/1
    • This is the pedestal that will be torn down.

  9. Rowenta AC6221 Teardown: 10 단계, 이미지 1/3 Rowenta AC6221 Teardown: 10 단계, 이미지 2/3 Rowenta AC6221 Teardown: 10 단계, 이미지 3/3
    • At the bottom of the pedestal, remove the 4 rubber pieces.

    • Note: This step provides access to 4 Philips screws.

    • Remove screws using a screwdriver.

  10. Rowenta AC6221 Teardown: 11 단계, 이미지 1/1
    • Lift the plastic piece carefully from the bottom of the pedestal.

  11. Rowenta AC6221 Teardown: 12 단계, 이미지 1/1
    • Inside the pedestal, the power cable separates into 2 wires. Each wire is connected to a conductive piece.

    • This completes the vacum cleaner teardown

Bob

회원 가입일: 04/17/10

760 평판

안내서 3개 작성하였습니다

댓글 한 개

This could use some discussion of how to replace the rechargeable batteries used in portable vacuum cleaners.

Wayne Seltzer - 답글

댓글 쓰기

조회 통계:

24 시간 전: 0

7일 전: 7

30일 전: 16

전체 시간: 7,209