주요 콘텐츠로 건너뛰기

필요한 것

해당 분해도는 수리 안내서가 아닙니다. Samsung Android Phone 수리는 저희 서비스 설명서를 사용하십시오.

  1. Samsung AMOLED Display Teardown, Samsung AMOLED Display Teardown: 1 단계, 이미지 1/2 Samsung AMOLED Display Teardown, Samsung AMOLED Display Teardown: 1 단계, 이미지 2/2
    • Here it is: The beautiful fortress of pixels known as the Super AMOLED screen.

    • Now, We take to separating it.

  2. Samsung AMOLED Display Teardown: 2 단계, 이미지 1/1
    • After separating it, we take a closer look at it's insides.

    • The interesting thing is that after we separated it, the screen worked (no black spots or lines) but the touch didn't. This is interesting, because the touch and the pixels are integrated into the same layer. We will try to find out why.

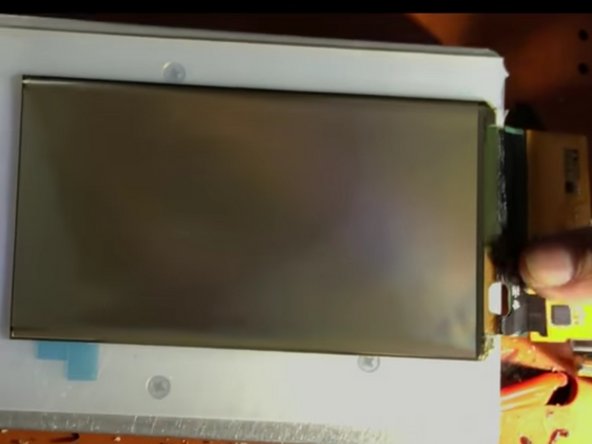
    • It looks like the touch has a separate cable than the screen. This is interesting, because the touch and the pixels are integrated into the same layer, as said above. Note the touch screen controller chip in red.

    • Taking a closer look, it appears that we have cut the touch cable while tediously separating the screen. The adhesive securing the display is no joke.

  3. Samsung AMOLED Display Teardown: 3 단계, 이미지 1/1
    • Full IC Identification:

    • You may need to enlarge it to view the text.

  4. Samsung AMOLED Display Teardown: 4 단계, 이미지 1/2 Samsung AMOLED Display Teardown: 4 단계, 이미지 2/2
    • Using a freezer, we separate the AMOLED display from the glass.

    • We take the screen polarizer film off, and we find out that the screen is really a silver-ish color, not black!

    • However, you technically won't be able to see any text or images on the screen without the black polarizer film.

    • We will update you on our later findings on the inside this screen.

Dinan Blueje

회원 가입일: 02/04/19

832 평판

안내서 1개 작성함

Everything iPod Everything iPod 회원

Community

62 회원들

안내서 3개 작성하였습니다

댓글 0개

댓글 쓰기

조회 통계:

24 시간 전: 5

7일 전: 13

30일 전: 60

전체 시간: 4,784