주요 콘텐츠로 건너뛰기

필요한 것

해당 분해도는 수리 안내서가 아닙니다. Samsung GT-E1205Q 수리는 저희 서비스 설명서를 사용하십시오.

  1. Samsung GT-E1205Q Teardown, A Quick Look at the Phone: 1 단계, 이미지 1/3 Samsung GT-E1205Q Teardown, A Quick Look at the Phone: 1 단계, 이미지 2/3 Samsung GT-E1205Q Teardown, A Quick Look at the Phone: 1 단계, 이미지 3/3
    • Looking at the phone, it’s pretty cool! It has:

    • Backlit Alpha-Numeric Keypad

    • FM Radio

    • SMS Messaging

    • Games

    • Conversion Tools

    • 10 Ringtone Choices and 4 Alert Tone Choices

    • Alarm and Timer

  2. Samsung GT-E1205Q Teardown, Battery: 2 단계, 이미지 1/2 Samsung GT-E1205Q Teardown, Battery: 2 단계, 이미지 2/2
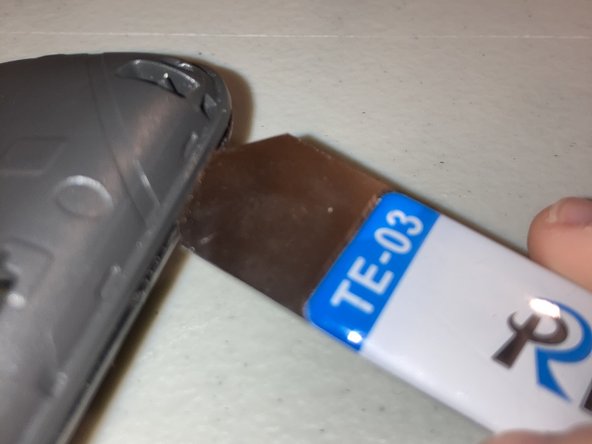
    • Now let’s use an opening tool to remove the back by pushing the tool into the indent on the bottom and working your way around a little until you pop the cover off. Then remove the battery by pulling it out with your hand.

    • Be careful not to puncture the battery. I don’t think you feel like having an exploded battery all over the place!

    • Make sure the phone is off before removing the battery to prevent damage.

  3. Samsung GT-E1205Q Teardown, Screws: 3 단계, 이미지 1/3 Samsung GT-E1205Q Teardown, Screws: 3 단계, 이미지 2/3 Samsung GT-E1205Q Teardown, Screws: 3 단계, 이미지 3/3
    • Now, unscrew the three Phillips screws with a PH#000 screwdriver and use an opening tool to work your way around the edges to get the back-off.

    • Be careful not to hurt yourself with the opening tool! (See Photo 3)

  4. Samsung GT-E1205Q Teardown, Parts to Remove: 4 단계, 이미지 1/2 Samsung GT-E1205Q Teardown, Parts to Remove: 4 단계, 이미지 2/2
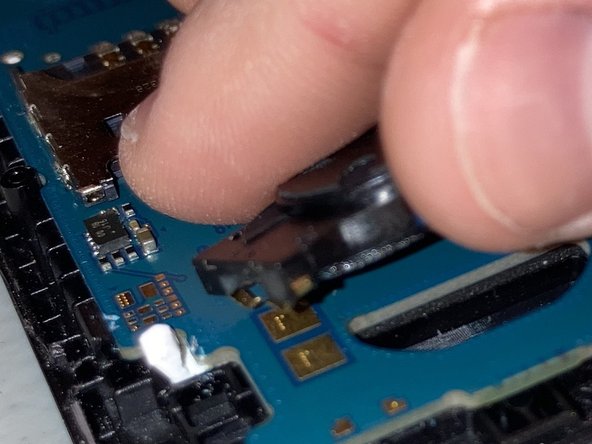
    • On the back of the phone, we can remove the vibration motor and then on the circuit board, you can remove the speaker.

  5. Samsung GT-E1205Q Teardown, Board & Alpha-Numeric Keypad: 5 단계, 이미지 1/3 Samsung GT-E1205Q Teardown, Board & Alpha-Numeric Keypad: 5 단계, 이미지 2/3 Samsung GT-E1205Q Teardown, Board & Alpha-Numeric Keypad: 5 단계, 이미지 3/3
    이 단계에 사용된 도구:
    Tweezers
    $4.99
    구매
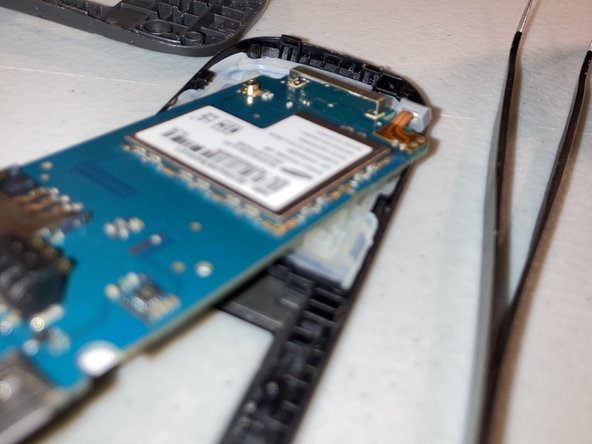
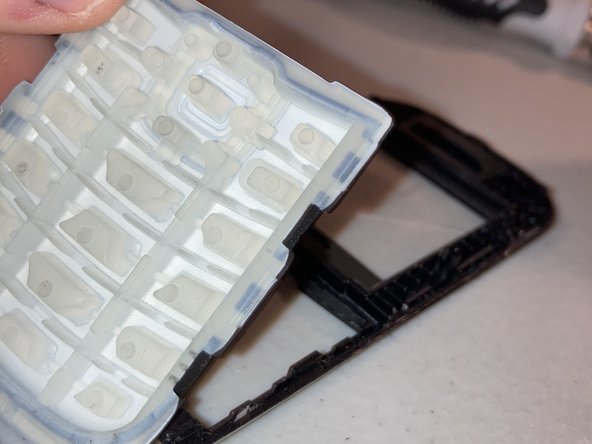
    • Now, pull up on the top of the board, use tweezers to push the bottom right clip in, and then pull the board to the right and up. Next, remove the fake keypad.

  6. Samsung GT-E1205Q Teardown, Screen: 6 단계, 이미지 1/3 Samsung GT-E1205Q Teardown, Screen: 6 단계, 이미지 2/3 Samsung GT-E1205Q Teardown, Screen: 6 단계, 이미지 3/3
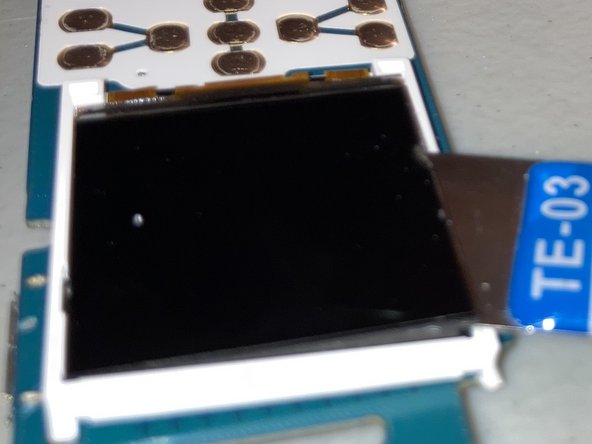
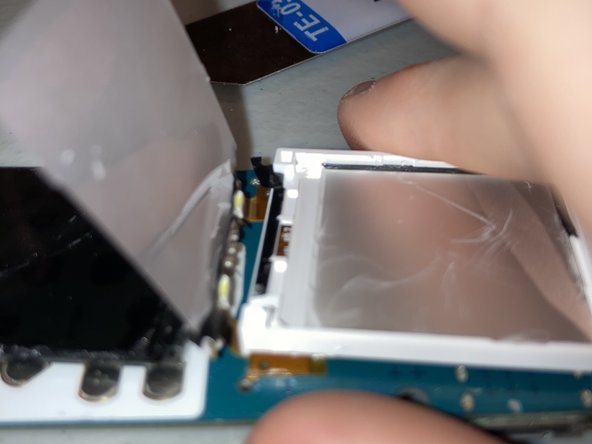
    • Now, unclip the two white clips on the board, flip the board over and ever so carefully push an opening tool UNDER the screen and lift, CAREFULLY! Then remove the white plastic piece that WAS under the screen.

    • WARNING! Be careful not to crack or shatter the LCD screen because the liquid crystal inside it is TOXIC!

  7. Samsung GT-E1205Q Teardown, Last Thing!: 7 단계, 이미지 1/1
    • If you didn’t break it, then congrats! You made it to the end! Thank you so much for reading this guide. See ya!

Liam Kandell

회원 가입일: 02/21/21

1,198 평판

안내서 4개 작성하였습니다

댓글 0개

댓글 쓰기

조회 통계:

24 시간 전: 0

7일 전: 2

30일 전: 35

전체 시간: 1,089